ChillyWinters
Known Participant
March 30, 2019
Question

The CORRECT way to COLOR after finishing your LINEWORK

  • March 30, 2019
  • 5 replies
  • 21818 views

AY Everybody, It's Chilly, I'm back because I have another question.

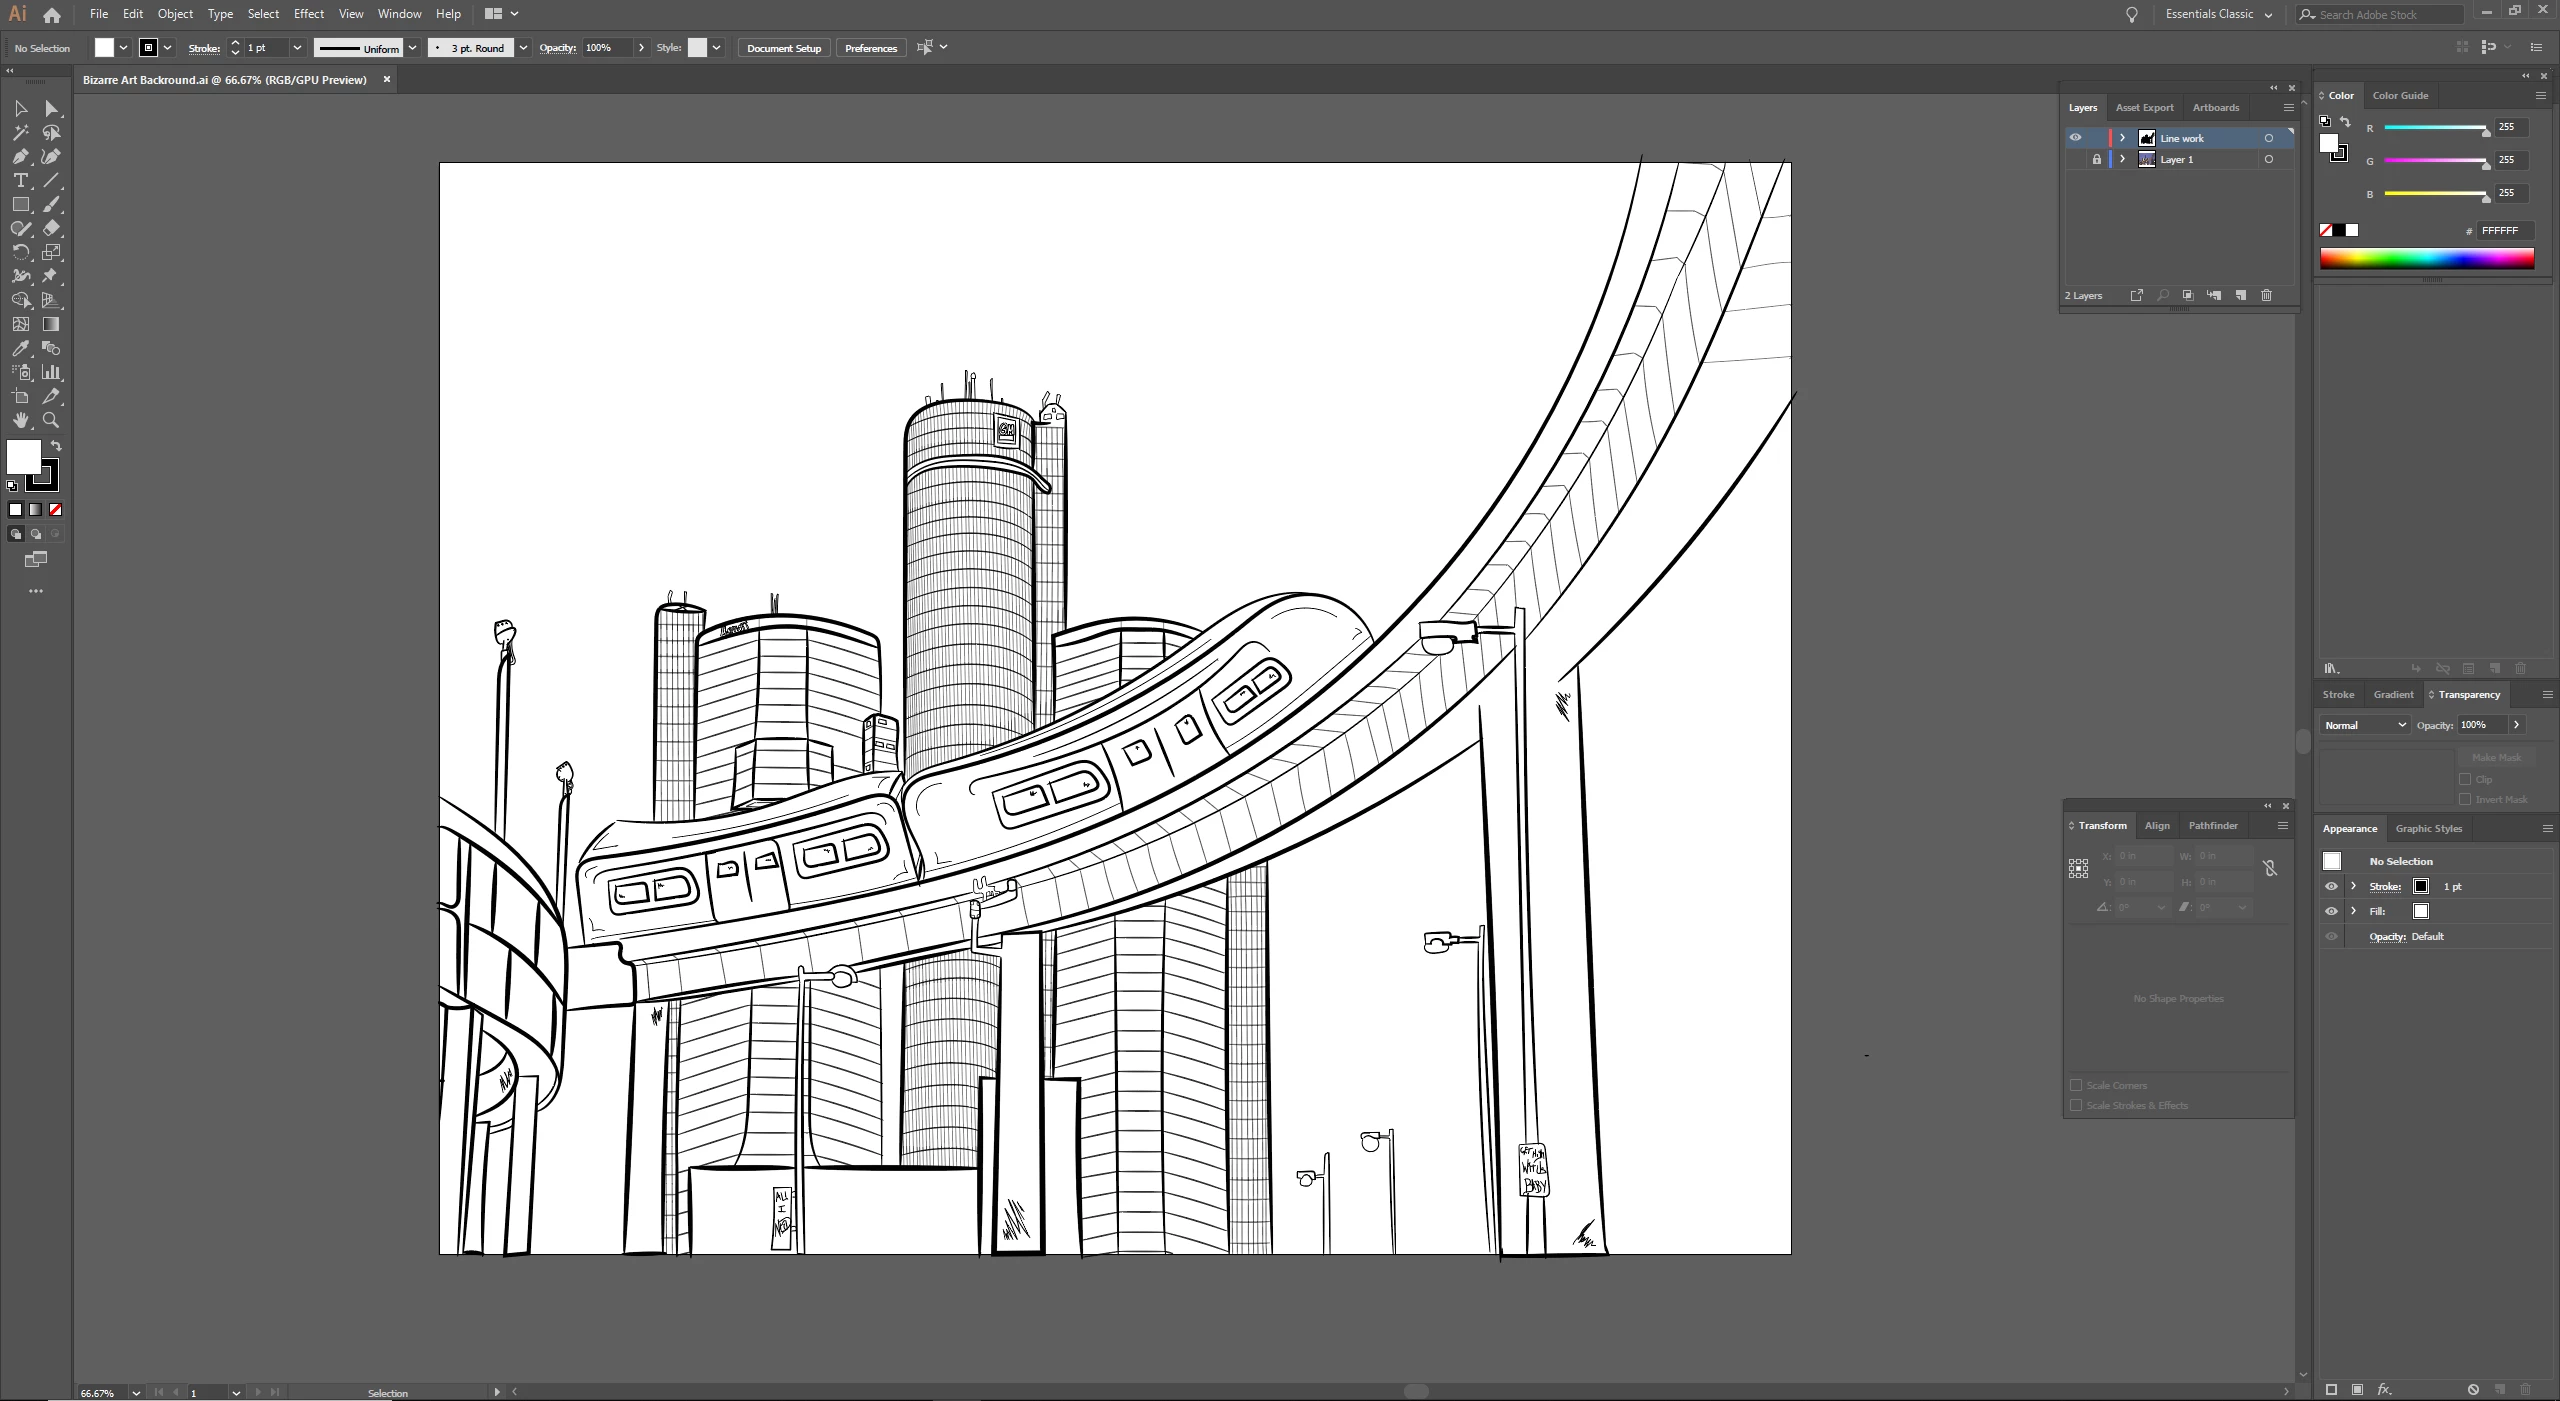
Soooooo... I just finished my LINEWORK. I have not done anything else yet. I want to color my image. What is the best process, the correct process, to color an image after the linework is completed.

This is what i found to do off the internet and it is not working.

1. Select Everything

2. Object > Expand appearance

3. Object > Expand

4. Merge in pathfinder

(Make sure your fill-colors were detected correctly. If not hit Object> Path> Cleanup & Merge again)

5. Use rectangle tool to add a base color

6. Send it to back

^^^^^^^^^^

This is where my problem comes in....

     The rectangle tool will not give me a fill. It just gives me a blank box around the image.

     - I have checked as many settings as I know how to adjust the fill.

     - I checked if i had any effects running. I didnt.

     - I have tried and re-tried many times and I cannot get this to work.

But even so, If I make it past this part (which I havent so I do not know if the rest of the process will work or not)

But after you get your base color with the rectangle tool, I read to do these things next...

1. Use selection to select the Shape and Art.

2. Merge those 2

3. Then select again and right click> Isolate Selected Groups

4. Then use magic wand tool to select black lines

5. Right Click> Group

6. Then exit the Group and UNGROUP THEM.

TO ME,  THIS SEEMS LIKE A LOT. LIKE THERE IS MORRIS CODE YOU NEED TO KNOW JUST TO COLOR. Can someone please help me to figure out the correct process to color after the line work is completed? Thank you so much. I will attach an image!

THANK YOU SO MUCH!

5 replies

ChillyWinters
Known Participant
March 31, 2019

Okay Everybody this is what I did.

-I selected everything (black arrow)

-Object. Expand Appearance.

-Object. Expand.

-Merge. (in pathfinder)

-Object. Path. Clean-Up.

-Then I chose my base color.

-I used the rectangle tool to drag the base color across my image

(at this point you would have the option to turn down the opacity on your base color as well as change the tone. I CHOSE TO LEAVE MY OPACITY AT 100%)

-Right click. Arrange. SEND TO BACK

-Then use the black arrow to SELECT your entire image/art-board again

-Merge those together in pathfinder

-Right click and hit ISOLATE SELECTED GROUPS

-From there I was able to use my Direct Selection tool (white arrow) to select each individual area of the image I want to color.

I do not need to use live paint although It will work. But I have to select it, then go to live paint, then select color and, to me, that's just too much and a pain in the butt. So I choose to just select the path I want to color and then select the color I want it to be, and The color changes from the old base color, we made earlier, to the new color!

It seems like a lot but I did this many times in a row to make sure I got my process down. I created this process through trial and error and watching quite a few tutorial videos online via youtube. This is a process that works for me. I am a beginner and I understand this may not work for everyone but It works for me.

I highly recommend NOT SAVING YOUR PROJECT UNTIL YOU GO THROUGH YOUR ENTIRE IMAGE AND SELECT EACH AREA AND MAKE SURE IT MERGE CORRECTLY. IF IT DIDN'T MERGE CORRECTLY AND YOUR SELECTION IS SELECTING MORE THAN WHAT YOU WANT IT TO THEN YOU CAN ALWAYS CLOSE OUT AND START OVER. SOOO....

-SAVE YOUR LINE WORK

-START THE MERGING PROCESS FOR COLORING

-DO NOT SAVE UNTIL CHECKING EVERY AREA GOT CLOSED OFF TO INSURE GOOD COLORING.

THIS IS WHAT I FOUND OUT TO BE HELPFUL.

THANK YOU TO EVERYONE WHO TAPPED IN AND GAVE SOME FEEDBACK. I WAS IN A PINCH AND REALLY NEEDED IT. MUCH APPRECIATED. HAVE A GREAT DAY!

Here is just the start to my coloring. I will show you guys when I finish it in complete. In my beginning threads and earlier questions I show the picture I drew that will be layering on top of this one to make a whole Album Cover for my song going on Youtube. I chose the dark blue/purple as my base color for the night time sky for the Detroit Skyline at the Renaissance Center. Thanks again for all your help!

Participant
March 9, 2024

 I got a problem that I don’t know how to solve like I followed your instructions and watch videos on ‘expand appearance, merge, send the Retangle to back, everything in the end the Result is the Same. Not all the line work is colored Only parts of it and I don't know what is wrong! Please help 

Monika Gause
Community Expert
Community Expert
March 9, 2024

@Xnilxx  schrieb:

 I got a problem that I don’t know how to solve like I followed your instructions and watch videos on ‘expand appearance, merge, send the Retangle to back, everything in the end the Result is the Same. Not all the line work is colored Only parts of it and I don't know what is wrong! Please help 


Exactly what are you doing?

Using Live paint or the shapebuilder tool? Gap options turned on?

JETalmage
Inspiring
March 31, 2019

What is the best process, the correct process, to color an image after the linework is completed.

There is no single "correct" step-by-step procedure for "coloring" as you create vector based artwork. Best practice involves more than just on-screen appearance. It depends on everything from efficiency in creating the work to the technical considerations of how the work is to be reproduced.

Flood-fill features like Illustrator's so-called "Live Paint" work by creating additional path objects in the shapes of regions that merely appear to be "enclosed" or "surrounded" by multiple other paths. Its intention is to let you pretend you are doing things like "inking" and then "filling."

But thinking in terms of "inking" and then "coloring" as if you were creating comic book illustrations in pre-computer days is neither the only nor necessarily the best  or "correct" way to work. It is actually more fitting to think of your drawing as a stack of colored-paper cutouts, which may or may not be transparent and may or may not be outlined along their edges.

It's far better to understand what your drawing actually is, and what is actually going on. That's how you learn to decide for yourself the best procedure for building a given illustration to not only achieve the desired appearance, but to serve the needs of its intended reproduction method. Illustrators have been creating drawings similar to yours literally for decades before programs like Illustrator ever had flood fill features. And such drawings are still created every day without using such instant-gratification features.

A vector-based illustration is in fact a stack of individual, independent objects:

  • vector-based paths (i.e., cubic Bezier curves)
  • live text frames
  • raster-based images (rectanglular array of pixels)

Assuming your line work consists entirely of vector paths:

Each and every individual path is a distinct object. Each one can be:

  • Stroked
  • Filled
  • Open
  • Closed

Just because you draw those paths of your "line work" to look like they are connected to form closed regions doesn't mean they actually are. They are still just individual path objects which can individually be stroked, filled, open or closed.

An Illustrator typically works by being aware of those basic principles, and decides whether to stroke or fill or close each path as he proceeds. The "line work" and "color" of some elements of the drawing may be the stroke and fill of the same paths, or they may be separate path objects.

The path objects which visually constitute the "line work" and "color" may or may not actually be separate path objects. Separate path objects may or may not actually abut each other; they can overlap and thereby partially hide each other.

JET

Participating Frequently
March 31, 2019
sharp_hands16B8
Community Expert
Community Expert
March 30, 2019

Personally I would just make layers for your color blocks beneath the lineart layer.

Start with your farthest back, base, color layer. Fill that in either by drawing shapes with a solid fill color, or use the pencil tool to draw a shape freehand. When you are done drawing the shape, and it's still selected, go to Object > Path > Join to make sure it's a closed shape. Then while it's selected, choose the Fill color. If you aren't seeing a Fill color show up something is going on. It could be you're working in outline view which won't allow you to see Colors or any appearance styling. CMD Y is the quick key to toggle between those. If you aren't in outline view, then maybe there's something strange with the shape. Select the shape and hit the letter D to set it to the defaults. Now, double click on the Fill square from the toolbar and choose a color to see if it shows the Fill.

Build your color layers up as you go.

Doug A Roberts
Community Expert
Community Expert
March 30, 2019

I don't know where you're getting those instructions or what they're supposed to achieve. There are two main ways to colour linework in Illustrator:

1. Create filled shapes behind the lines.

2. Use the live paint tool, either on the linework directly or (perhaps safer) on a no-stroke copy of the linework set behind.

ChillyWinters
Known Participant
March 30, 2019

lol I just google things & when google is helping me i come to this forum to actually talk to intelligent people like yourself. haha.

Thank you sir for your reply. I am looking into it now!

I feel like coloring should be a fairly simple process