Known Participant
June 22, 2017
Answered

Adobe Photoshop - How do I clean the background out of a whiteboard photo?

  • June 22, 2017
  • 1 reply
  • 2851 views

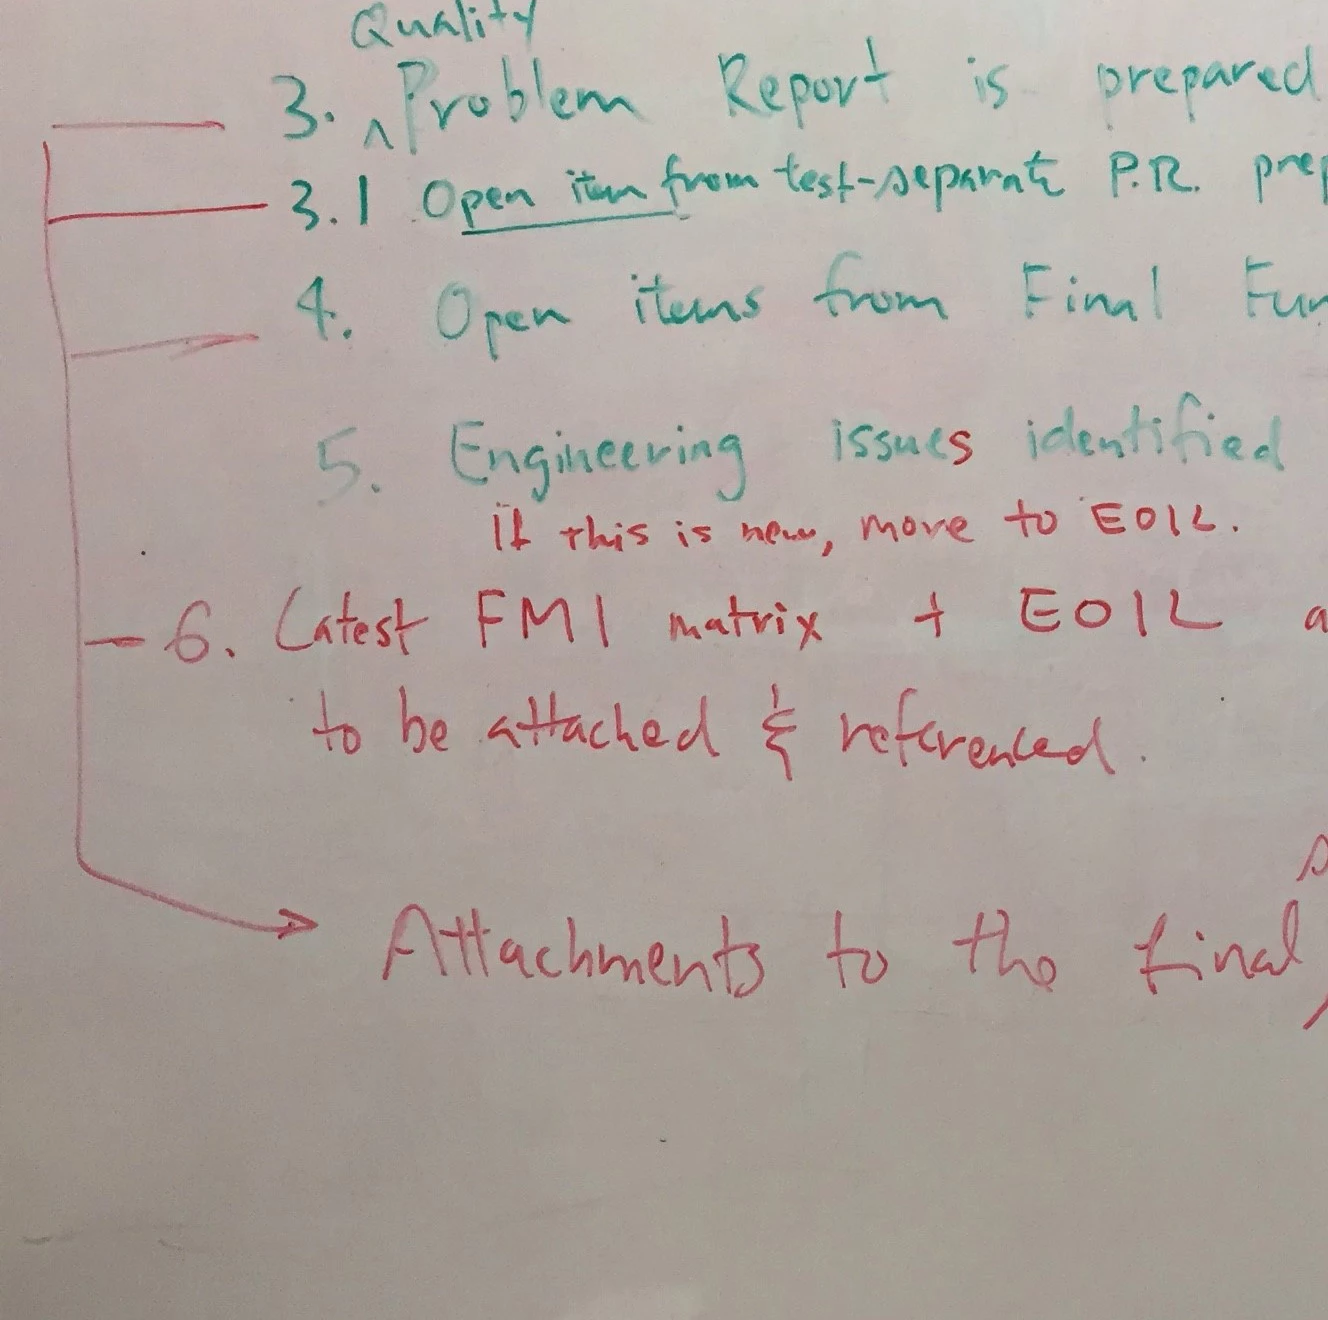
During meetings, we frequently write of the whiteboard with various color markers.  At the end of the meeting, I photograph the white board to include in the meeting minutes.

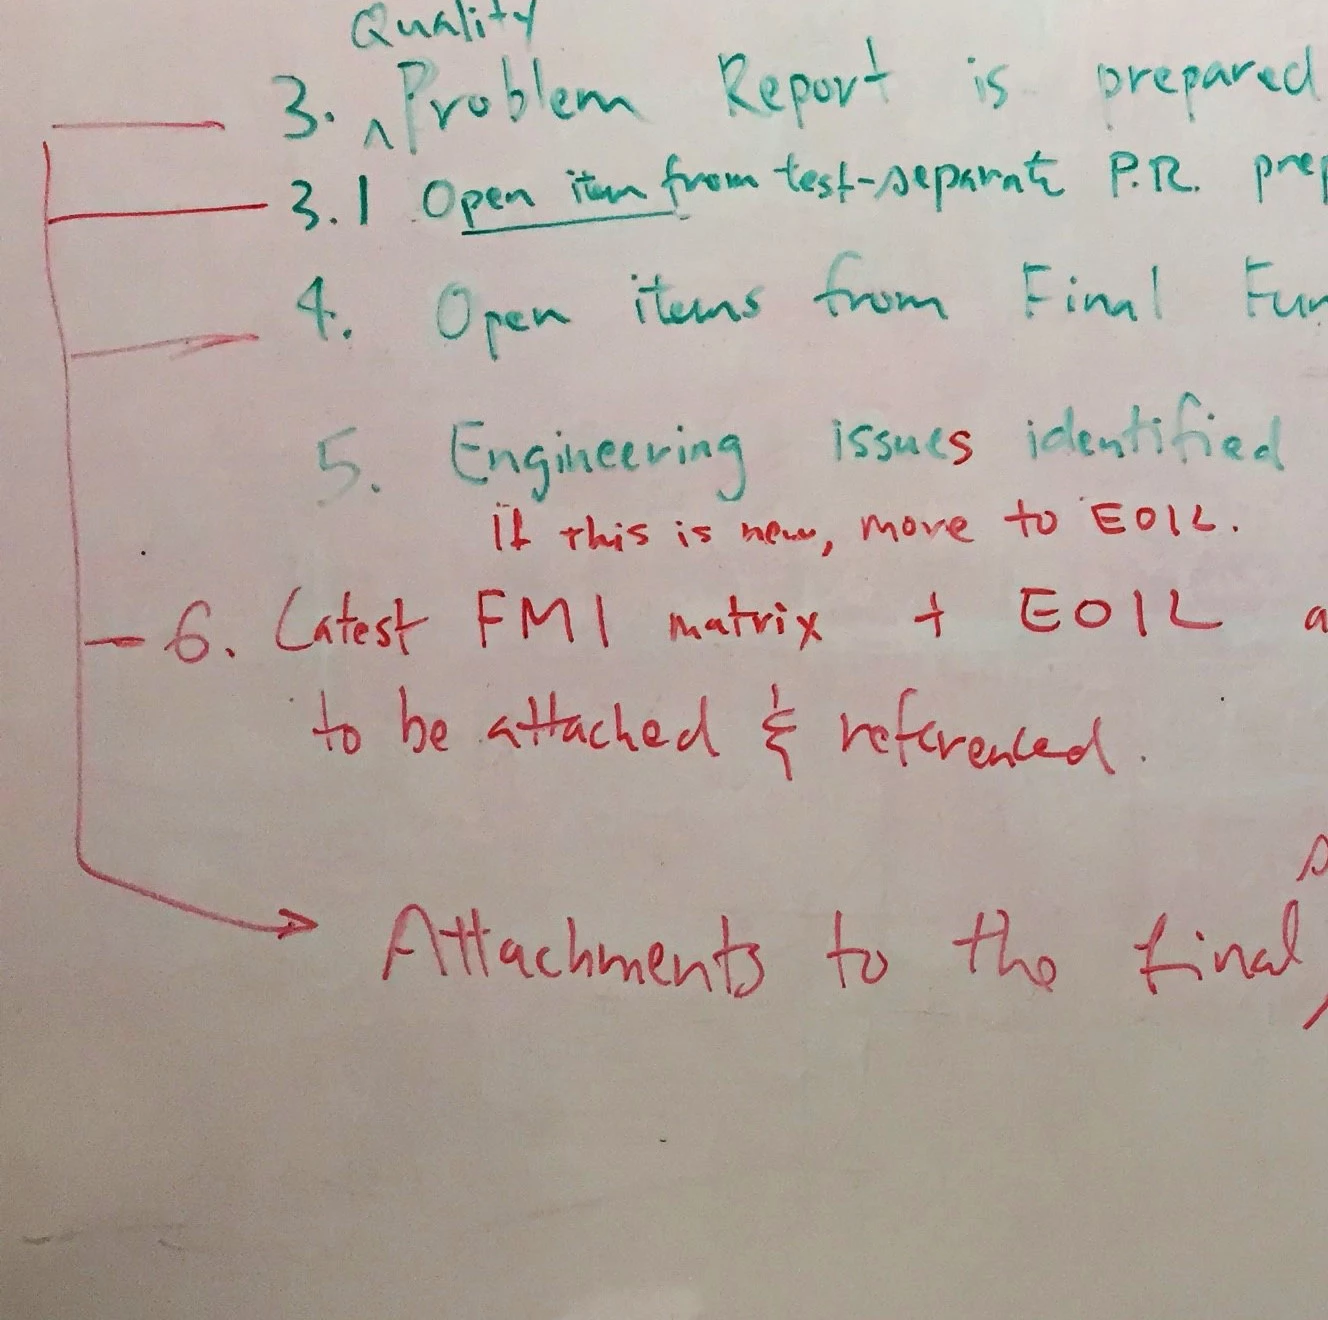
Since the whiteboard markers have varying levels of darkness, I normally try to increase the contrast to make the text more visible. 

The problem is, that the background is normally "dirty" brownish color in appearance.  Since the photos are normally illuminated from above, the background is also a gradient, so it is darker at the bottom.

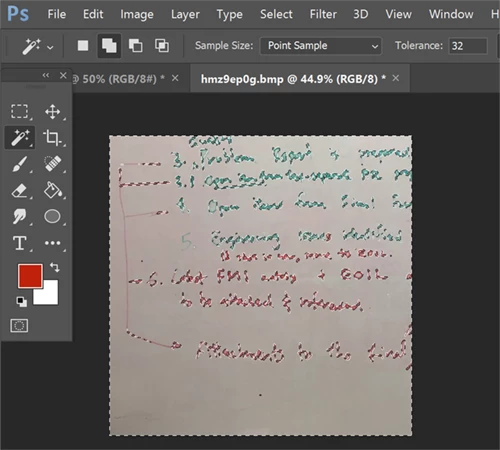
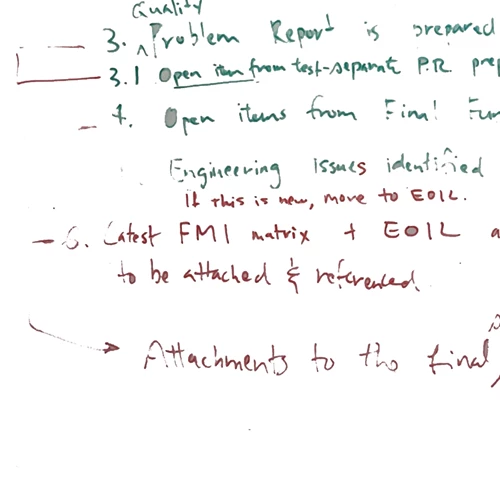
If I lighten the image to make the background diminish, the text also lightens and become unreadable. I have tried to use a color replacer, however the background is too much of a gradient and most of the text also disappears.  I am using Photoshop CS4 (64bit).

Is there a way to bring out the text without the background?

(Sample Images below)

    This topic has been closed for replies.
    Correct answer Nancy OShea

    I used the Magic Wand tool with a Tolerance of 32 to select as much of the background as I could.  So the marching ants are around the text. 

    I hit the Backspace key and replaced the selection with my current Background color (white).

    With background still selected, I used  Select > Inverse to  reverse the selection to text and adjusted the brightness and contrast a little.

    Here is the result.   Not perfect, but a starting point .

    Nancy

    1 reply

    Nancy OShea
    Community Expert
    Nancy OSheaCommunity ExpertCorrect answer
    Community Expert
    June 22, 2017

    I used the Magic Wand tool with a Tolerance of 32 to select as much of the background as I could.  So the marching ants are around the text. 

    I hit the Backspace key and replaced the selection with my current Background color (white).

    With background still selected, I used  Select > Inverse to  reverse the selection to text and adjusted the brightness and contrast a little.

    Here is the result.   Not perfect, but a starting point .

    Nancy

    Nancy O'Shea— Product User & Community Expert
    JGreg7Author
    Known Participant
    June 22, 2017

    Thank you for your response.

    I used your method with similar results, and now I am experimenting with different settings. 

    In general, the appearance is substantially better than the original.

    Thank you for your help.

    Norman Sanders
    Legend
    June 22, 2017

    I worked on the assumption that precise color was not as important as image detail and based upon that, I chose the more difficult image and this was the procedure.

    1.  Duplicate layer of the Background layer

    2.  Image > Adjustments > Black & White, set to Preset: High Contrast Red Filter

    3.  Add blank layer below

    4. Return to Background dupe layer. Layer Styles: Blend if  to put the Green type (actually black) on a transparent layer

    5. Deleted unwanted area (rectangular marquee tool)

    6. Repeat the procedure for the Red type. Instead of using a Preset, set the Red to -166

    7. Top layer is a composite

    6. Select the Green area (rectangular marquee) and Edit > Fill with Green with layer transparent area locked and blending mode set to Color

    8. Repeat the method for the Red area

    9. Set a white layer below