Participant
July 21, 2019
Question

Advice on How to take this restoration further

  • July 21, 2019
  • 6 replies
  • 624 views

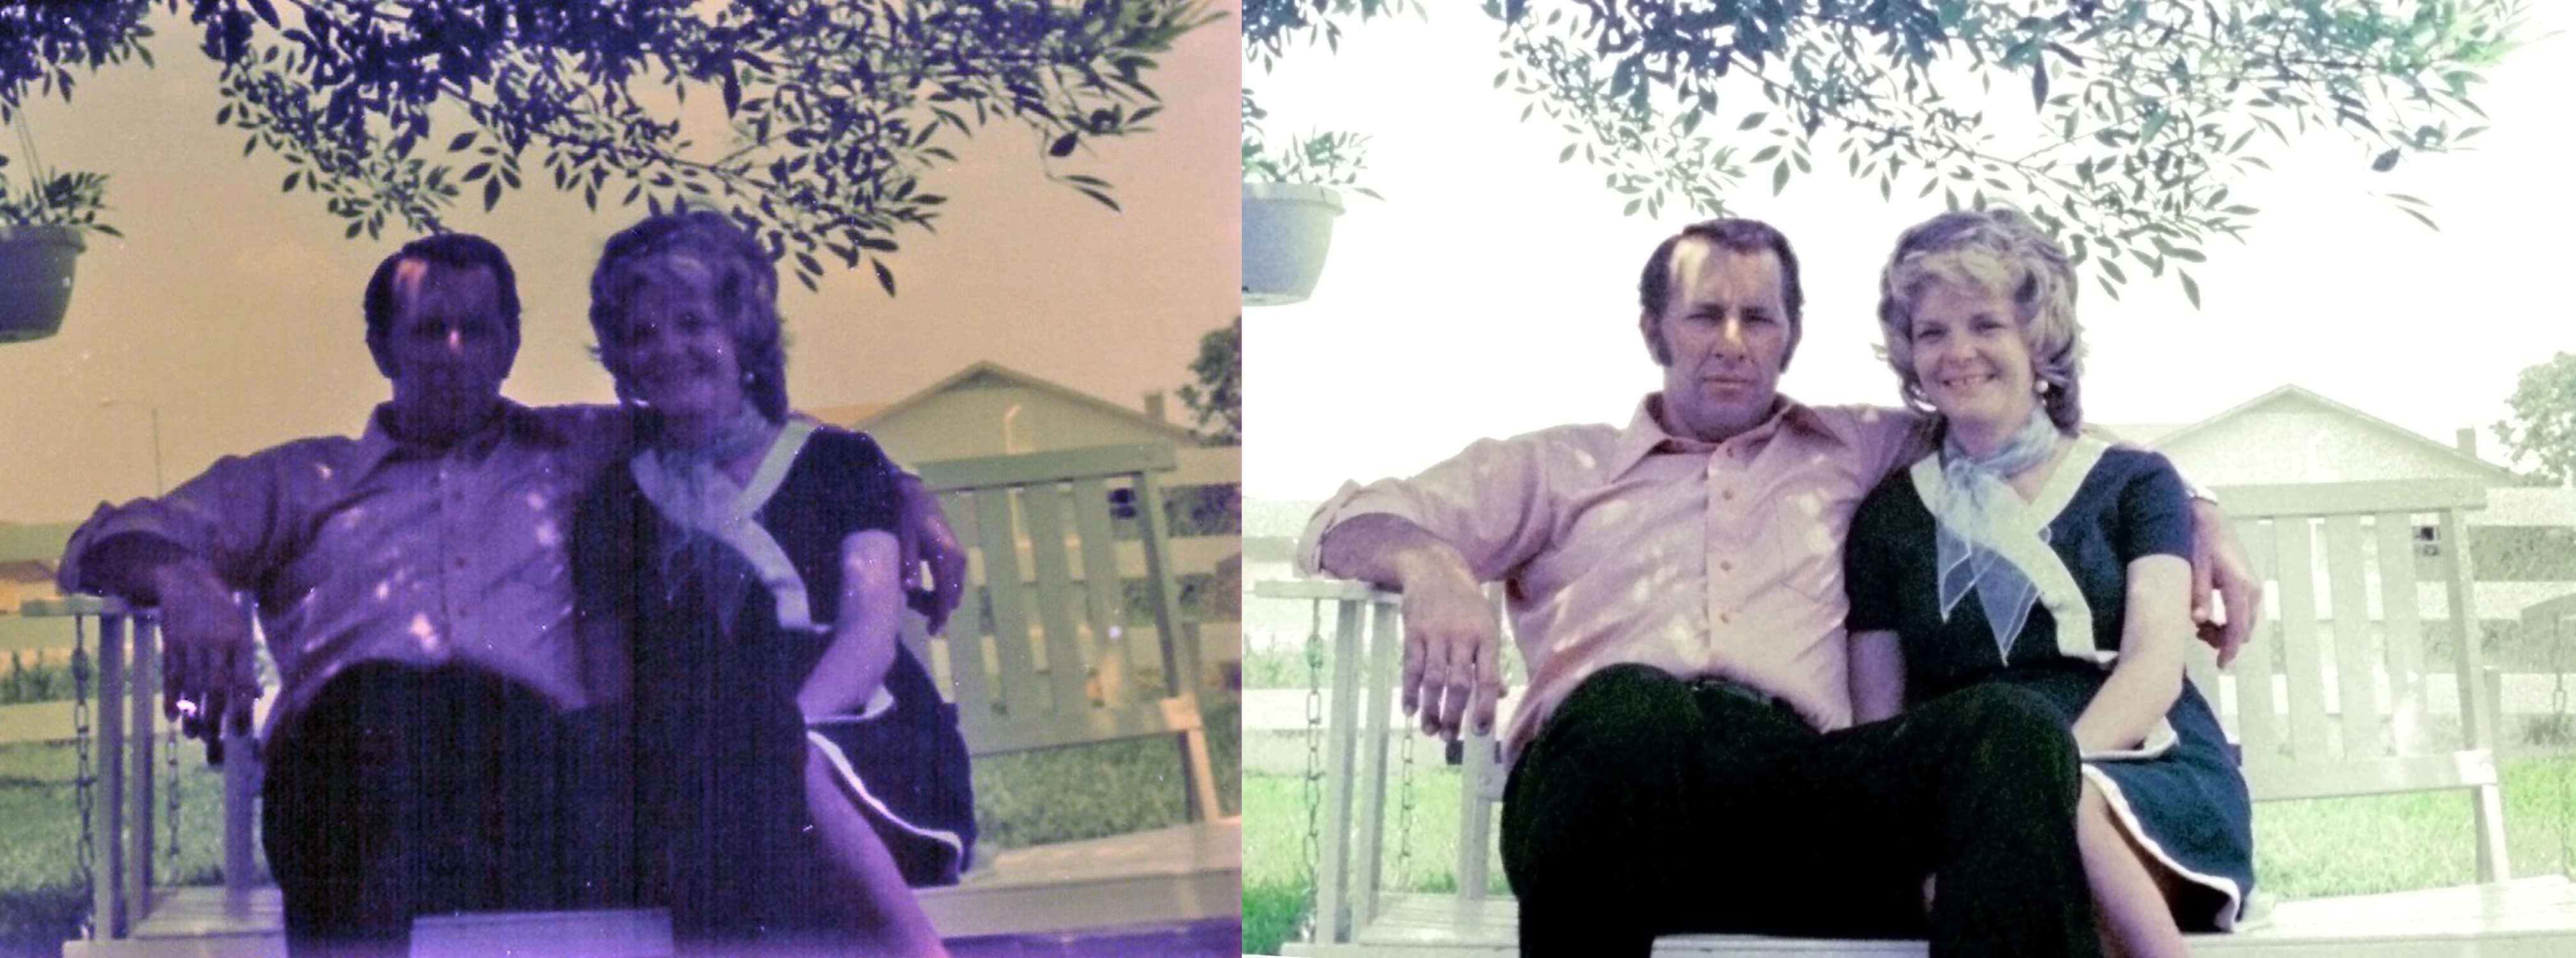
I'm pretty happy with my attempt to restore an old photograph of my parents, but it's still not great.  Any advice on how to take it to the next step?  I'm fairly well versed in PhotoShop CS6, but I don't know which adjustments to make at this point.

This topic has been closed for replies.

6 replies

Norman Sanders
Legend
July 21, 2019

The sample above was directed to the flesh tone. For the darker green you might duplicate the bottom layer now and set. the Blending Mode to Multiply as shown here. I like Dave's taking the time to make a mask and dropping. in a sky tone. There is more to do: mom's left arm. the mask for dad's right arm and left hand along with other local adjustments but the primary goal was the flesh tone, the key element in the image, I believe. A fun project.

Bob_Hallam
Legend
July 21, 2019

Looks pretty good but there's still some purple lingering from the original image.  I'd use a brush with the nearby flesh tone sampled and brush that over the purple areas in color mode to remove them and match them to the surrounding areas.   I would not convert the image to CMYK before making this move.  It will be more natural in RGB.  The other addition if your not allready doing it is to retouch in 16 bit Adobe RGB or ProPhoto RGB if your going to a wide gamut printer. 

ICC programmer and developer, Photographer, artist and color management expert, Print standards and process expert.
Eugenio.NYC
Participating Frequently
July 21, 2019

in addition you can work with the camera raw filter and darker the greens in the HSL adjustments

Norman Sanders
Legend
July 21, 2019

Starting with your retouched version

1 The image was converted to CMYK (where I find correcting flesh tones a bit easier) and duplicated the layer

2. Crated a mask of mom and dad from the Magenta channel and applied it to the top Layer

3, Went to Curves and came up with these settings using dad's left cheek for the reference point (Color Sampler tool)

4. Reduced the image size and sharpened the masked top Layer image

5. Return to RGB

I hope you try it.

davescm
Community Expert
Community Expert
July 21, 2019

Hi

You have done a good job so far. You could try a bit of hand colouring - picking up colour from other photographs and painting on a layer set to the "Color" blend mode

Dave

Rafael Aviles
Legend
July 21, 2019

Great job! I would try to get the sky to be less bright and/or a bit more colorful. Also, the shadows on his face can be reduced with careful dodging/burning or frequency separation retouching.