Inspiring
January 22, 2021
Answered

Advice on the best way to correct the color of an old photo

  • January 22, 2021
  • 5 replies
  • 889 views

Hi,


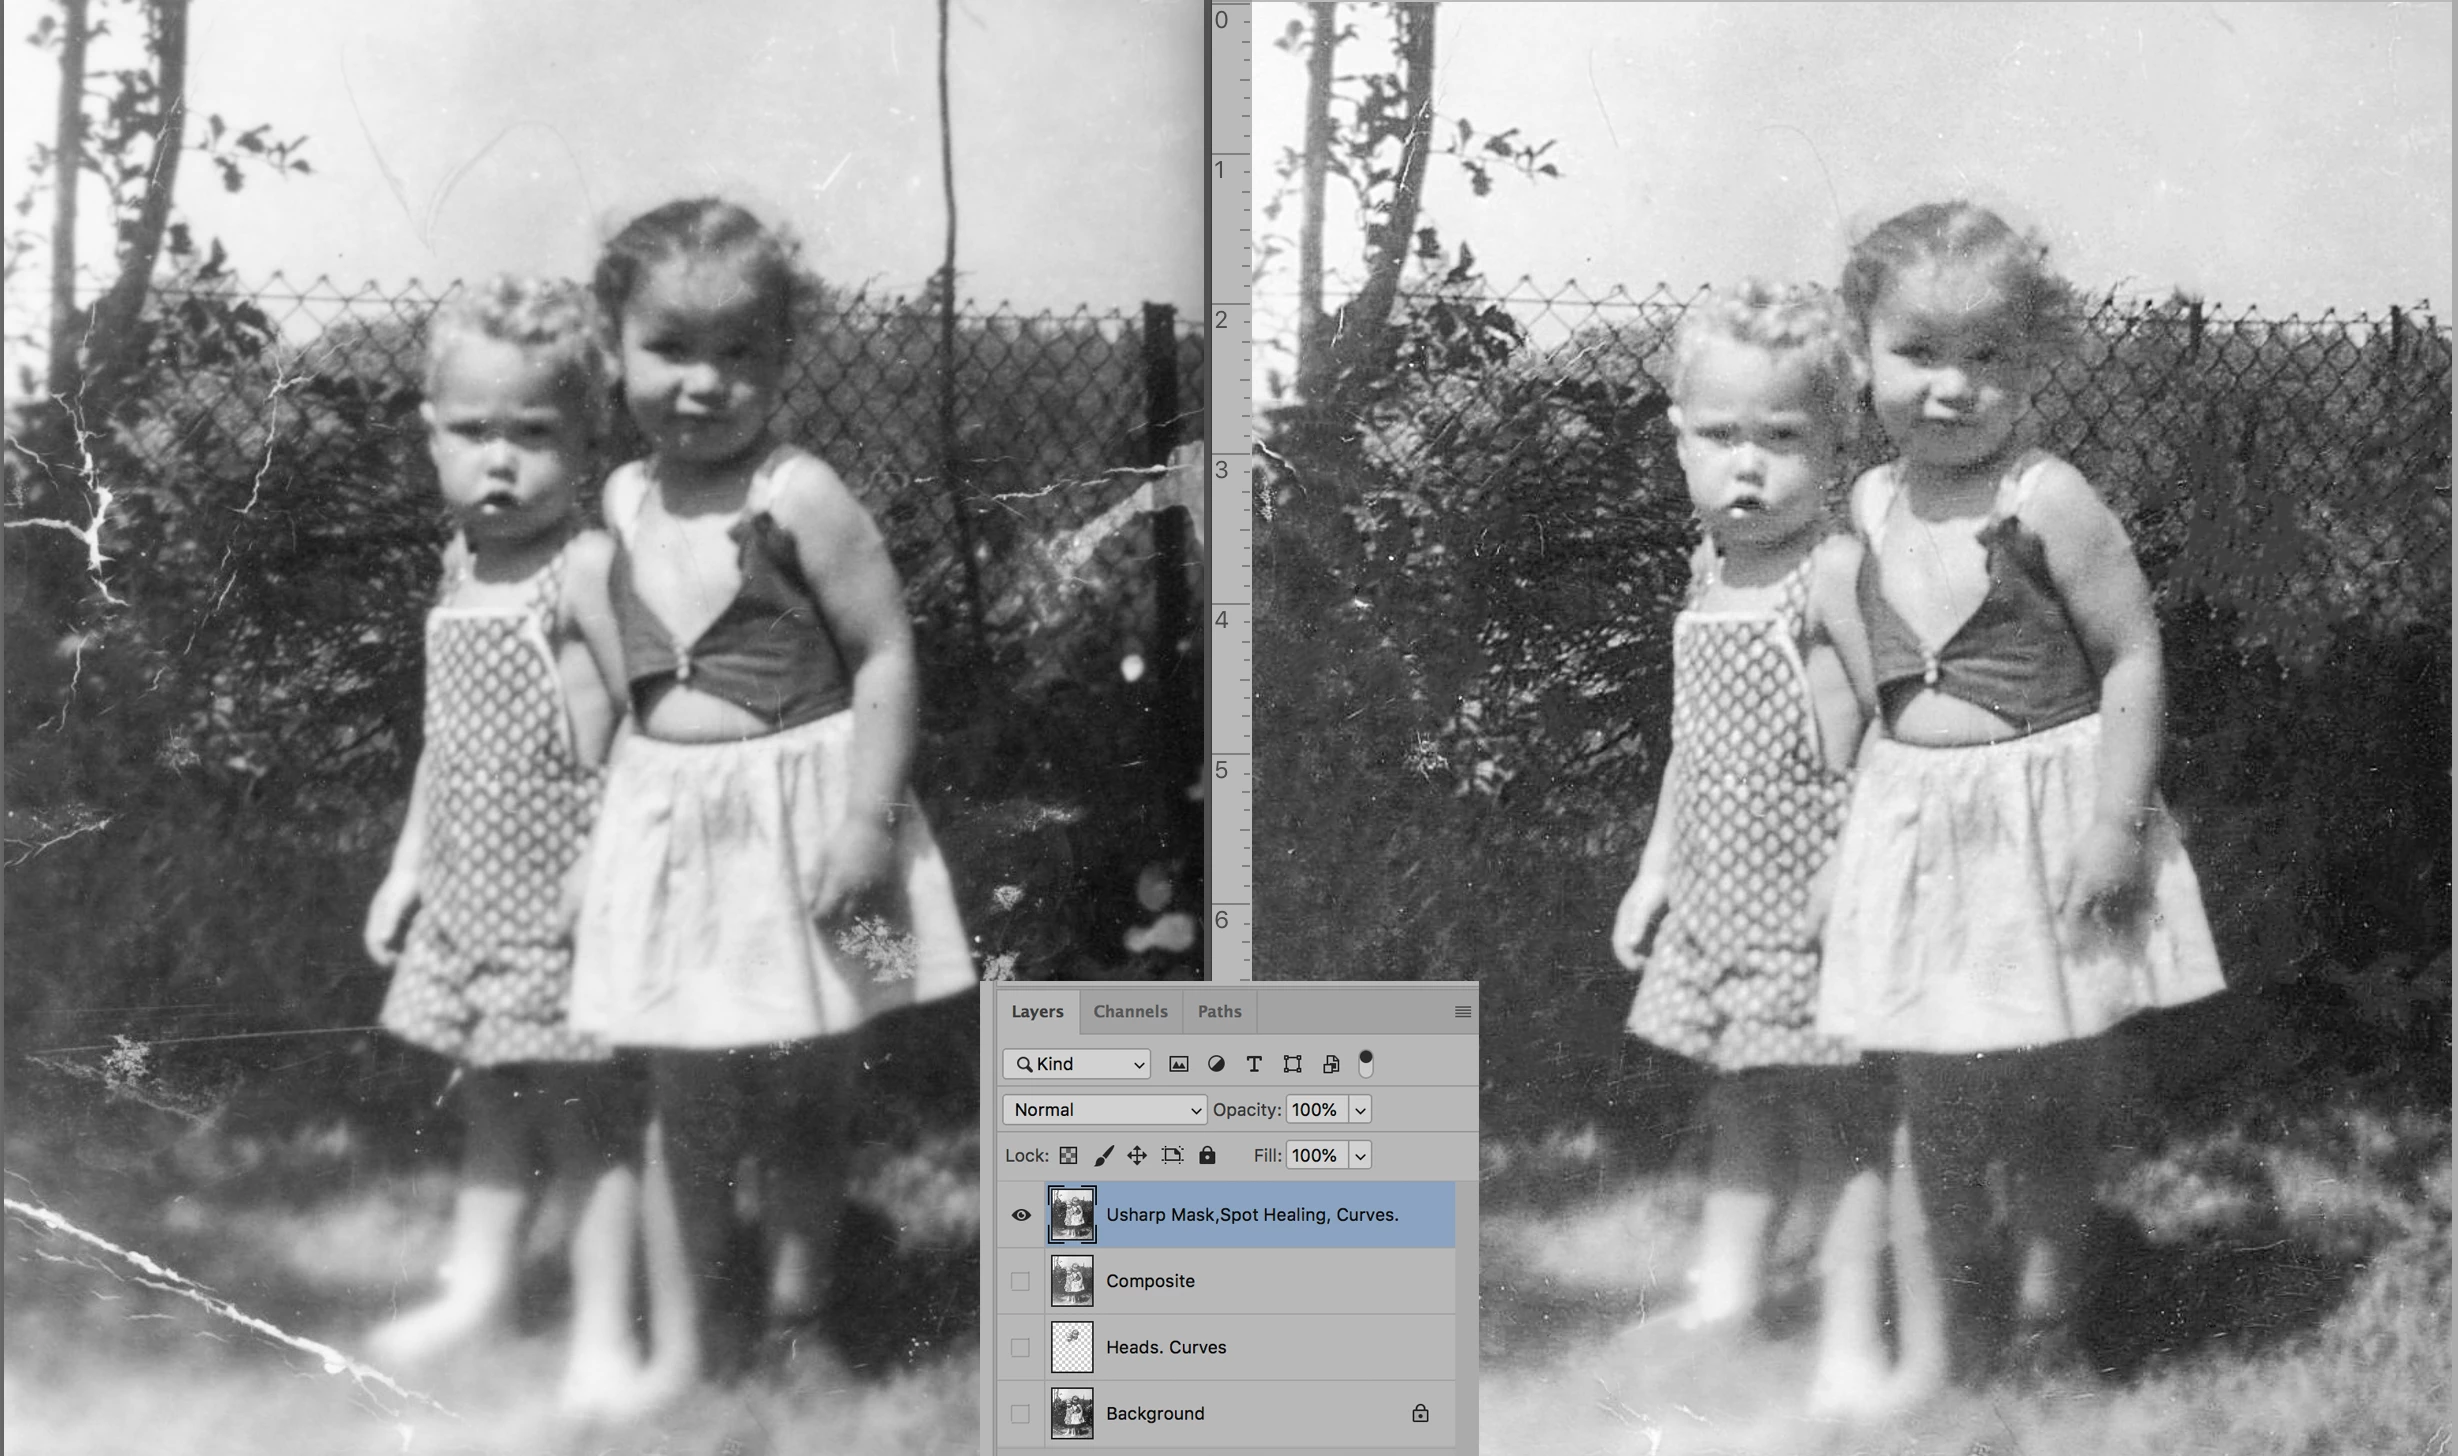
Is someone has an idea how to make uniform the color of cloths on this old photo include here? By example, the blue of the dress is gray in part of the dress, may be because of the light. I tried many tools of Photoshop 2017 on Windows, but may be I have not the the right way to proceed. It's my father that takes tht photo in 1957, but I don't know the camera or the film he used.


Thank you!


Michel

This topic has been closed for replies.
Correct answer Norman Sanders

Michael, would be helpful to my colleagues and me, and beneficial to you, if you would post separate inquiries in separate posts. Regarding your most recent image:


In my opinion, part of the charm of an old photograph is its imperfections that add to the story and date: the snapshot camera’s lack of focus control and mediocre lens, a blurred base of the image that suggests that the negative was not flat in the enlarger’s negative carrier, a photographer unaware that direct-overhead light creates what we call racoon eyes.  

I would eliminate only the scratches and cracks and preserve the authenticity of the rest of the image. It’s great stuff.

If you feel you want to “improve” the image, the Layers panel in the image should be a help:

Select and put the heads on a separate layer and use Curves to open the raccoon eyes. Don't overdo it.  Combine the layers. Add some Unsharp Masking, use the Healing Brush to repair the surface damage, and return to Curves to selectively alter the image contrast.

5 replies

Norman Sanders
Norman SandersCorrect answer
Legend
January 24, 2021

Michael, would be helpful to my colleagues and me, and beneficial to you, if you would post separate inquiries in separate posts. Regarding your most recent image:


In my opinion, part of the charm of an old photograph is its imperfections that add to the story and date: the snapshot camera’s lack of focus control and mediocre lens, a blurred base of the image that suggests that the negative was not flat in the enlarger’s negative carrier, a photographer unaware that direct-overhead light creates what we call racoon eyes.  

I would eliminate only the scratches and cracks and preserve the authenticity of the rest of the image. It’s great stuff.

If you feel you want to “improve” the image, the Layers panel in the image should be a help:

Select and put the heads on a separate layer and use Curves to open the raccoon eyes. Don't overdo it.  Combine the layers. Add some Unsharp Masking, use the Healing Brush to repair the surface damage, and return to Curves to selectively alter the image contrast.

Inspiring
January 25, 2021

Thank you norman.sanders for your advice on this old photo. It's exactly what I had needed, and reassures me on the way to follow with other old photos.


For the post, sure next time I will create a new one. I thought that since it was a similar subject, it made sense to continue with the same post.


Have a nice day!

Norman Sanders
Legend
January 22, 2021

Concerned only with the dress and jacket. In my experience of trying to convert a b&w face and arms into believable flesh tones is a lost cause. The result often diminishes the entire of the image.

Deleted OP masks and Adjustment Layer. Started with the Background image

Changed the Mode to CMYK, chose the Magenta channel as the source for the two masks. Used Curves.

Brought the Masks into Layers for minor touch-up, then added them to proper layers as shown

Changed the Mode to Lab Color. Color was adjusted independent of tone adjustment 

Returned to RGB mode. At this point, a contast adjustment may be helpful. It hinges on what yu intend to do with the simulatted flesh tone. Good luck. 


Inspiring
January 24, 2021

Thank norman.sanders to share your way of doing color corrections.


I have an other old photo here. Do you think it is possible to balance the light and get a pretty sharp photo with Photoshop? If yes, what are the tools to choose?


Grant H
Community Expert
Community Expert
January 22, 2021

and with the use of layers and masks you can go back and tweak until you are happy. see also an eg of the layers:

Inspiring
January 22, 2021

Hi Grant H,


Wow! The effect is GREAT. I tried to follow your steps, and your screenshots are useful. But my knowledge of use of layers and masks is rather limited. I made a copy of the main layer, selected dress and jacket, desaturated completly them, like you did. But after, you made layers 4, 3, 5 and 6. What is the utility of them?


Thanks!

Grant H
Community Expert
Community Expert
January 25, 2021

Hi Michel, those layes i used for retouching the harsh blemishes.

/G

Grant H
Community Expert
Community Expert
January 22, 2021

Here is an example, I havent spent long finessing it, so the more effort you put in the better the result. :


Grant H
Community Expert
Community Expert
January 22, 2021

Hello Michel, I would completely desaturate the image, then retouch and finally re-colour manually. I will try show you an example when I have a moment to edit it.

/G