Inspiring
February 16, 2025
Answered

apply gradient to adjustment layer, not entire file

  • February 16, 2025
  • 2 replies
  • 511 views

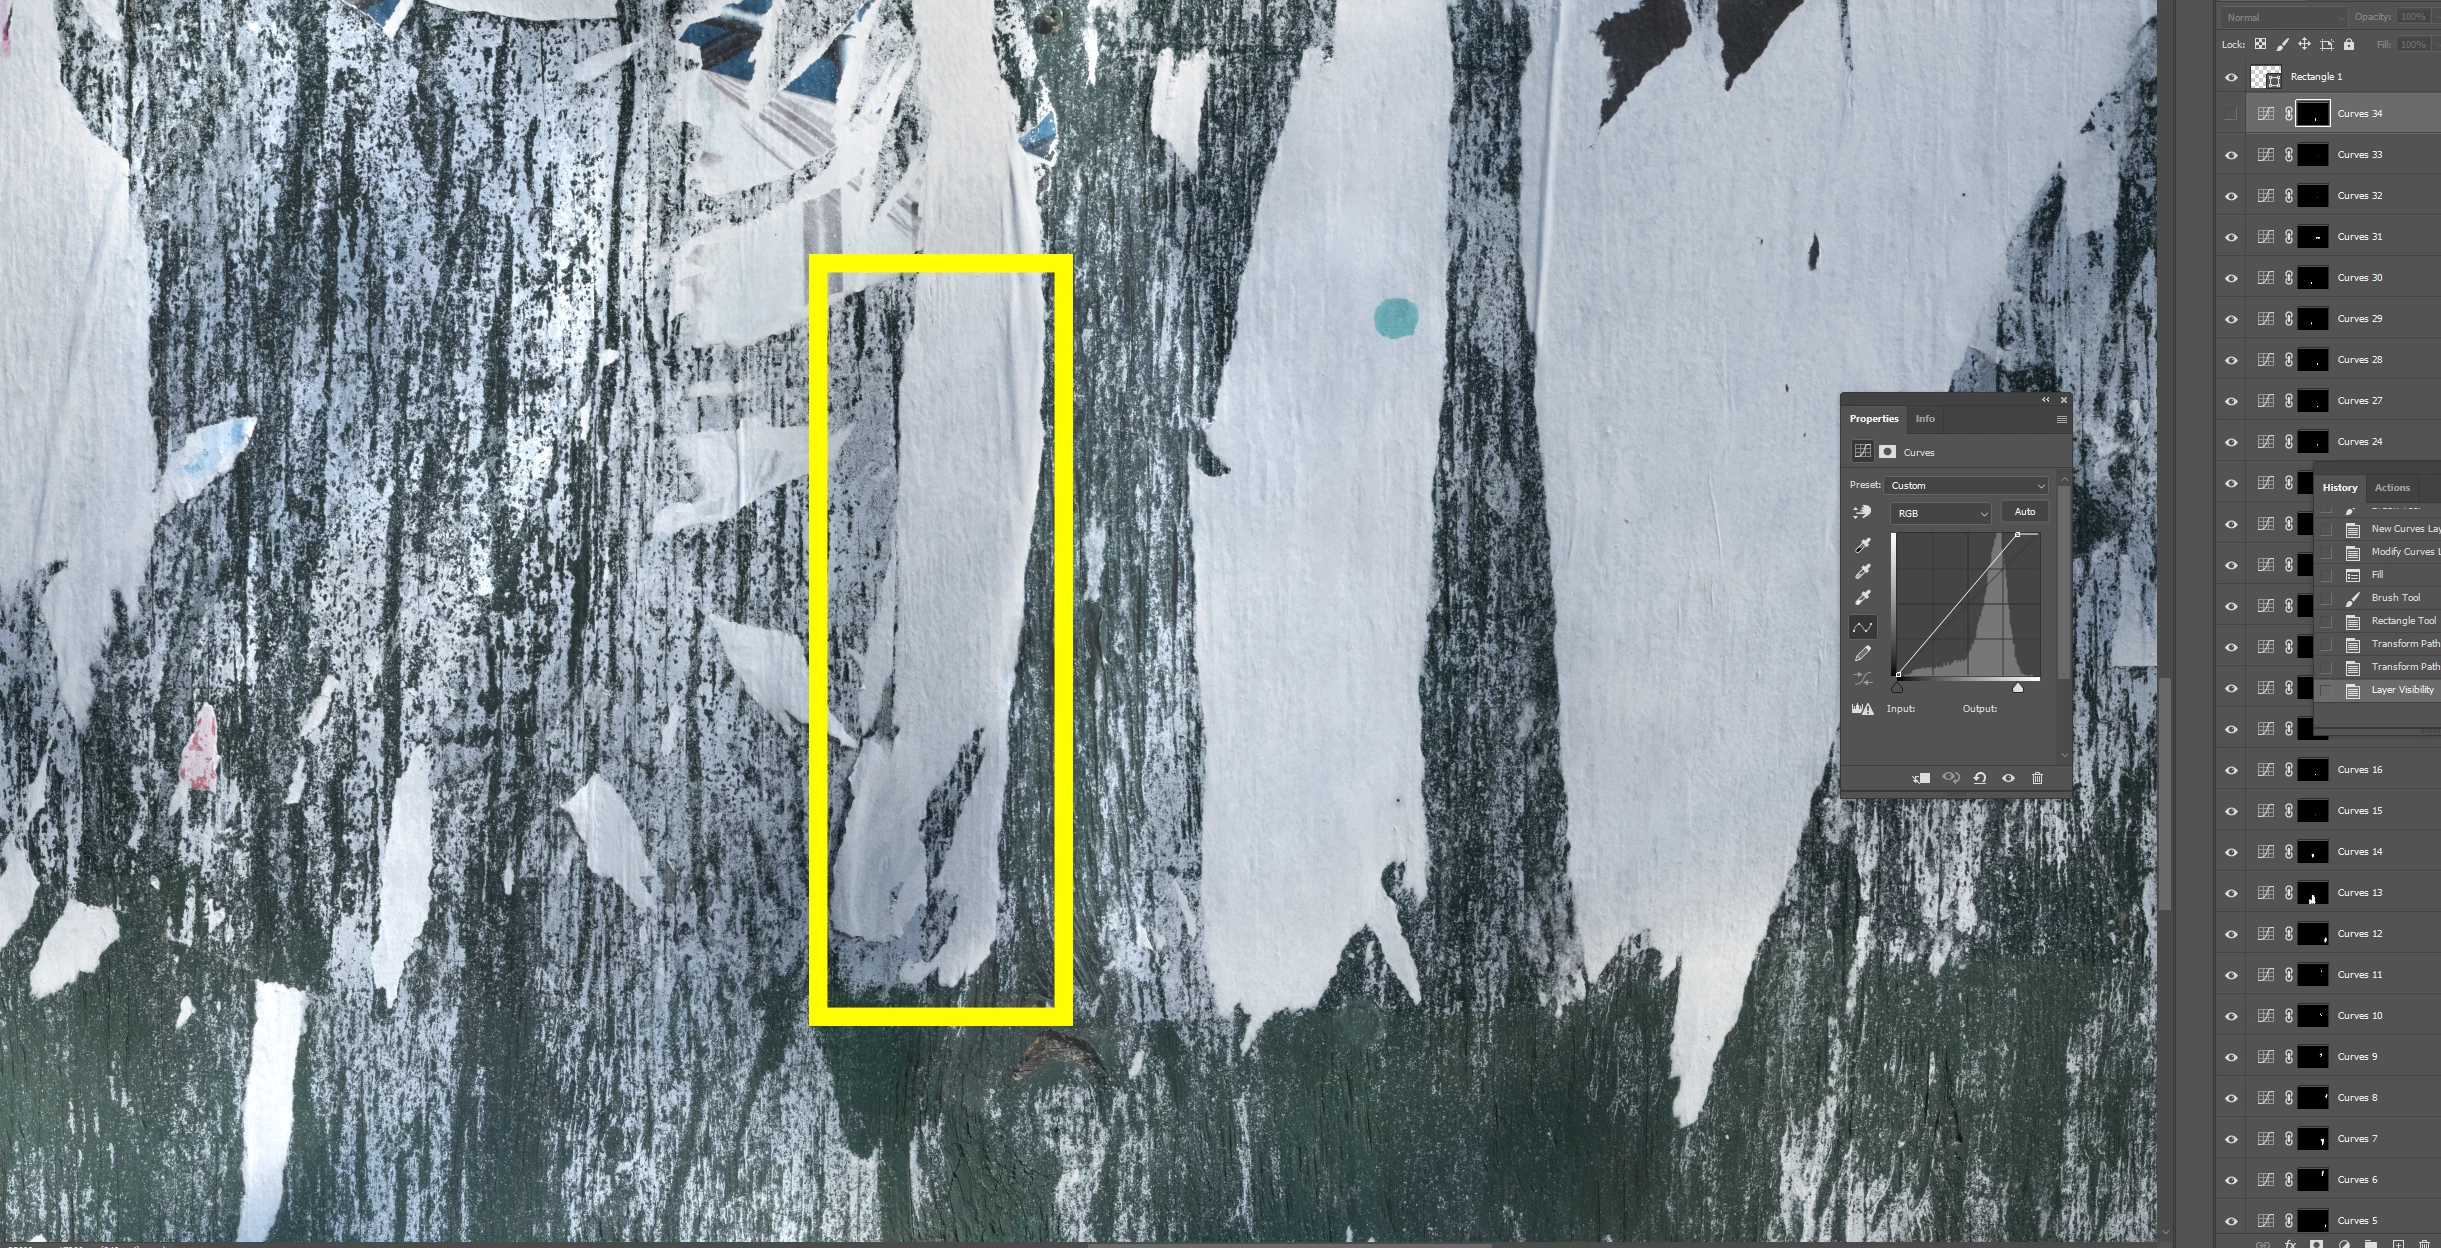
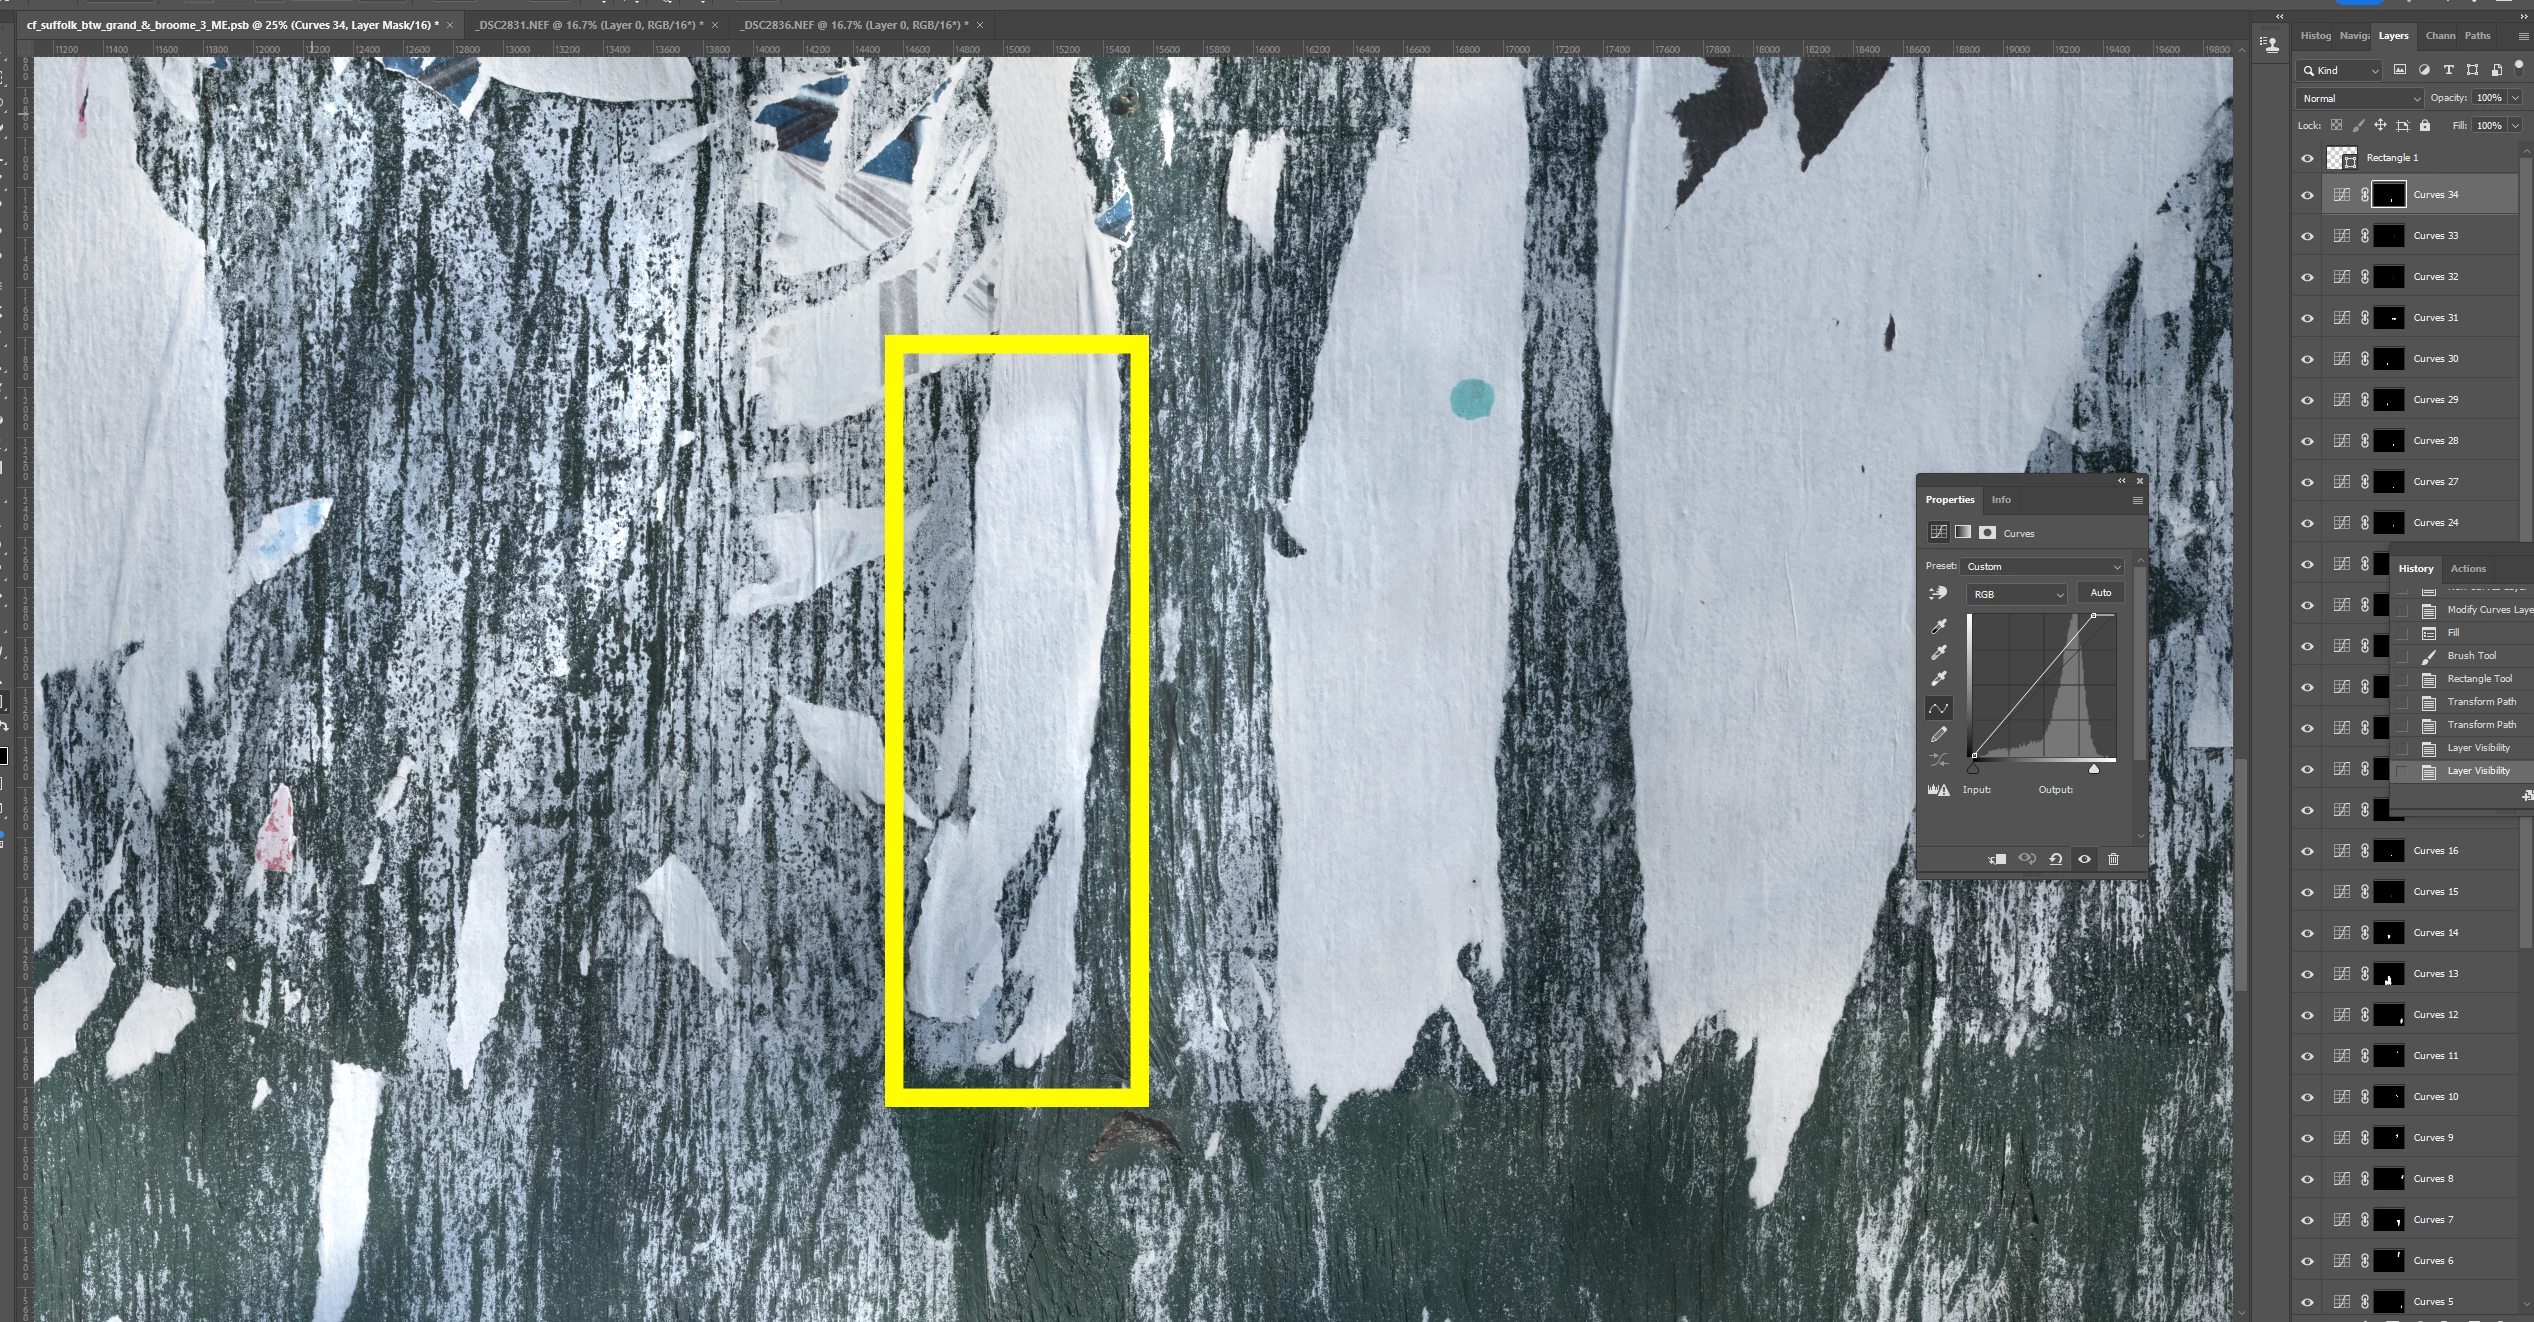
I created an adjustment layer, and used Fill to turn off the layer and then paint with white to reveal where I want the adjustment.  Now I want to make that correction blend with the adjoining parts of the image.  How can I apply the gradient to the area effected by the adjustment layer only, and not the entire image?  Screenshots 1 and 2 show the adjustment layer turned off, then on.  I want the area at the top portion inside the yellow rectangle to have a smooth transition from light to dark.  Thanks.


Correct answer Stephen Marsh

@Barton5C39 


Using the classic gradient tool option, you can apply a black-to-white gradient in a blend mode such as darken or lighten, however, this will permanently alter the current layer mask.


Another option is to put the layer into a group, then apply a layer mask to the group and apply the gradient mask to the group.

2 replies

Stephen Marsh
Community Expert
Stephen MarshCommunity ExpertCorrect answer
Community Expert
February 16, 2025

@Barton5C39 


Using the classic gradient tool option, you can apply a black-to-white gradient in a blend mode such as darken or lighten, however, this will permanently alter the current layer mask.


Another option is to put the layer into a group, then apply a layer mask to the group and apply the gradient mask to the group.

D Fosse
Community Expert
Community Expert
February 16, 2025
quote

Another option is to put the layer into a group, then apply a layer mask to the group and apply the gradient mask to the group.


By @Stephen Marsh


Yes, this is the way I always do it, and I do this a lot. Ctrl+G is one of my most used shortcuts, for this reason.

Stephen Marsh
Community Expert
Community Expert
February 16, 2025
quote
quote

Another option is to put the layer into a group, then apply a layer mask to the group and apply the gradient mask to the group.


By @Stephen Marsh


Yes, this is the way I always do it, and I do this a lot. Ctrl+G is one of my most used shortcuts, for this reason.


By @D Fosse


For completeness, one could also convert the layer to a smart object, then apply a gradient layer mask, however, that's a lot of overhead compared to simply using a group.

Trevor.Dennis
Community Expert
Community Expert
February 16, 2025

Click on the mask to reveal Mask Properties in the Properties panel, and adjust Feather.

Trevor.Dennis
Community Expert
Community Expert
February 16, 2025

Do you know that Alt clicking the mask shows just the mask full screen.  This can make it easier to seen what the mask looks like.  Alt click again to toggle back to normal.