Answered
Blending clipping masks
- September 21, 2022
- 4 replies
- 1320 views

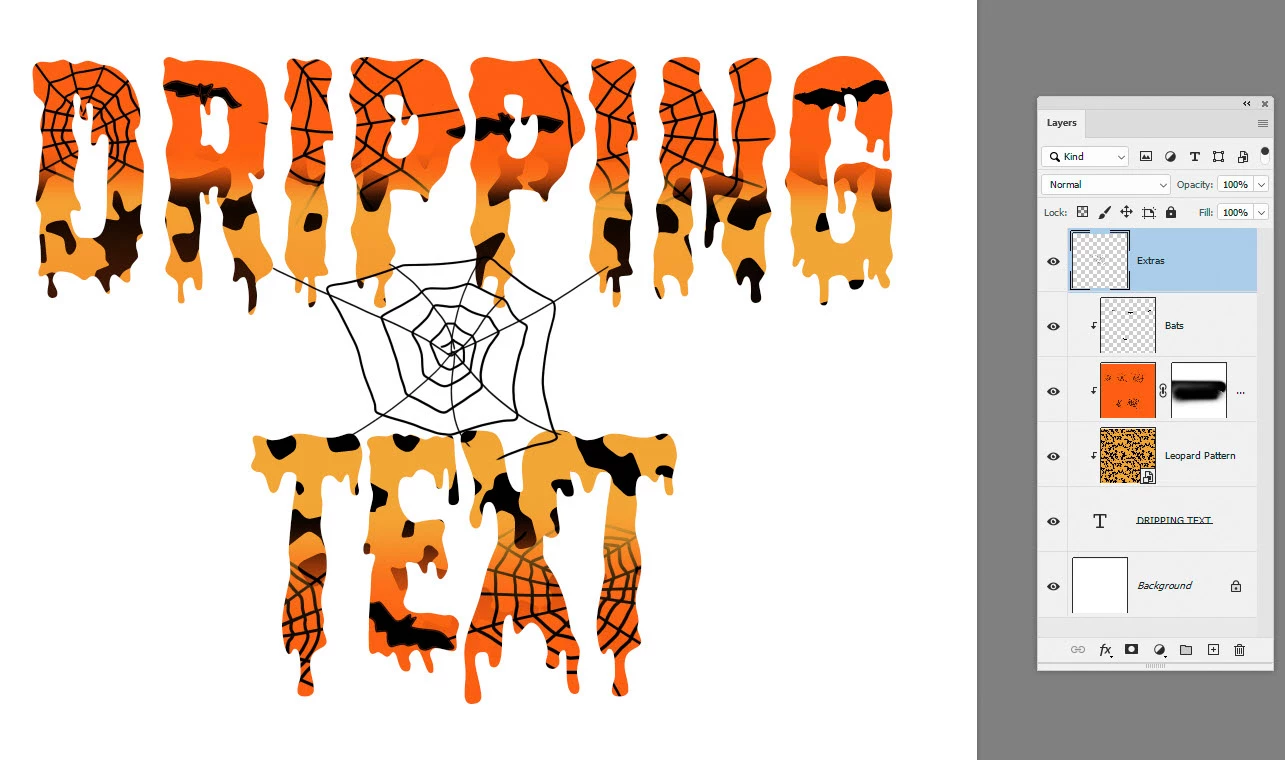
Very quickly - something like this. Note the mask on the middle clipped layer
Dave
Already have an account? Login
Enter your E-mail address. We'll send you an e-mail with instructions to reset your password.