Participating Frequently
June 10, 2017
Answered

Brochure template design

  • June 10, 2017
  • 1 reply
  • 4866 views

Hello!

there are tonnes of mock-ups out there that are great!

With some one can easily do things like

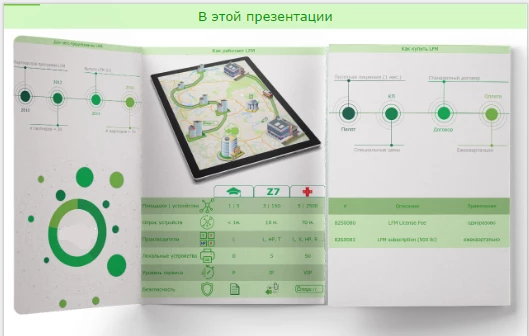
(Double-Gate-Fold-Brochure-Vol3-PIXEDEN)

Sometimes though you have a particular thought in mind and cannot find a template of your dream.

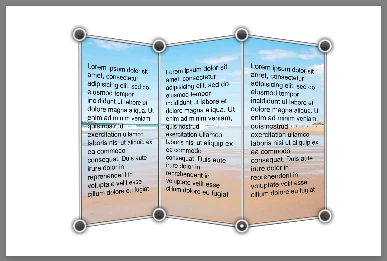
So, the Q goes. How to create a template? Again, youtube full of videos on how to use an already created mock-up or videos that claim to teach you but fails to deliver (e.x. Design A Polygon Tri Fold Brochure Cover Photoshop Tutorial - YouTube  ). I watched it but have no idea how to make the design folded and 3d-like (see that nice transition from the 5th to the 7th second of the video)

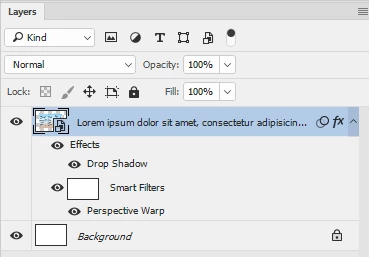
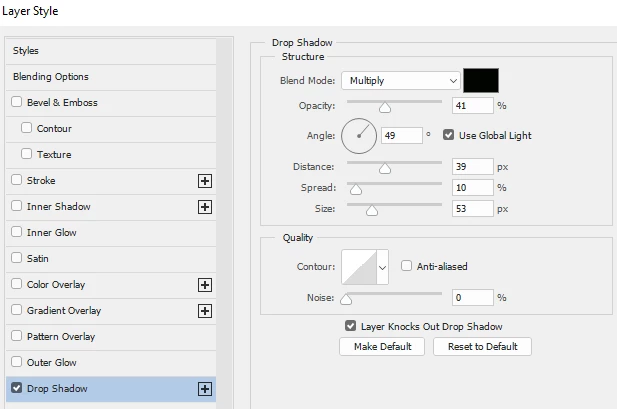
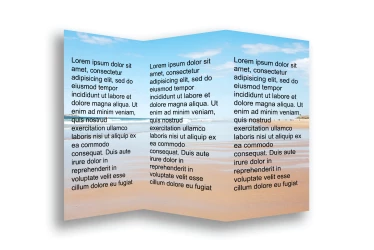
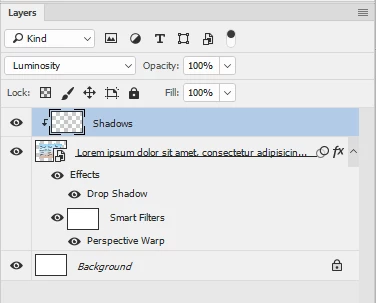
So, what I would like to use is a tutorial on how to create a mock-up template from scratch. How to fold, add shadows, make a brochure look real.

    This topic has been closed for replies.
    Correct answer davescm

    Here is a very quick way that you can adapt as needed.

    Starting with a flat mock up - in this case just a picture with three text boxes

    Select the image and text layers (not the white background) and right click and Convert to Smart object.

    With the Smart object layer selected Go to Edit Perpective Warp and add Layout grids in 3 sections

    Switch to Warp and pull the handles

    Tick in the options bar to make the changes

    Right click on the layer and in Blending options - layer styles add a drop shadow

    Add an empty new layer above the smart object and Alt Click on the border between the two in the layers panel so that it clips to the layer below ( a small downward arrow will appear).
    Set the blending mode of this layer to luminosity

    Make a rectangular selection over the centre "page" then paint with a soft black brush set to low opacity onto the new layer added above - this will paint a shadow

    A few more shadows and that is it

    You can modify this however you wish. Hopefully this gets you started

    Dave


    Before I deleted the file from the last post I also used an alternative approach.

    This time I made a 3D extrusion in the shape of the leaflet and dropped the leaflet layout  smart object from the last post onto the extrusion material.

    This time the 3D lighting took care of the shading.

    The magnifying glass was a model I made for another post answer. I decided to use it again before I deleted it 
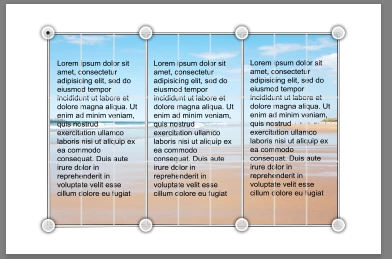
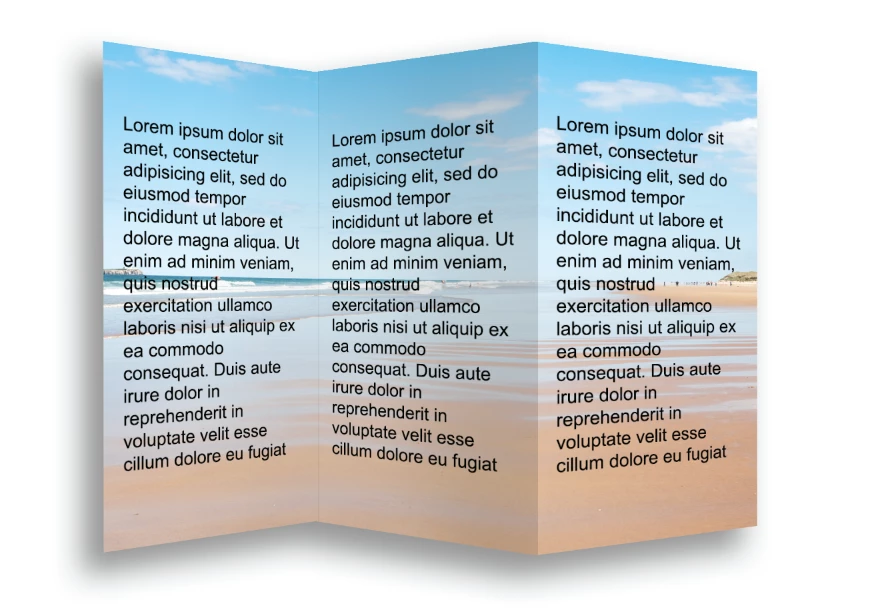
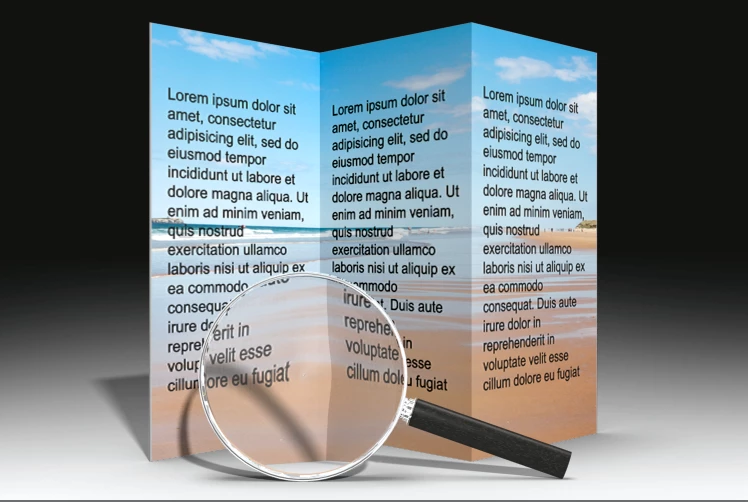
. The point being you can add objects around your mock up leaflet to make it look real.

    Dave

    1 reply

    Derek Cross
    Community Expert
    Community Expert
    June 10, 2017

    The best Adobe application for producing a brochure is InDesign. The images can be optimised in Photoshop.

    This Lynda.com online video tutorial shows you how: Designing a Brochure (you can a 30-day free trial).

    Participating Frequently
    June 10, 2017

    Thank you, Derek! But there is a catch, unfortunately.

    All those videos teach how to create a brochure for printing. What I'd like to get is a mock-up that imitates a brochure printed, I don't really intend to create a real brochure on paper.

    Here is an example Free-Tri-Fold-Mockup-PSD-File.psd 25 (unhide Ungroup, RGB8) (158 kb) 2017 г. Joxi That psd file has 4 smart objects to create a picture of a printed brochure, but the mock-up itself is not quite right and I have no idea how to change it. When trying to move it level by level all the shadows get mixed up

    1497103061447 (237 kb)  2017 г. Joxi

    My goal is to learn how to create a similar psd.

    davescm
    Community Expert
    Community Expert
    June 10, 2017

    Here is a very quick way that you can adapt as needed.

    Starting with a flat mock up - in this case just a picture with three text boxes

    Select the image and text layers (not the white background) and right click and Convert to Smart object.

    With the Smart object layer selected Go to Edit Perpective Warp and add Layout grids in 3 sections

    Switch to Warp and pull the handles

    Tick in the options bar to make the changes

    Right click on the layer and in Blending options - layer styles add a drop shadow

    Add an empty new layer above the smart object and Alt Click on the border between the two in the layers panel so that it clips to the layer below ( a small downward arrow will appear).
    Set the blending mode of this layer to luminosity

    Make a rectangular selection over the centre "page" then paint with a soft black brush set to low opacity onto the new layer added above - this will paint a shadow

    A few more shadows and that is it

    You can modify this however you wish. Hopefully this gets you started

    Dave