Correct answer davescm

Thanks for guiding me to vector shape possibilities in adobe library.  I'm still getting some glitches, which I'll research. 

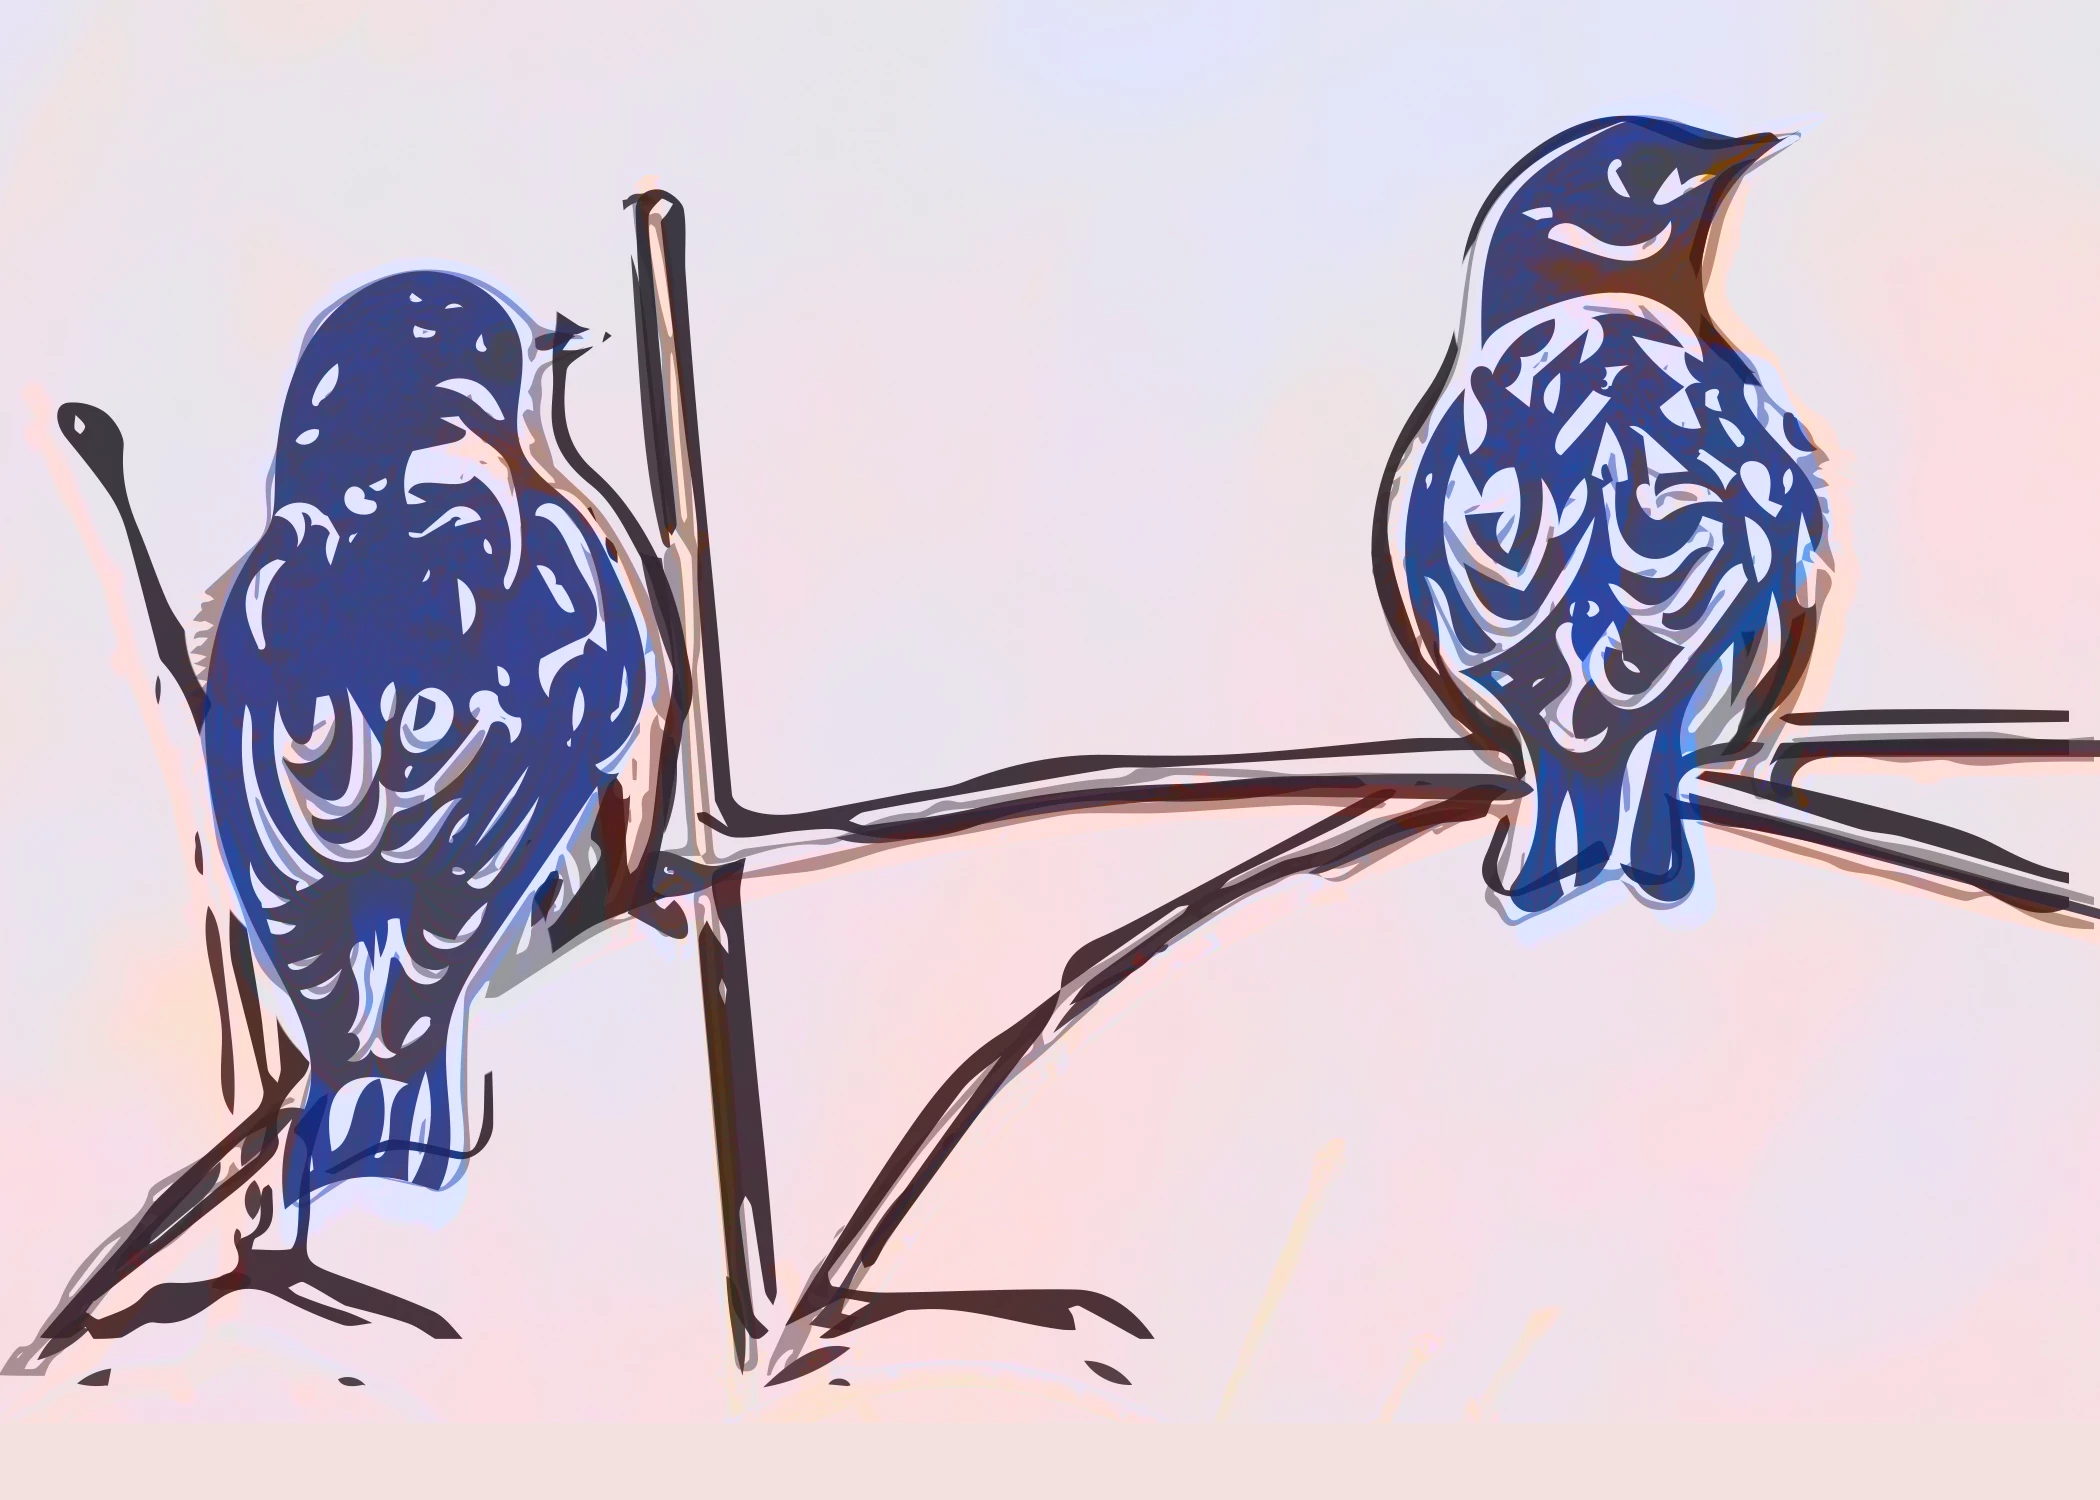
I see how she stacks contrasting vectors. But I can't understand how the shapes turn colors immediately after she stacks them. I got this with clipping masks, which didn't flow like hers. I was a little lose aligning the layers, but didn't mind the effect. The red/brown color came from the original on top then a pink fill mask below. 


Just an aside, but you can also use Adobe Capture directly within Photoshop., although it is a well hidden feature.

With an image open in Photoshop, turn on the libraries panel (Window>Libraries) then click on the + symbol at the bottom of the panel. A small menu will open and the top item in that menu is 'Ca Extract from Image'.  That is Adobe Capture. 
You can process the capture and when done, it saves your capture to the library and you can drag it back into your image, where it appears as a new shape layer.

Dave

2 replies

Conrad_C
Community Expert
Community Expert
June 7, 2025

It’s a fast video, but that’s typical of time-lapse videos by creators found all over the web. They’re meant more to be technique demos, not step-by-step tutorials. To figure out the steps below, I didn’t slow down the video. It was more useful to manually drag the playback slider so I could stop at any point and move back and forth frame by frame to look closer at the sequence.


Looks like it went something like this:

1. Started from the Adobe Capture app on a phone.

2. Loaded a photo from Adobe Stock.

3. With the image loaded in the Shapes module of Capture, she used a threshold sort of slider to reduce the levels, creating a posterization effect. I’m not sure what they call it because it’s just an icon, the first one you see at the top after tapping the color palette icon. It’s meant to help simplify a photo down to a line art type of graphic. 

4. Did step 3 multiple times in different ways, isolating different levels. 

5. Saved the 3 versions of the image to Creative Cloud Libraries.

6. Moved to her computer, opened Photoshop, and loaded those three Libraries items into one Photoshop document, then manually aligned them. 


At this point, if you were only working in Photoshop, you could have done steps 1 through 6 in Photoshop. For example you could have three layers that are duplicates of the same image, and you could extract and posterize different tonal ranges using a Threshold or Gradient Map layer.


But the Capture app can be very handy for “sampling” images, patterns, colors you see as you walk down the street. The app‘s usefulness is under-appreciated, and this is an example of how you can use Capture to work on an idea anywhere and send it to desktop Photoshop for more careful work later.


7. Used another layer to colorize the posterized images. 

8. Started doing more local work, such as colorizing a single image layer differently by applying a solid color fill layer as a clipping mask. I like this technique because it makes it so easy and fast to change solid colors. Sometimes it’s better to use one of the Overlay layer styles instead, such as Color Overlay.

9. Added some manually drawn details using shape (vector) layers, and by bringing in other assets stored in Creative Cloud Libraries. 


Like many time-lapse style demo videos, it’s not a good video for teaching beginners, but it’s good for learning about someone else’s personal workflow for those who already know how some of those features work.

Missbee
MissbeeAuthor
Known Participant
June 7, 2025

Conrad, thank you so much! I've seen many discussions about converting raster images to vectors, and Adobe Capture seems like the easiest solution. Threshold makes it difficult to pull three levels of detail, and Capture seems to fill the bill. (I did notice that "select color range" offers selections for highlights, midtones and shadows, though I couldn't integrate that into the flow. I'll try this with Adobe Capture.

Missbee
MissbeeAuthor
Known Participant
June 9, 2025

Thanks for guiding me to vector shape possibilities in adobe library.  I'm still getting some glitches, which I'll research. 

I see how she stacks contrasting vectors. But I can't understand how the shapes turn colors immediately after she stacks them. I got this with clipping masks, which didn't flow like hers. I was a little lose aligning the layers, but didn't mind the effect. The red/brown color came from the original on top then a pink fill mask below. 


Trevor.Dennis
Community Expert
Community Expert
June 5, 2025

Blimey, that video whips along like one of Elon's rockets, just before it has a Rapid Unscheduled Disassembley event. 

There's no commentary, just heavy music, so I suggest you hit the Settings cog (bottom right corner) and set it to half speed.  Then tap the space bar to pause and restart.  If you get stuck at any point, come back and ask.  That's going to take people here a lot less time than go through the entire process.


Good luck, and be sure to show us what you create.


Missbee
MissbeeAuthor
Known Participant
June 6, 2025

Thanks, Trevor. Unfortunately slowing it down (thanks for that) doesn't show what the creator did. I comprehend they used some filter for light, medium and dark layers, but can't find anything to recreate that effect. Threshold doesn't give me the detail.
Then they lose me stacking the layers, blending and masks.  
Full disclosure, I'm trying to use it for bluebird rather than human faces.