Participant
June 5, 2018
Answered

color matching

  • June 5, 2018
  • 3 replies
  • 1260 views

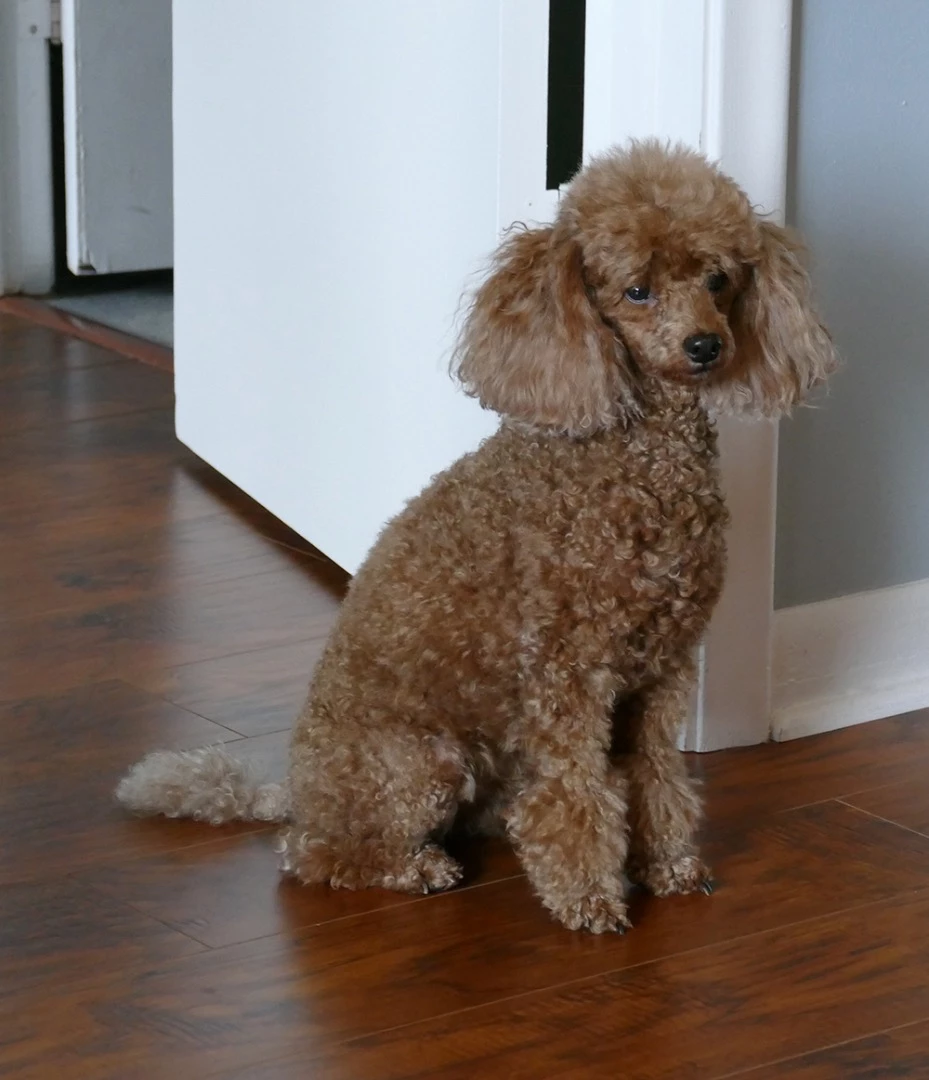
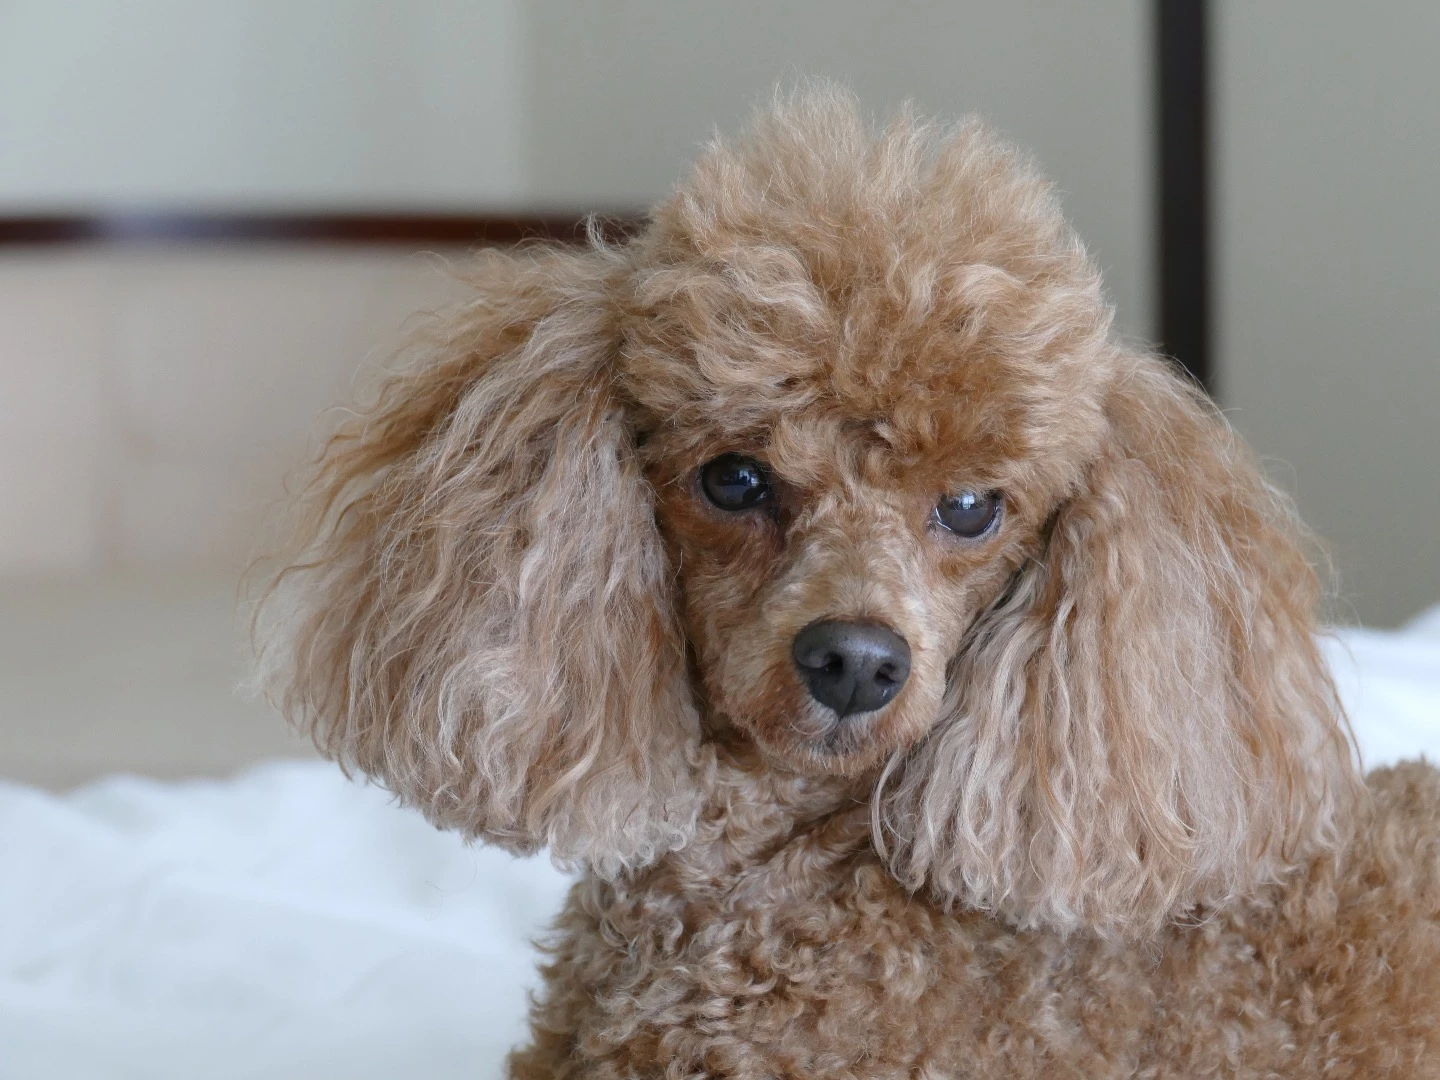
The top picture represents the true colors of the dog. The bottom picture is a bit overexposed and is washed out.

Is there a way to get the true colors into the bottom picture?

This topic has been closed for replies.
Correct answer Bob_Hallam

To make this change easily and without masking and all the messy bits, simply open both images in Camera Raw from Adobe Bridge. 

This way you can look at the good image and make the adjustment to fix the not so good one. 

In the not so good dog, the difference is white balance and that the highlights are a bit over exposed washing out the color of this doggie.  To change that I added yellow in white balance slightly.  Thendropped luminance on oranges and made a slight hue adjustment.

Here's the result

3 replies

Bob_Hallam
Bob_HallamCorrect answer
Legend
June 6, 2018

To make this change easily and without masking and all the messy bits, simply open both images in Camera Raw from Adobe Bridge. 

This way you can look at the good image and make the adjustment to fix the not so good one. 

In the not so good dog, the difference is white balance and that the highlights are a bit over exposed washing out the color of this doggie.  To change that I added yellow in white balance slightly.  Thendropped luminance on oranges and made a slight hue adjustment.

Here's the result

ICC programmer and developer, Photographer, artist and color management expert, Print standards and process expert.
Norman Sanders
Legend
June 6, 2018

Column on the left:  Source image.  Column on right the right: target image

Source:

1. Original image

2. Selection of dog, placed on separate layer. Select dog: Filter > Blur :> Average. Info Panel: Note RGB values.

3. Copy of Fig 2

4. Copy of Original

Target:

1. Original image. Duplicate the layer

2. Selection of dog, placed on separate layer. Select dog: Filter > Blur :> Average

3. Color Sampler Tool. Info Panel: RGB readings.

Curves: Cmd+Shift click on image marker to put mark on Curve. Using the using the north/south keyboard arrow keys and with the Info Panel as reference alter the target RGB numbers to match the Source value numbers.

4. Turn off the Average layer, the Cmd+Alt+M to replicate the corrected Average Curve on the actual image.

5. Result will be too dense because of a difference in image original local contrast and tonal scale in addition to a difference in color. Adjust the Opacity slider (to about 40%) for a closer match to the Source image.

Community Expert
June 5, 2018

I did this with the image by duplicating the image in another layer, setting it to Multiply and at 60% opacity

Or you could tweak things like Curves (image>adjustment>curves)  like I did in this one

its all a matter of tweaking things like that and see what works for you

Participant
June 6, 2018

Thanx for the help.

Any suggestions as to where in curves to start?

Thanx again.

Ares Hovhannesyan
Community Expert
Community Expert
June 6, 2018

You can also use Match, replace, and mix colors in Photoshop  match color panel.  I use it often