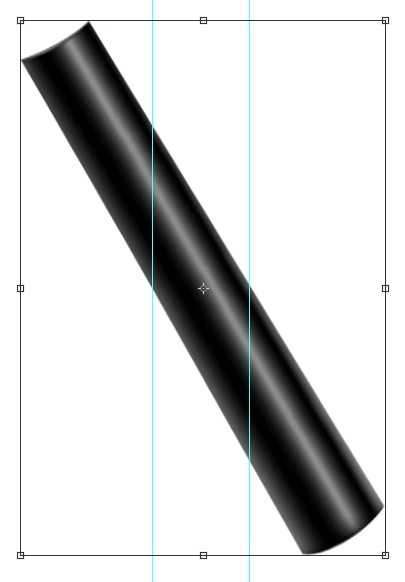
It's usually best to start with your shape in a vertical or horizontal alignment, and made into a Smart Object. This lets you make multiple Free Transform operations keeping the handle in the corners.
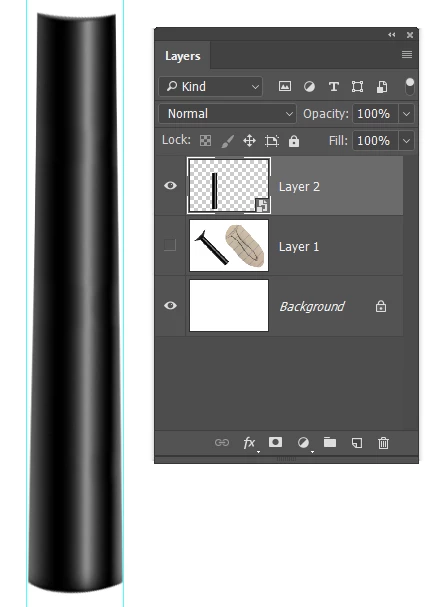
Smart Object
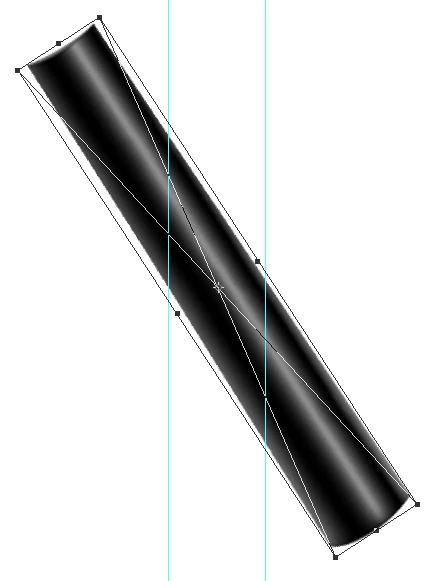
Ordinary layer after the first transformation. A real bummer to Transform again.
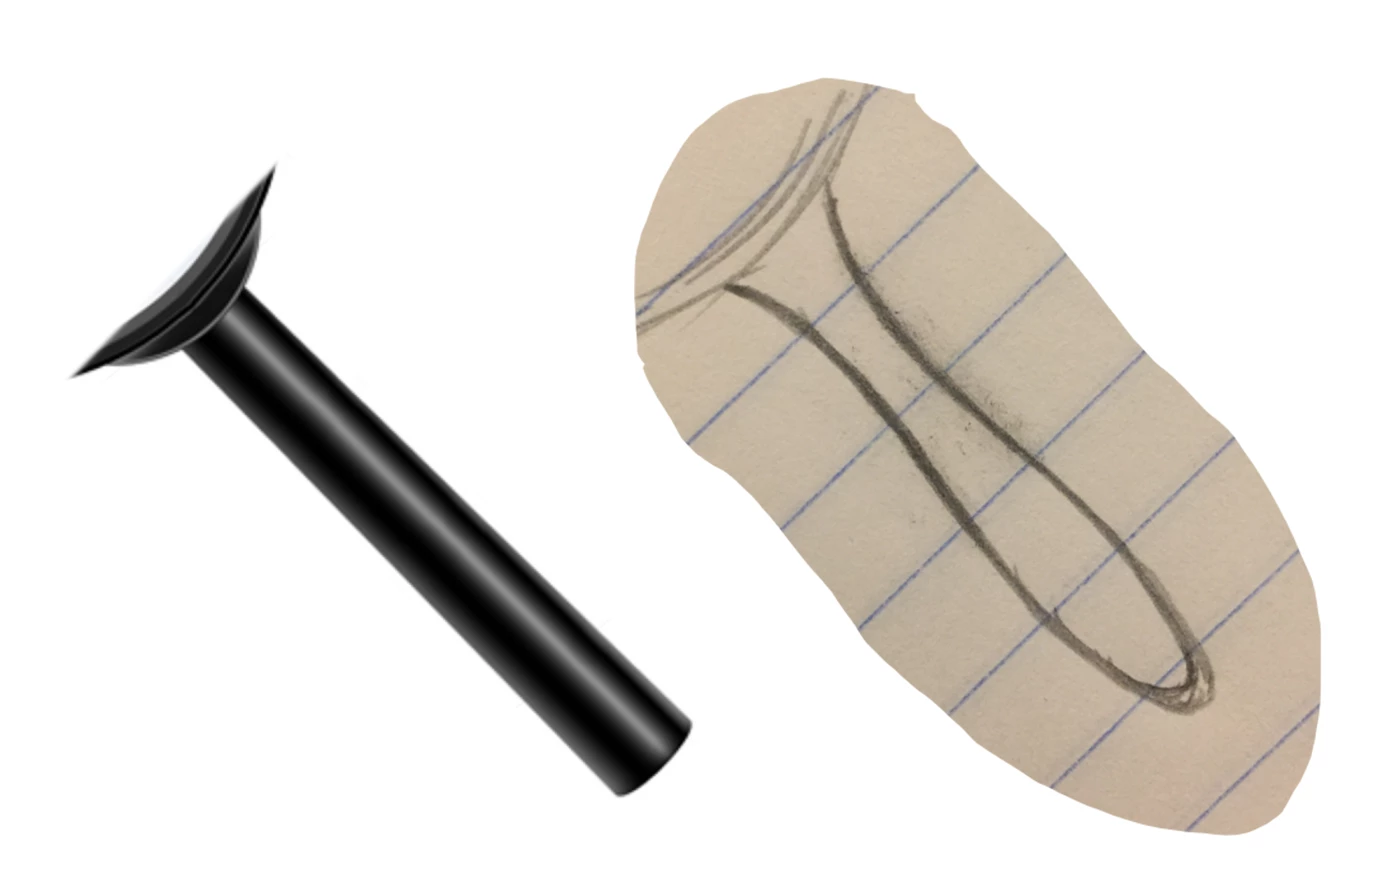
I think we'll need to do this in two stages, so I have copied the Smart Object again. Then
Free Transform > click on the Warp icon in the Options bar (red highlight) > use the drop down (cyan) and chose Fish.
If you start with a vertical orientation you'll need to toggle that (green highlight).
Use the handle to control the degree of warp
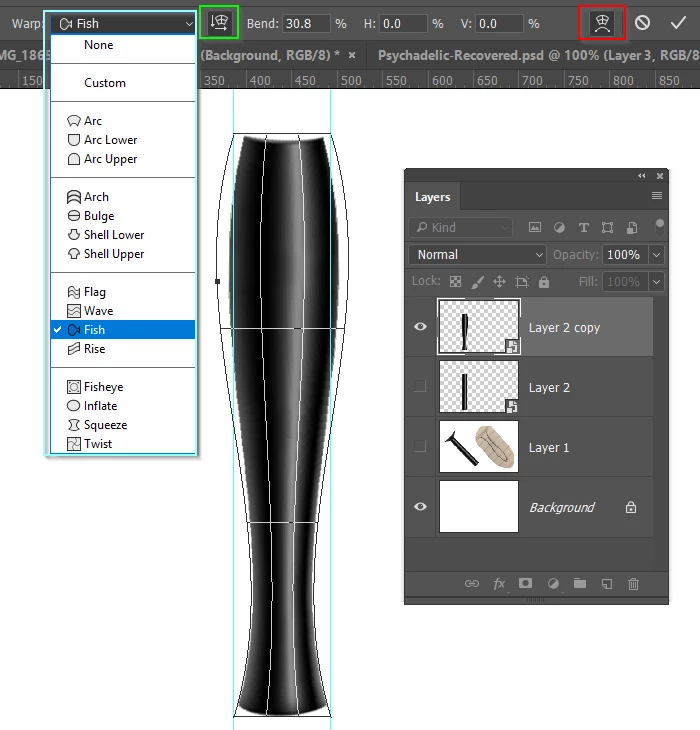
Fingers crossed because I am not sure this will work 
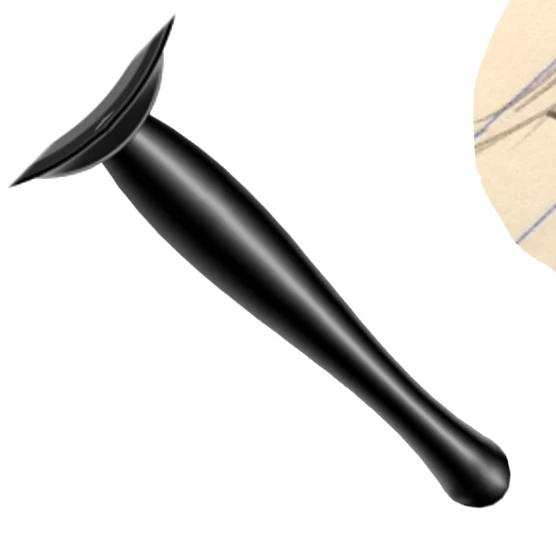
It's looking OK. FT the first copy of the Smart Object, and choose Warp > Bulge. I left the already layer turned on so you could see if it matched.

Combine the two layers, fine tune with layer masks. I also used the smudge tool to smooth the transition a bit more.
Then rotate to fit the magnifying glass bezel.