lesbarr
Participating Frequently
June 16, 2018
Question

Editing Infrared Images with Photoshop CC

  • June 16, 2018
  • 2 replies
  • 1168 views

Dear Photoshop:

For quite some time now, I have been trying to get a Blue Sky and White Folige using my Photoshop CC Channel Mixer.  I have even down-loaded instructions on how to swap the channels, but for some reason I am not doing something right.  I just can't seem to get a Blue Sky and White Folige!  I.m doing something wrong, and I know it.  I am about ready to give up on this Infrared thing, but not quite yet.  I'm going to enclose the Image taken with my Nikon D7000 using a IR Filter from Opeka.  Maybe someone out there can show me how to do this.  You are welcome to use the Image for what is needed.
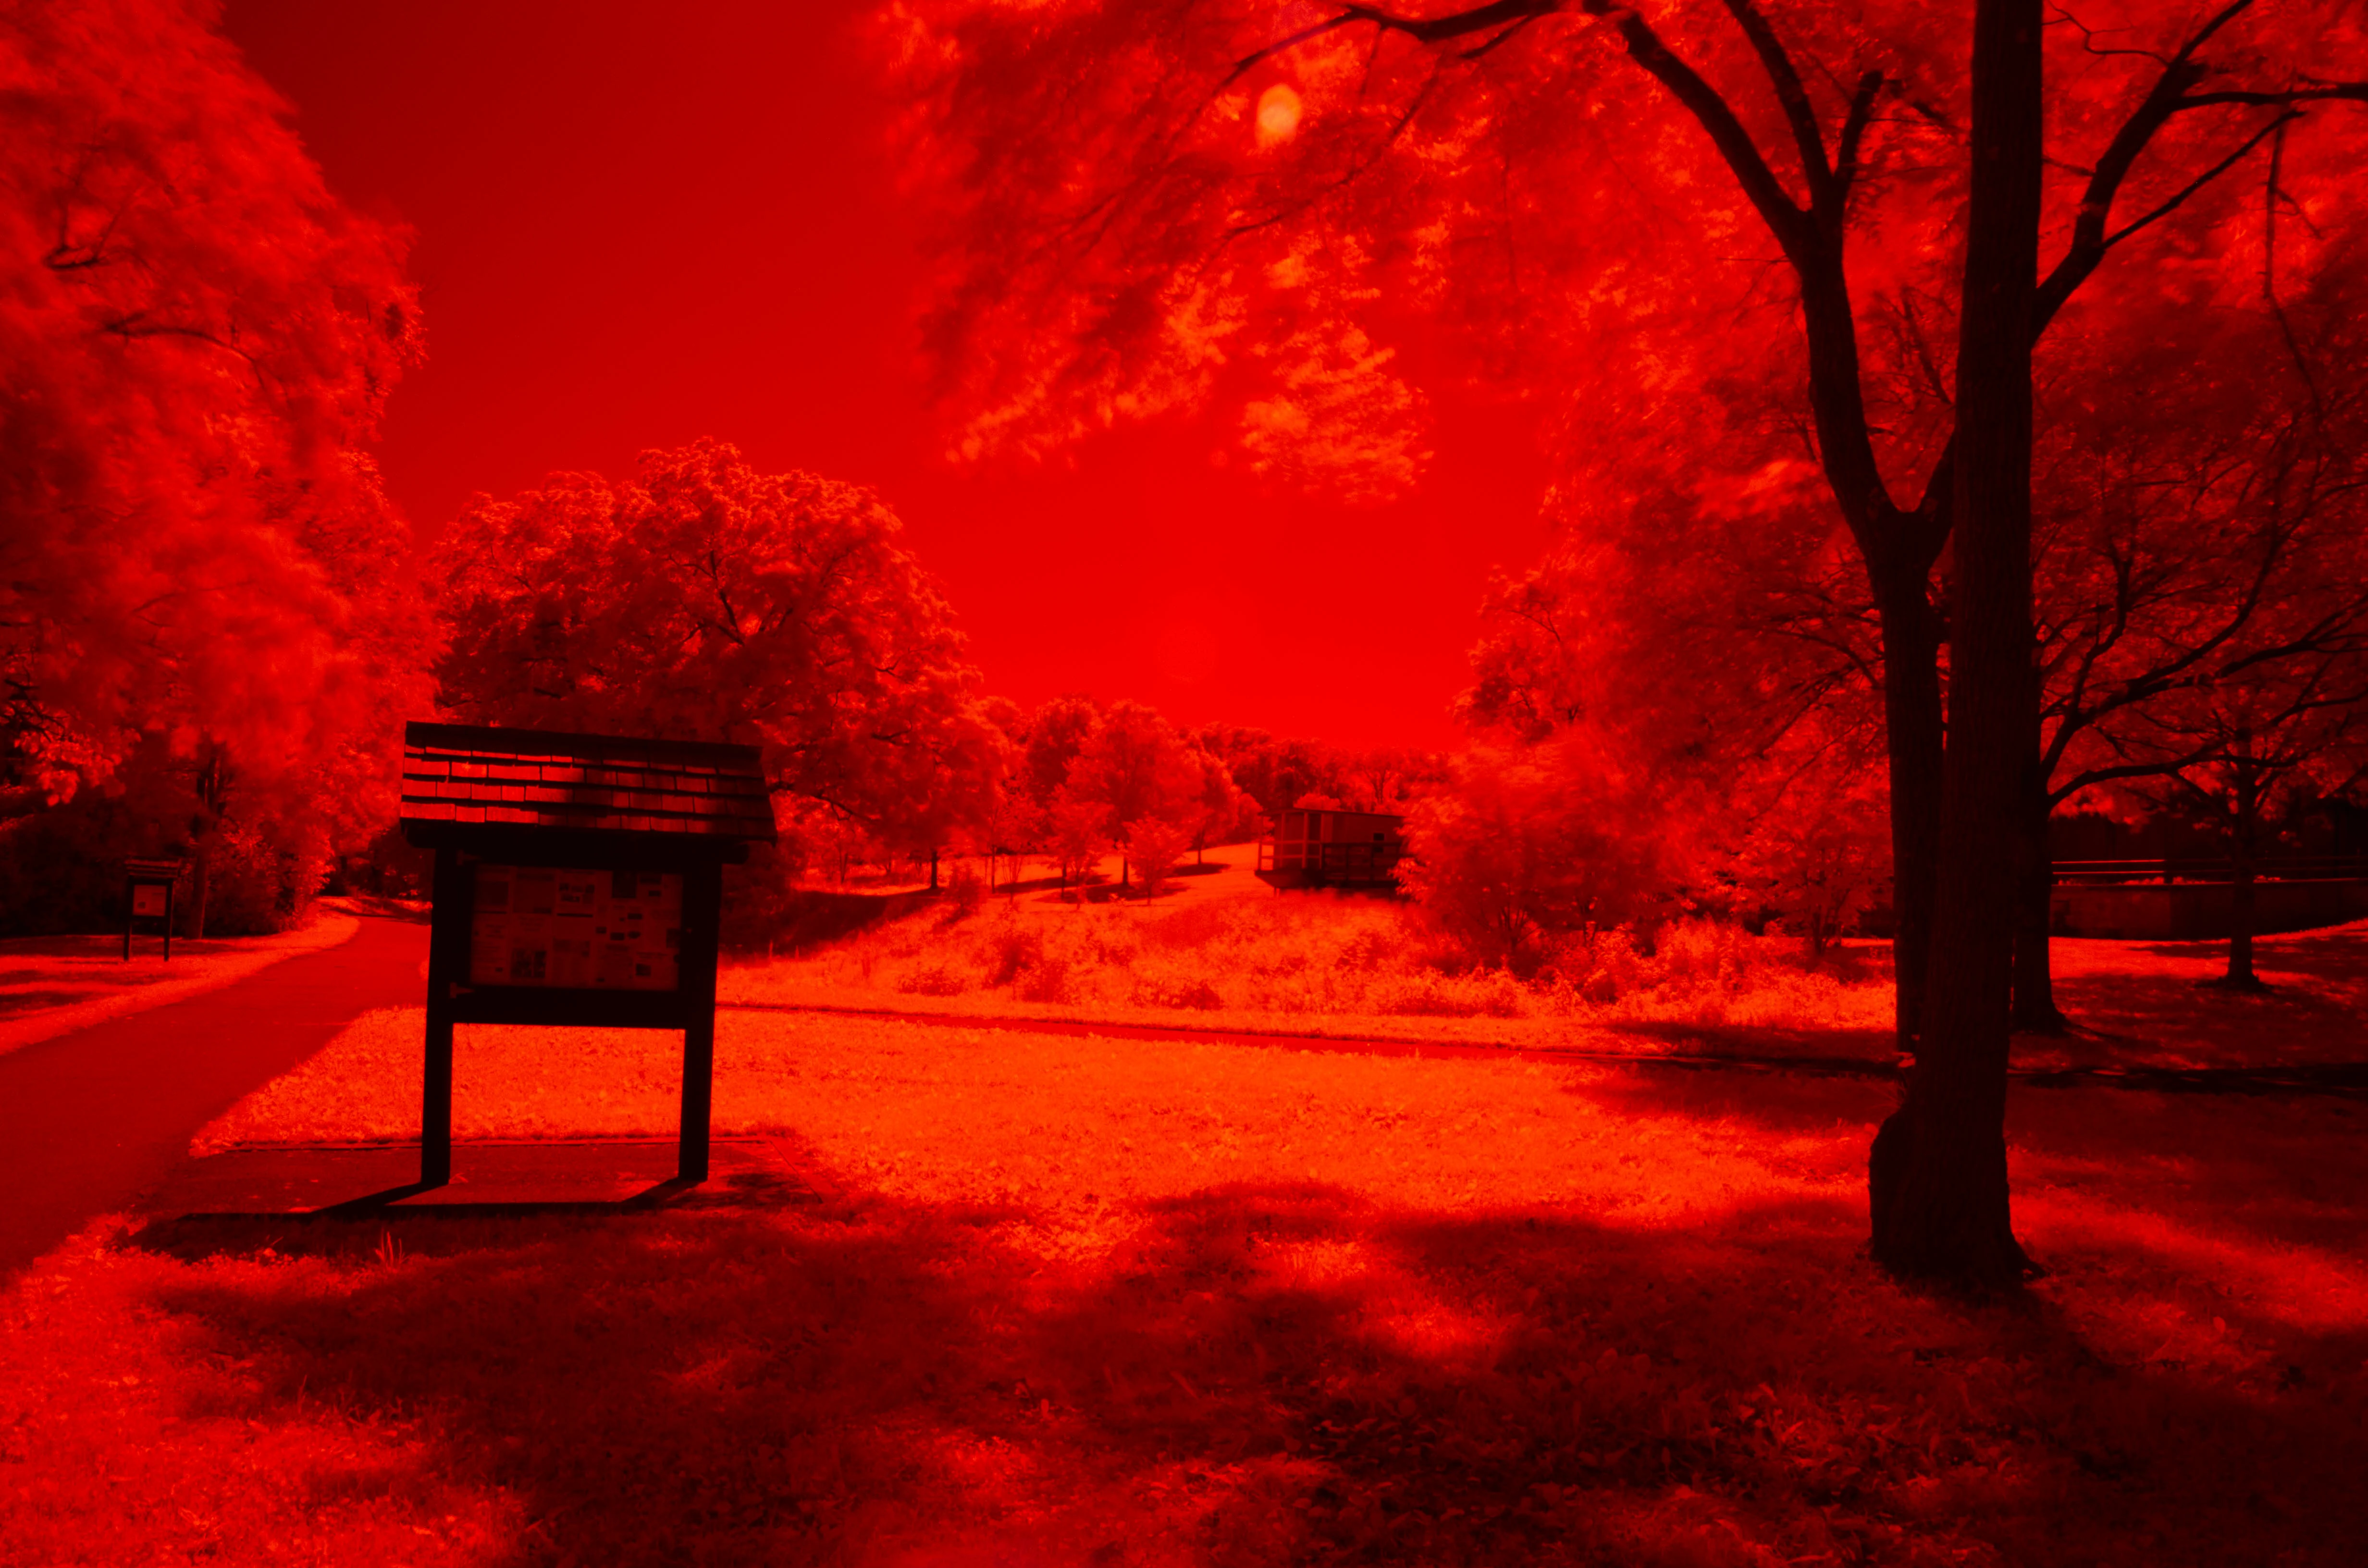
Thank you so very much for any help in this.

Les Barr  email removed

This topic has been closed for replies.

2 replies

lesbarr
lesbarrAuthor
Participating Frequently
June 17, 2018

Thank you for your reply.

I had set the camera for a DNG Image and put it on Bulb Mode.  Using a Tripod and a remote shutter, I opened the shutter for 30 sec. I'll try it on Camera Raw.

Semaphoric
Community Expert
Community Expert
June 16, 2018

Are you shooting RAW  (.NEF) or JPG? The Blue channel of the image you posted has no values more than 32, and is very noisy (as the Blue channel often is). I don't see any obvious JPG artifacts, so I'm guessing RAW?  I tried adding a Levels adjustment, to bring all three channels to full range, and then swapped the Red and Blue channels. I got something that looked closer to some of the examples I see on the Web, but that noisy Blue channel really gets in the way.

The tutorials I've read mention adjusting the white balance in Camera Raw, and then opening in Photoshop and mixing the channels there. It looks to me like you haven't done this. If you haven't give that a try.

Another thing you could try is increasing your exposure, to get more information in the Blue channel. I used to do this with daylight negative film shot under Tungsten light (without an 80A filter), to bring the Yellow layer(the layer sensitive to Blue light) up out of the Toe of the characteristic curve, so all three layers (C, M, and Y) would have similar contrast. Just be sure you don't up the exposureto the point where the Red channel starts clipping.