Inspiring
May 26, 2018
Answered

Export without crop/trim?

  • May 26, 2018
  • 6 replies
  • 40128 views

Hi,

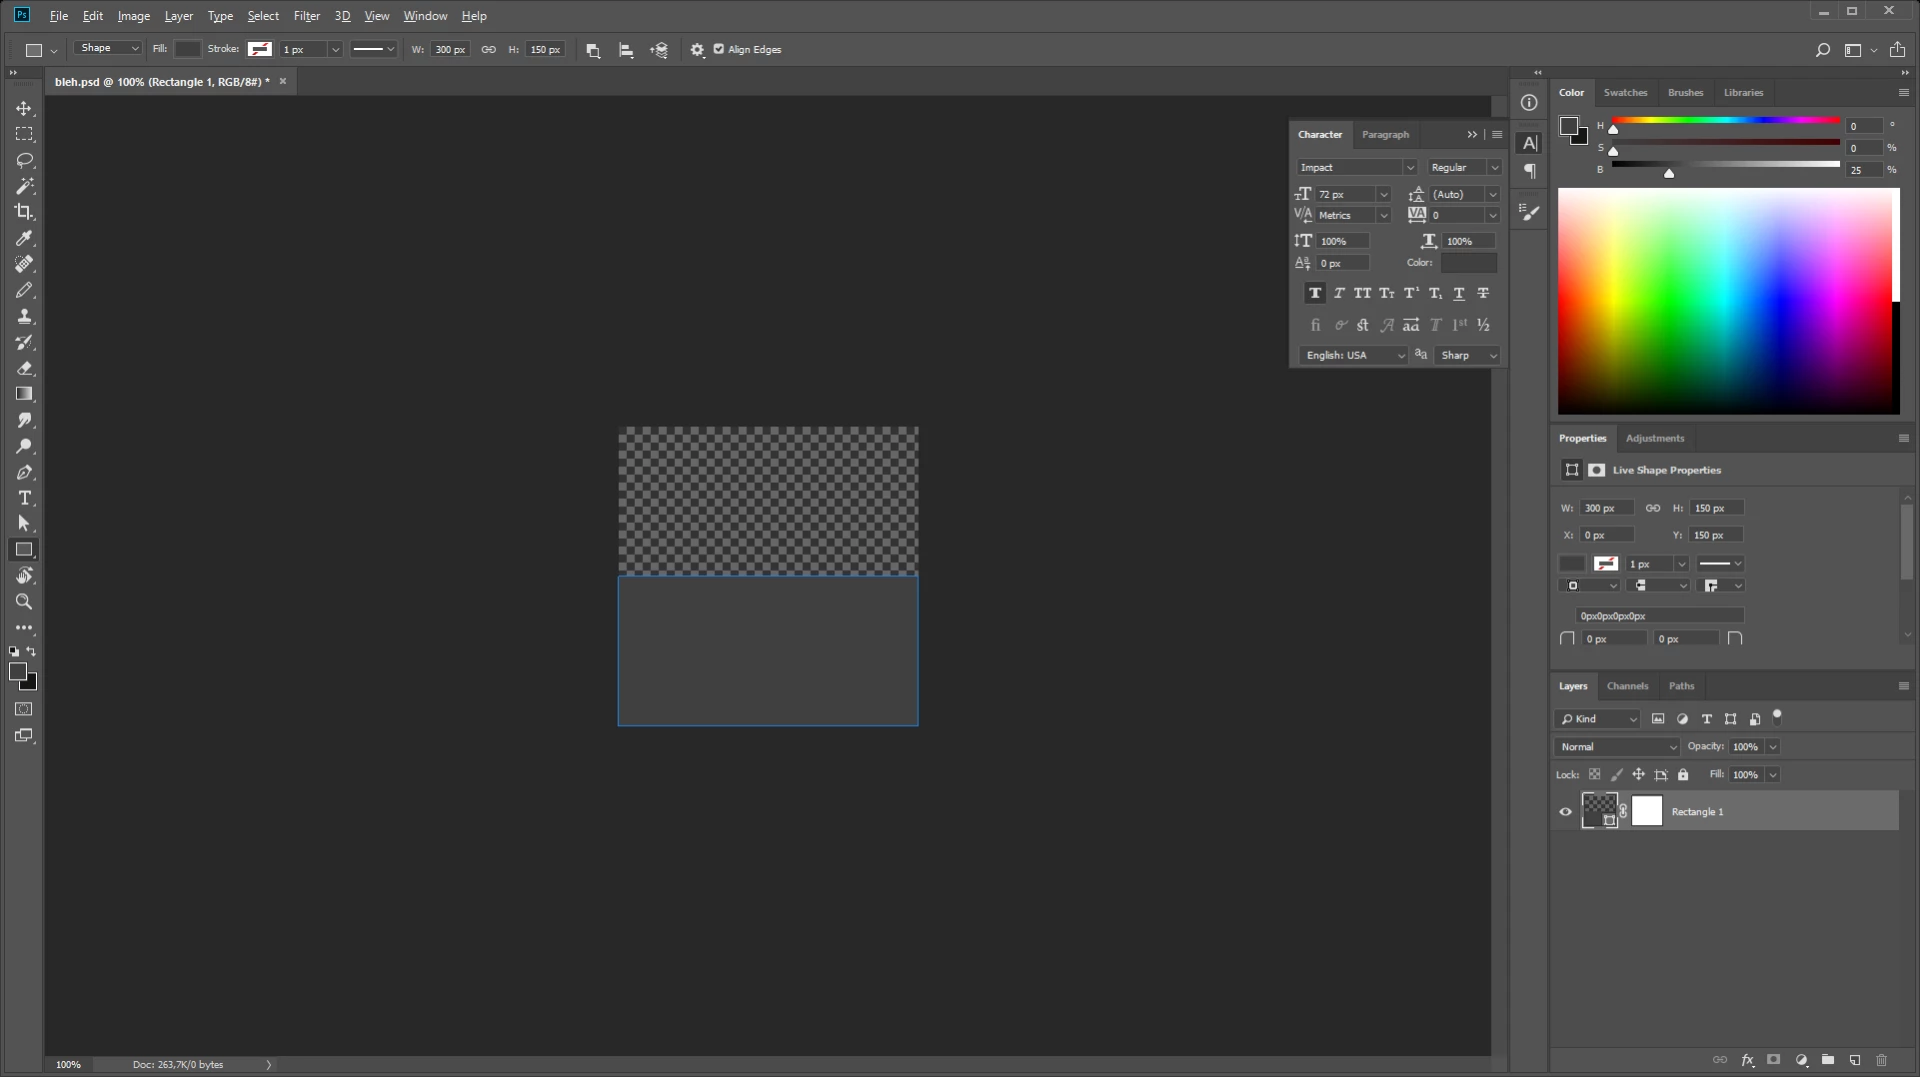
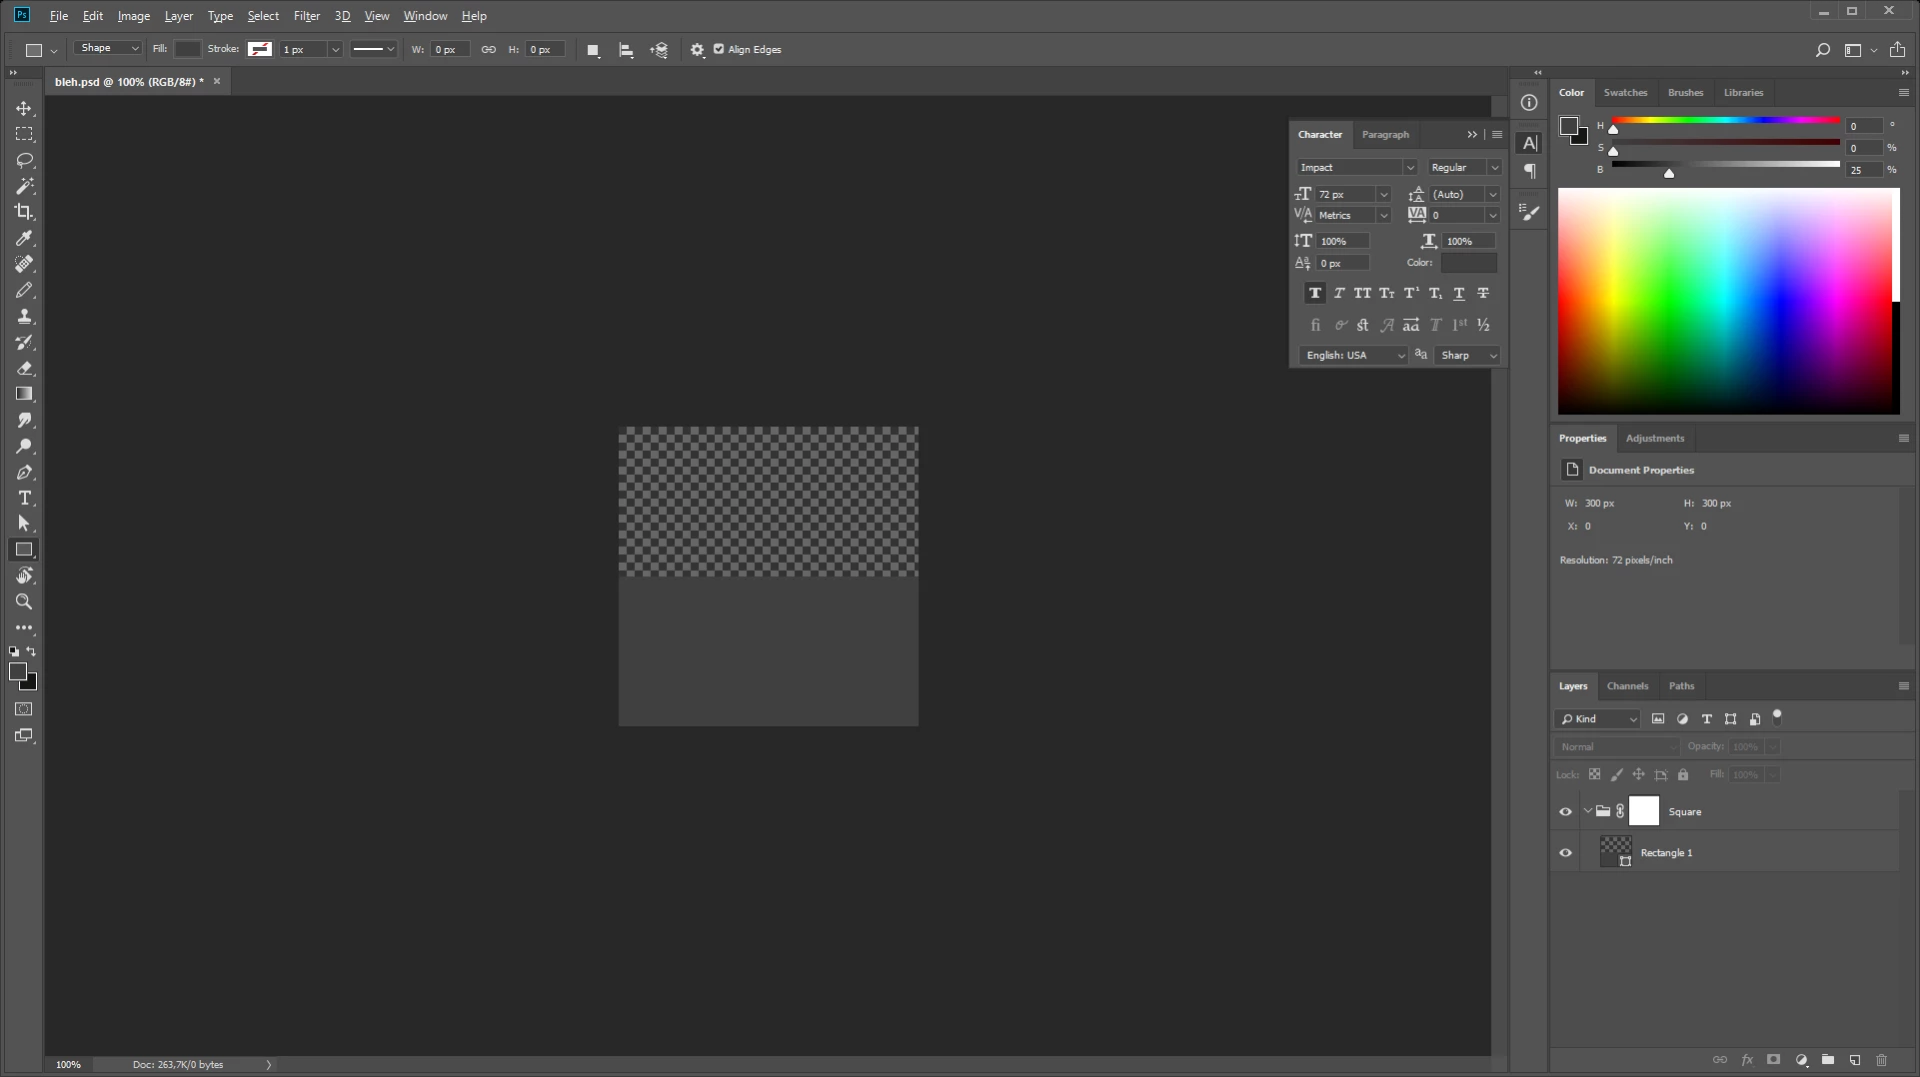
If I create a new image with a transparent layer of say 300x300 pixels and put a white square from half to bottom (x: 0, y: 150, width: 300, height: 150) like this:

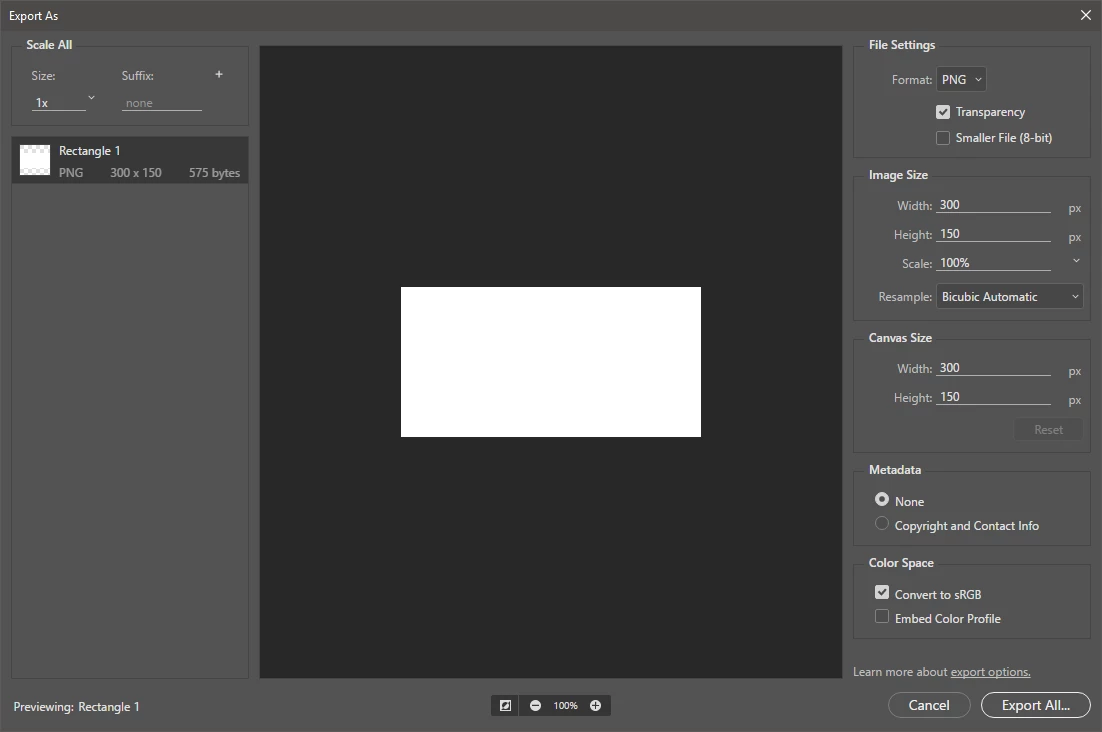
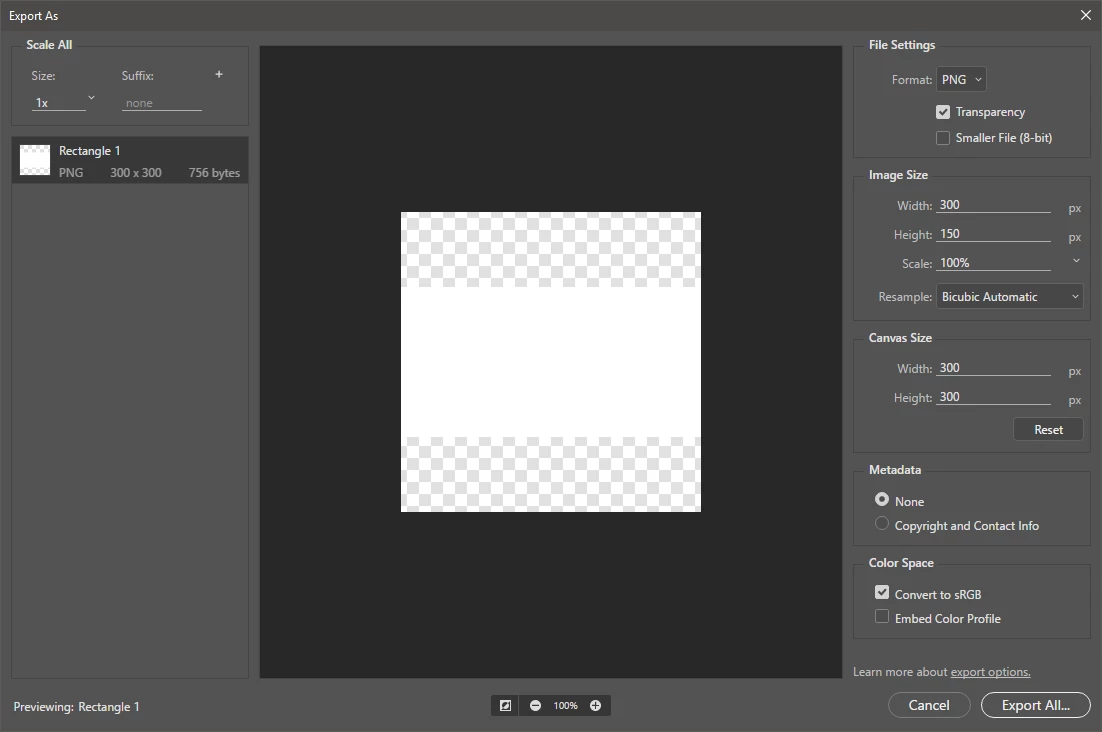
When I export this by right clicking the layer and choose "Export As... " it automatically crops the transparency and will give it a height of 150:

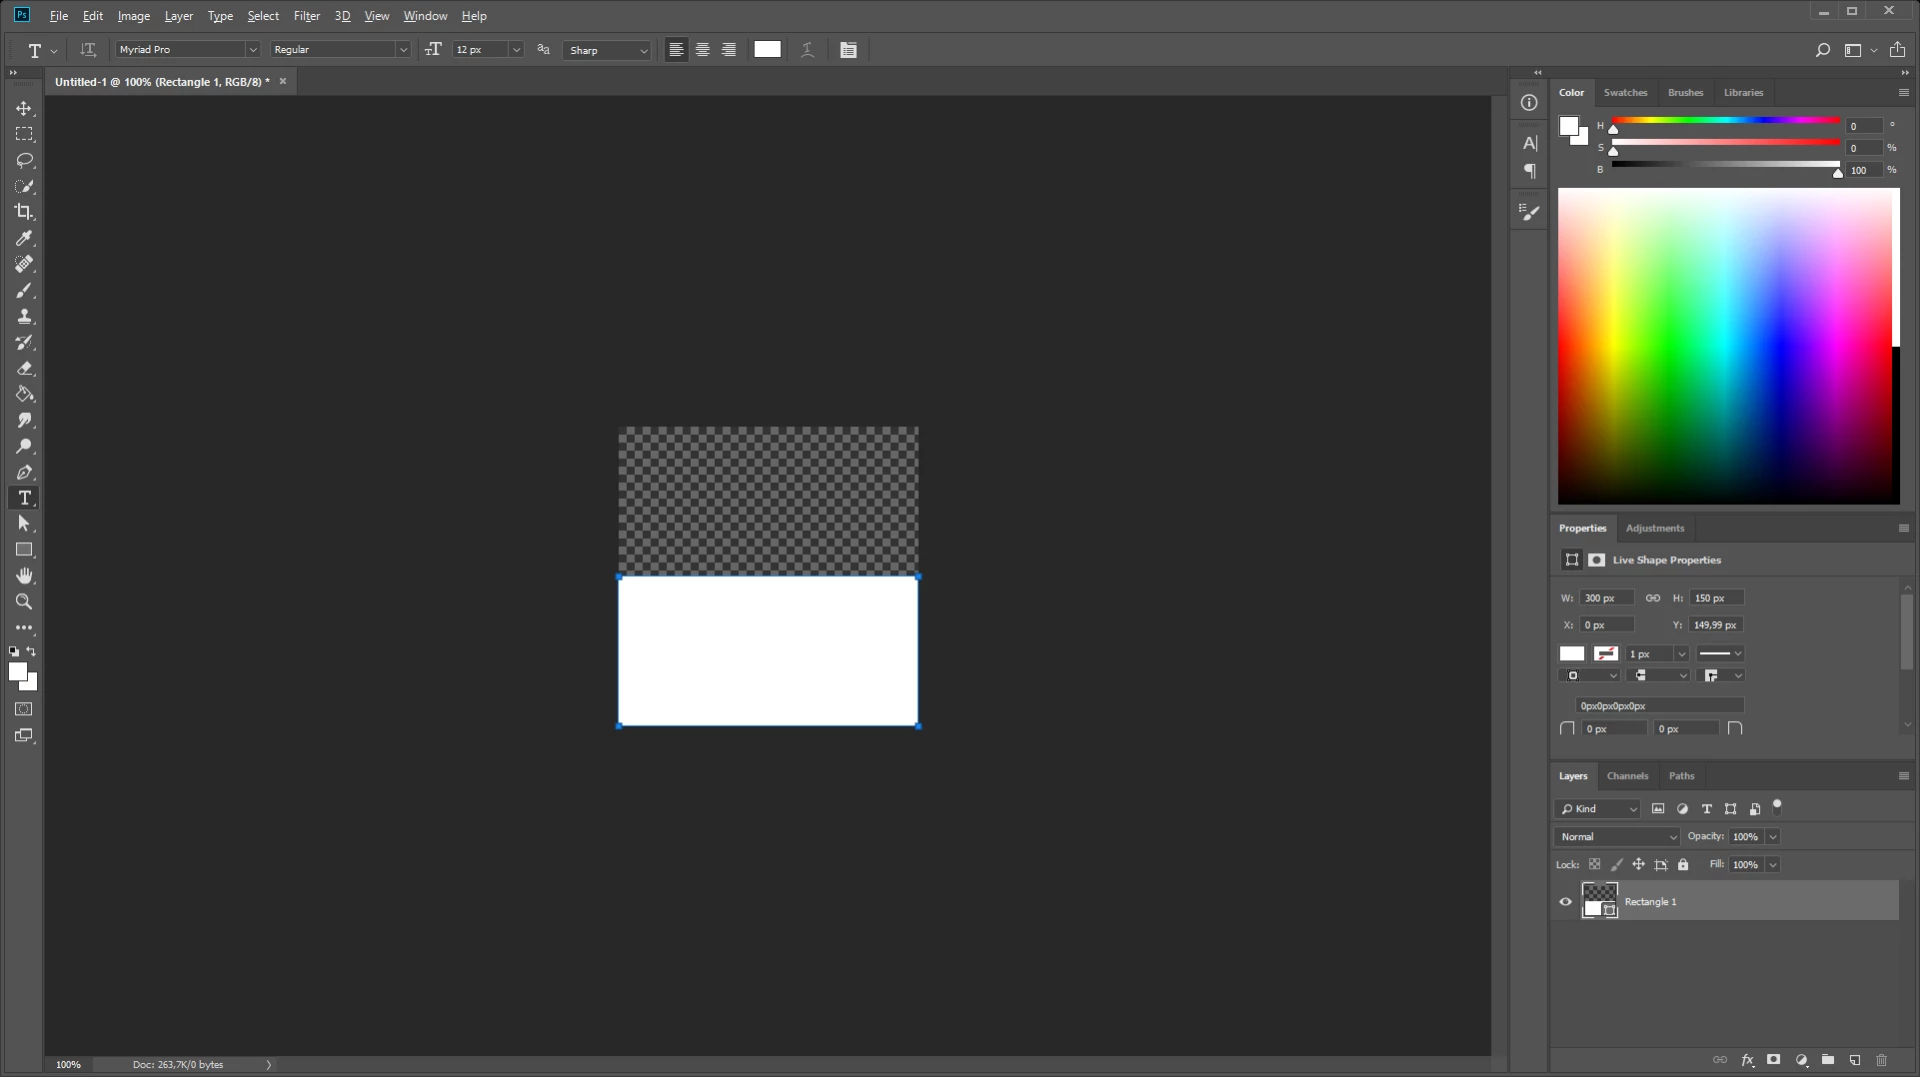
If I then change the height to 300 the rectangle gets centered :S (really?... Why?... Seems silly!)

Why would I want this behavior? It seems absolutely unwanted and frustrating because I have exactly what i want in the editor but when I export things change. Why would you do this,?, If I want something cropped or centered I will do it myself in the editor, there is no need for making this decision for me!!!

The File->Export->Layers To Files dialog has a Trim Layers checkbox to deal with this. But I want to be able to export a lot of groups (not layers) at the same time, this dialog cannot handle that because it can solely export layers and has no regards for groups (this will export all layers in a group, and not just the resulting frame). I fail to see the logic for putting the Trim optional in the layers dialog - which can't export groups correctly - and not having this option in the normal export - which will export the groups nicely, but as said has no trim options. :S

Is there anyway I can turn of the crop/trim of the export? Or is there a way to avoid it from centering? Basically I just want it to be exported as is! For my real work I need the transparent pixels above the square and not centered.!

Thanks a lot for any help on this!

Correct answer AliasMe

If been using flash/animate since Macromedia Flash 4. And i still see problems with masking in the editor the same way as I saw them back then. So they are not fixed or they are regressions. But in my country we have a saying: "niet geschoten is altijd mis", translate: "if you don't shoot, you will always miss".! And perhaps if we as a community give some more pressure on these topics, then perhaps good things will happen.

So i'm keeping my fingers crossed!


Somebody on the feedback.photoshop.com has provided a great solution:

You can put a mask on the root item you wish to export to prevent the Trim from happening: This can be a layer:

Or a group:

Then right the layer or group and choose "Export As...".

6 replies

joej6690064
Participant
December 15, 2023

Masking doesnt work for me. Its infuritating how theres like 19 ways to now export stuff from photoshop, when it used to all be so much simpler. Photoshop has never been intuitive, but they just keep making it worse.

Participant
January 19, 2022

I have the same issue in PS 2022... Though I don't want to save as PNG, but SVG. I'm using legacy export as to get the SVG export option there.


I'm making a font and I have all the letters, numbers and special characters on separate vector layers, positioned carefully on a specific sized canvas with enough transparent space around the letters, so they fit the font creation program's template. Without the trimming I could export all 75+ layers at once, by selecting them and right-click -> exporting, but now I need to export them all separately, which takes insane amount of time.


This has been an issue earlier as well in multiple projects and I can't believe it's still not fixed. It could be handy in other settings surely, but in many cases makes work unnecessarily slow. It could be a checkbox feature.

IanMcIntosh
Participant
May 29, 2021

I was having a similar issue (https://community.adobe.com/t5/photoshop/export-as-automatically-trims-transparent-pixels/m-p/12049067/thread-id/543233#M544541). Based on replies there, I did come up with a solution: Ad a full-sized layer mask to a layer being exported. A mask with all pixels 255,255,255 (fully visible). This "tricks" the interface into thinking those are relevant pixels to export.

Adding barely-visible pixels is not a viable option. Optically invisible pixels are not mathematically invisible, if a computer needs to interpret the exported PNG.

Participant
October 6, 2021

The masking option had been working perfectly for me until the 22.5.1 release. Even with a blank, full page layer mask, the Export As window now trims layers and groups. Anyone found a new fix for this?

Participant
October 22, 2021

YES! This is happening to me as well with the 22.5.1 release. Previously applying the same mask to different layers and then selecting all layers and then "Quick Export as PNG" was a quick way to create PNGs that were all the same size (used for sprites and other CSS animations). Now this version only recognizes the image area of the layer.

Participant
August 5, 2020

Have you tried Layer Comps? Create a comp for each of your layers or combination of, name them as you want the files named, then "File>Export>Layer Comps to Files...", and delete the Prefix and uncheck the Index. This should produce untrimmed images.

Community Expert
October 2, 2019

Just do a File>Export>Save for Web - then export it as a GIF or a PNG to keep the transparency and the image with white on bottom and transparency on the top.


Hope that helps!
mark

headTrix, Inc. | Adobe Certified Training & Consulting
Participant
April 21, 2020

I am having a similar issue. Yes I can do the export / expoprt as dialogue. 


But I want to create a timelapse from hand-held camera photographs. I am using Photoshop to align the photos. 


Saving / exp[orting each one is time consuming. 


If I use File: Generate: Image assets - on the transparency areas are all cropped. 


Is there a way to export all layers without Photoshop cropping all transparent areas?

Participating Frequently
April 21, 2020

EDIT: Testing in Adobe Photoshop Version: 21.1.2 20200410.r.136 2020/04/10: efaf3fa4e40 x64 today, when I am exporting from PSD to PNG, it is now keeping my artboard sizes instead of trimming by default. There still isn't a way to turn it on and off, but perhaps they have changed the default behavior to remove the trimming? 

This test image was exported using export for screens, and keeps the padding:


Other way suggested:

Try file>export>layers to files, and de-select "trim:"


Everything will come out at the actual artboard size. Then, if you need to perform other operations in batch afterwards, you could use a watermarking action or similar to add in the 1% corner pixels to maintain the full size even when using other PS export modes that DON'T have this needed checkbox.


JJMack
Community Expert
Community Expert
May 26, 2018

Try using Save As.  Or add a 1% opacity pixel in the top left and bottom right canvas corners so transparent borders will not be trimmed. Force Canvas size

JJMack
AliasMeAuthor
Inspiring
May 26, 2018

JJMack​ Thanks for your reply! Save-as will work for this example or a project that needs to be just one frame. But, as mentioned for my real work I have groups that I want to export (each group as its own image), which can not be done with the save-as dialog. It does seem to have a checkbox for layers though.

The 1% opacity pixels - although hackish - will probably work but will introduce artifacts. In my work I resize the canvas to 302 (with my own tools), center the content and then copy the border to the new pixels. This wil end up with having the 1% pixels scaled by 2.(having 4 1% in each corner).  This is trick used for 2D OpenGL rendering to hide texture bleeding. I can still try it out but am assuming that the artifacts will be visible in my project. Also my project needs 100% alpha for the code to assume its empty, any value on the alpha channel will generate collisions (because it assumes somethings there). Also putting two of these pixels in every group in every document seems like a choir! 

Jeff Arola
Community Expert
Community Expert
May 26, 2018

What exact version of photoshop are you using?

In photoshop go to Help>System Info and the top line is the Photoshop Version.

I don't see this in the latest photoshop CC 2018 (19.1.4) on macOS.