Inspiring
August 21, 2017
Question

faded color photo from 1946 some suggestions needed

  • August 21, 2017
  • 2 replies
  • 909 views

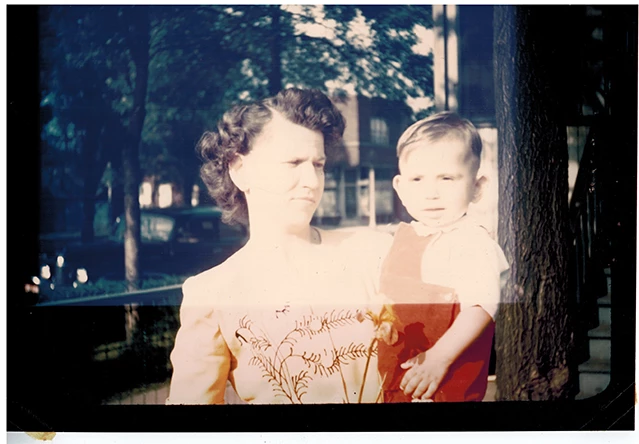
I did several internet searches on photoshop and searched through the FAQ's before posting this, trying different combinations but found these adjustments helped some.  I used the photo filter to bring down the yellow cast.  I used a level adjustment and moved the Red, Blue, & Green sliders..  I've tried levels with multiply but does not improve on the fading.   I used a color balance adjustment moving the sliders through shadows, highlights, and mid tones.  I'm using a mask on the adjustments.   The section that is faded was exposed in a frame while the rest of the image was covered by the mat.   But I don't feel like I'm really improving the photo that well.  I can add a skin tone from the boy's arm and clone in the clothing colors.  The worst part is this photo was taken in direct sunlight.   Any suggestions would be appreciated.  Rose

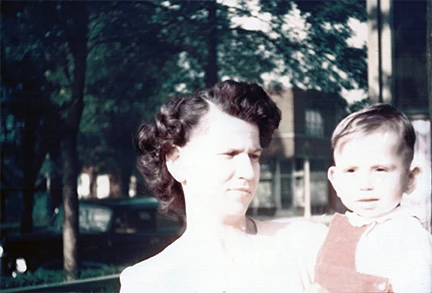
Here is the original  image

This topic has been closed for replies.

2 replies

davescm
Community Expert
Community Expert
August 22, 2017

Hi

I added a black and white adjustment and focussed on matching the grayscale in the light rectangle  as best I could to the area outside the rectangle.

I then duplicated the original and set it to blend mode color - and brushed  colour from the bottom of the picture into the rectangle.

Finally a little cloning to remove the edge.

Far from perfect but it may give you some ideas

Good luck

Dave

gener7
Community Expert
Community Expert
August 22, 2017

One adjustment that is often overlooked is Image  > Adjustments > Shadows/Highlights.  It does not have its' own Adjustment layer, so the changes are permanent or "destructive". Still it does a nice job. I eyeballed this one moving the colors away from the Highlights and towards the Shadows/Midtones, but there is that streak across the image.

It's a "quick and dirty" adjustment on a laptop screen, so those of you with better displays can see what you can do.

Stephen Marsh
Community Expert
Community Expert
August 21, 2017

Duplicate the base image and work on a copy that will be masked into the original. Image > Adjustments > Shadow/Highlights and bring up the highlight value to attempt to rescue some facial detail. Further work will of course be required to even out tones, however the all important facial detail is critical to recover.