Inspiring
January 6, 2018
Answered

Glitch when trying to use a custom LUT .cube

  • January 6, 2018
  • 2 replies
  • 3135 views

I am trying to export couple of color grade edit (a curves color edit,  color balance, and second curves adjustment--3 adjustment layers total) into a .cube LUT file to use on future photos.

When I export it, and then try to use it, I end up getting this effect:
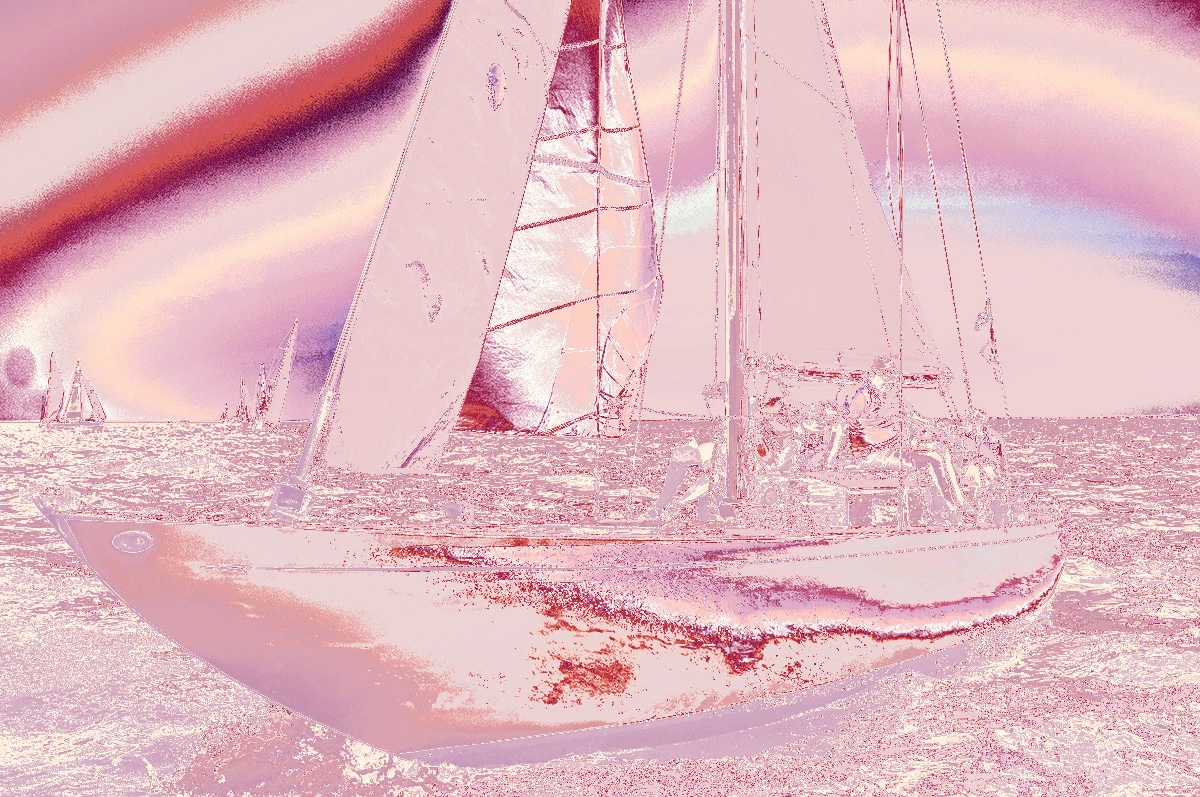
I have successfully exported 1 test LUT, that actually works, but every other time I try to export a custom setting into a .cube file, I get the effect above.  I have no idea what the difference was in settings I used to get the working file.

Any help would be appreciated as I have a fairly complicated color grading job coming up and I need to use this feature to keep things consistent.

Thank you!

This topic has been closed for replies.
Correct answer davescm

Quick Update:

I can export any number of adjustment layers into LUTs just fine, as long as I only have the one "background layer".  If I have anymore than the base layer of the image, I get the weird effect.

I've tried putting the adjustments I want to turn into a LUT into a layer folder, and that doesn't seem to work. 


Hi

Now that I can replicate.

It seems that when creating the LUT Photoshop is combining the impact of all layers above the background layer. Indeed if you make the bottom layer "layer 0" or a smart object,  it won't produce a LUT.

You can produce a LUT from a painted layer rather than an adjustment layer - but the effect is rather strange and the resulting LUT is not applied to every pixel.

So to produce an effective LUT - make a flattened copy of the image. Apply the adjustment layers - Save as a LUT. That works.

Dave

2 replies

Participant
August 10, 2018

Also had same problem. Mine was a result of having 2 of the same image (habit of copying original image to work from) within original LUT I tried to export. Simply deleting image copy solved problem.

davescm
Community Expert
Community Expert
January 6, 2018

Hi

I don't use the feature very often but I just tried it on a couple of images in CC2018 (vr.190) without an issue.

Can you give more details of the image/adjustments etc so I can try and replicate it here.

Dave

Inspiring
January 7, 2018

Can do, thanks for responding.

I don't have the specific values  for each adjustment layer setting, but I've trouble shot this problem with a varying settings on the curves, color balance, and HSL adjustment layers.

I've also tried  combination of tries  listed below:

Saving the cube file and adding it to the presents folder, or just loading it from a cube file saved to the desktop

Resetting PS, and my computer

Varying the working colorspace between sRGB, Adobe RGB 1998, and Pro color Space

I've tried just a simple contrast change using curves, no color grading

Then, using  just one adjustment layer at a time,  Either a simple curves adjust, color balance tweak, or a HSL tweak

Varying combinations of those three adjustment layers in different orders, etc. 

Then I go export menu, tried different quality options. 

The pre-built luts work great in all colorspace, and the one I created that worked, also works in all color spaces. 

The one that worked:

Curves adjust. Worked the file in Adobe RGB 1998, Used the midtones picker only, and exported the single curves adjustment layer as a 64 frame cube file. 

davescm
Community Expert
Community Expert
January 7, 2018

Hi

I don't see to be able to replicate the issue using CC vr.190

Are the steps below the same as yours?

1. Starting with an image (I used a 16 bit Adobe RGB image below)

2. I added a curve and Hue/Sat layer (I purposely mangled the colour just to spot the difference if any)

3. I used File>Export Color Look up tables and saved the LUT as a 64 point cube

4. I added a Color Lookup adjustment layer and in properties chose Load 3D LUT

5.Turning off the original adjustment layers the result was the same as step 2:

Dave