marcelu80
Participant
May 25, 2019
Answered

How can I get this effect in Photoshop?

  • May 25, 2019
  • 5 replies
  • 479 views

Hi,

Forgive me if this is not the right forum to post this. I've found these two images online and love the treatment they did to the second one. I have tried various combinations of color overlay, exposure, levels, etc but haven't quite obtained the same result. Does anyone know what's the best way to replicate this?

Looks like there is a subtle increase in contrast and also a gradient with at least two color points, one being #051c2c, the other more red or purple. I'm sure there's more to it but I'm not able to figure it out.

Original image

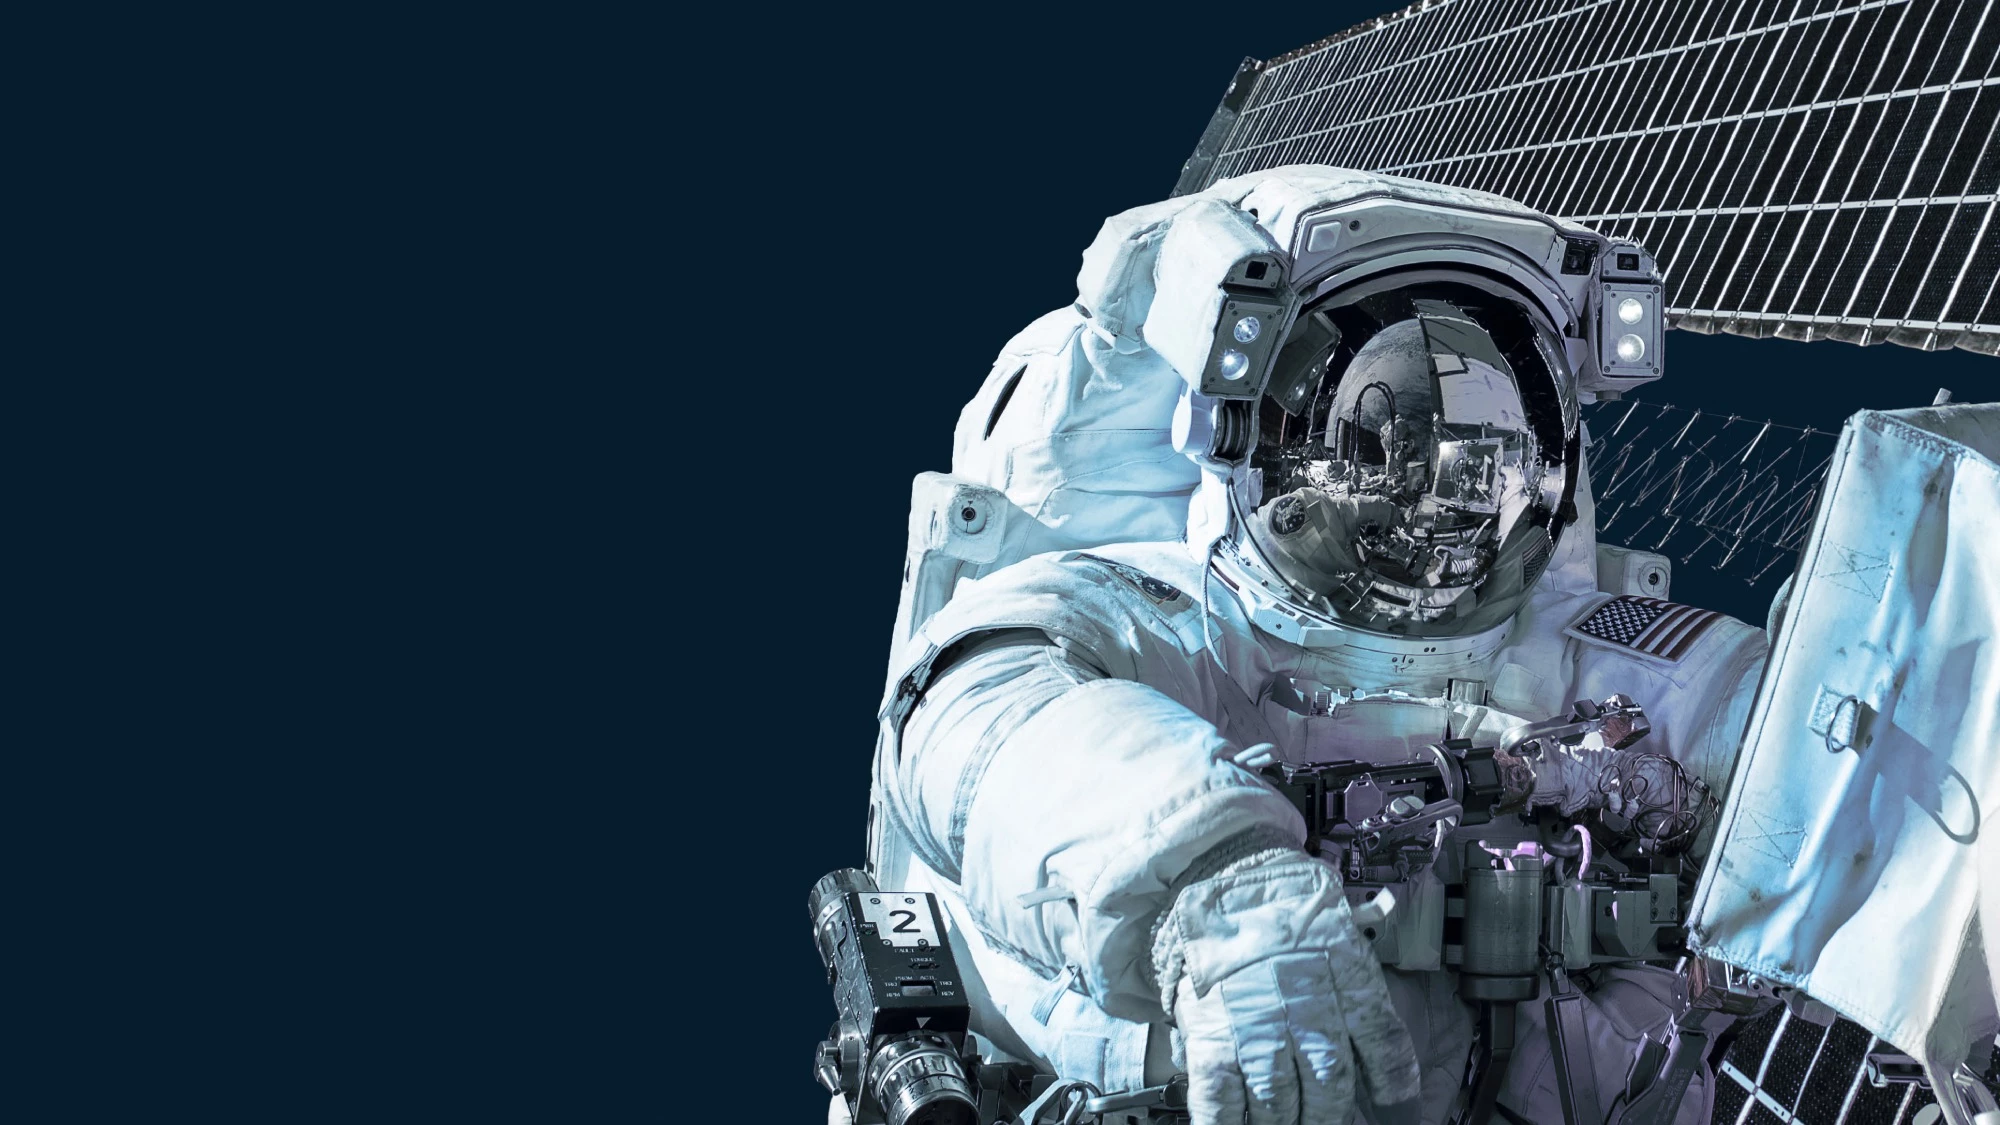
and the treated version.

Here's another image treated in the same way.

Any help will be much appreciated.

Thanks!

This topic has been closed for replies.
Correct answer Michael Bullo

GENERAL

I was able to get very close to duplicating the entire look by creating a single Hue/Saturation adjustment layer. I went into the options for each colour and generally dragged the Saturation slider to 0. In the case of Cyan I reduced the Saturation but did not take it all the way to 0.

SPECIFICS

The glasses, which are Yellow, have a final result which is a little Blue/Cyan. To achieve this I reduced the Yellow Saturation slider (not to 0) and I additionally played with the Yellow Hue slider as well. I also adjusted the Cyan Hue slider slightly to push it toward Blue. To finish off I added a Curves adjustment layer to add a little contrast.

5 replies

marcelu80
marcelu80Author
Participant
May 29, 2019

Thank you all for your responses. I'll give it a try and let you know.

Norman Sanders
Legend
May 25, 2019

Another approach with the latitude to alter the color, contrast and dominance of color locally through the tonal scale.

1. Open the full color image and duplicate it.

2. Convert one file to grayscale, change Mode to RGB and save it.

3. Convert the other image to Blue/Black Duotone, change mode to RGB

4. Add the grayscale image as a layer above the Duotone image and apply a mask to show gray ares.

At this point you can use Curves or Levels to alter the tone level of the top level gray areas, if desired

Eugenio.NYC
Participating Frequently
May 26, 2019

Another option, you can use the split toning from the camera raw filter, many ways

Nancy OShea
Community Expert
Community Expert
May 25, 2019

You can further refine colors with the Photo Filters also found in the Adjustments panel.

Try one of the Cooling filter presets or a custom color and adjust density slider to suit.

Nancy O'Shea— Product User & Community Expert
Michael Bullo
Community Expert
Michael BulloCommunity ExpertCorrect answer
Community Expert
May 25, 2019

GENERAL

I was able to get very close to duplicating the entire look by creating a single Hue/Saturation adjustment layer. I went into the options for each colour and generally dragged the Saturation slider to 0. In the case of Cyan I reduced the Saturation but did not take it all the way to 0.

SPECIFICS

The glasses, which are Yellow, have a final result which is a little Blue/Cyan. To achieve this I reduced the Yellow Saturation slider (not to 0) and I additionally played with the Yellow Hue slider as well. I also adjusted the Cyan Hue slider slightly to push it toward Blue. To finish off I added a Curves adjustment layer to add a little contrast.

Nancy OShea
Community Expert
Community Expert
May 25, 2019

Go to the Adjustments Panel and create an Hue/Saturation Adjustment Layer.

Move the saturation slider to the left.

Nancy O'Shea— Product User & Community Expert