davids92404348
Participant
March 10, 2023
Answered

How to automatically center an uneven image before cropping???

  • March 10, 2023
  • 1 reply
  • 1330 views

I have been searching the web and haven't found a way to accomplish this specific task, so thought I would ask here if it is even possible.  I have product pictures that are on a semi-white background.  I know how to remove the background and make it white when exported so that isn't a problem.  What I need to do next is the issue...


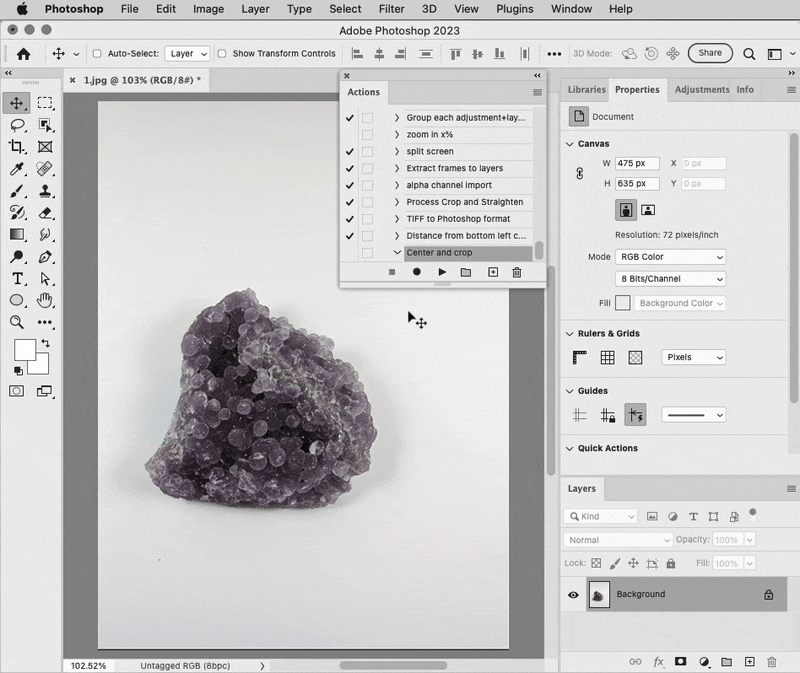
I would like to have Photoshop automatically know where the image is on the canvas (it finds it easy enough with the background removal), then make it so the item is centered in a 1600 x 1600 square with about 4 pixels of space around the image on the "longest" side (the one closest to the image).  I can do this manually without any issues, but would like to be able to automate this task so I can do it in bulk.  I know how to create an action, but don't know how to have Photoshop center the images automatically prior to cropping since they aren't always in the same place when originally taken.


I have attached three images showing what I am trying to accomplish.


Any help would be greatly appreciated!!!

This topic has been closed for replies.
Correct answer Conrad_C

These steps should work as an Action, as shown in the demo below:

1. In the Layers panel, click the lock icon to unlock the Background layer. Unlocking is necessary only if the image is a locked Background, to let the layer be center-aligned later.

2. With the layer selected, in the Properties panel click Remove Background. All pixels around the subject are now masked out (but still present).

3. Choose Layer > Layer Mask > Apply. This removes the mask while applying the mask’s transparency to the layer itself. Now the bounding box of the non-transparent layer pixels is only as large as the subject, which allows proper centering.

4. In the options bar for the Move tool, or in the Properties panel, choose Canvas from the Align and Distribute menu, and then click the Align Horizontal Centers and Align Vertical Centers buttons. The layer is now centered on the canvas.

5. Choose Image > Trim, select Transparent Pixels, and click OK. All transparent pixels beyond the bounding box of the object are now trimmed.

6. Choose Image > Image Size, and set it to 1592 pixels on the long side. (This is 1600px minus your 4px margin on each side.). But it is not yet a 1600px square.

7. Choose Image > Canvas Size, and set the dimensions to 1600 by 1600 pixels, centered. The canvas expands to these dimensions, adding 8px to the width and height, leaving 4px of space around the longer side of the image layer.


You should be able to choose File > Automate > Batch to apply that recorded action to an entire folder. You can also select a folder or files in Adobe Bridge and choose Tools > Photoshop > Batch.


View changes such as View > Fit on Screen are not recorded; to include that in an action, choose Insert Menu Item from the Actions panel menu.


As shown, step 6 works if the object is wider than it is tall, but if it’s tall then the wrong dimension might be set to 1592px. You can probably resolve that by adding an Insert Conditional step (from the Actions panel menu), and set which dimension gets changed depending on the condition If Document is Landscape.


If there are complications that can’t be resolved using Actions, you will want to program this as a Photoshop script instead. Scripts can handle a lot more situations.

1 reply

Conrad_C
Community Expert
Conrad_CCommunity ExpertCorrect answer
Community Expert
March 10, 2023

These steps should work as an Action, as shown in the demo below:

1. In the Layers panel, click the lock icon to unlock the Background layer. Unlocking is necessary only if the image is a locked Background, to let the layer be center-aligned later.

2. With the layer selected, in the Properties panel click Remove Background. All pixels around the subject are now masked out (but still present).

3. Choose Layer > Layer Mask > Apply. This removes the mask while applying the mask’s transparency to the layer itself. Now the bounding box of the non-transparent layer pixels is only as large as the subject, which allows proper centering.

4. In the options bar for the Move tool, or in the Properties panel, choose Canvas from the Align and Distribute menu, and then click the Align Horizontal Centers and Align Vertical Centers buttons. The layer is now centered on the canvas.

5. Choose Image > Trim, select Transparent Pixels, and click OK. All transparent pixels beyond the bounding box of the object are now trimmed.

6. Choose Image > Image Size, and set it to 1592 pixels on the long side. (This is 1600px minus your 4px margin on each side.). But it is not yet a 1600px square.

7. Choose Image > Canvas Size, and set the dimensions to 1600 by 1600 pixels, centered. The canvas expands to these dimensions, adding 8px to the width and height, leaving 4px of space around the longer side of the image layer.


You should be able to choose File > Automate > Batch to apply that recorded action to an entire folder. You can also select a folder or files in Adobe Bridge and choose Tools > Photoshop > Batch.


View changes such as View > Fit on Screen are not recorded; to include that in an action, choose Insert Menu Item from the Actions panel menu.


As shown, step 6 works if the object is wider than it is tall, but if it’s tall then the wrong dimension might be set to 1592px. You can probably resolve that by adding an Insert Conditional step (from the Actions panel menu), and set which dimension gets changed depending on the condition If Document is Landscape.


If there are complications that can’t be resolved using Actions, you will want to program this as a Photoshop script instead. Scripts can handle a lot more situations.

davids92404348
Participant
March 10, 2023

Thank you so much!  This works great!