The simple answer to that question is you cannot make an enlargement without some loss of quality, even if you were to do that with an enlarger in a darkroom with old fashion film there would be some loss, but its a question of how perceptible the loss is and film was until the invention of multi-mega pixel cameras far more forgiving than digital media. However you can still do a lot digitally
1) Go to the image size dialog and set it to re-sample using the 'preserve details' interpolation method and increase the width and the height, but don't go crazy doubling the number of pixels is easily as far as you showed go.

2) Photoshop will have now made calculated guesses about the colors of pixels that would be adjacent to real pixels in the image and created them, inevitably it will make mistakes which will show up as a reduction in sharpness. To compensate for that save the enlarged image as a 'Smart Object' or indeed you could have done that in step 1. Now duplicate the layer ctrl-J or cmd-J , set the blend mode to 'soft light' and apply a 'High Pass' filter
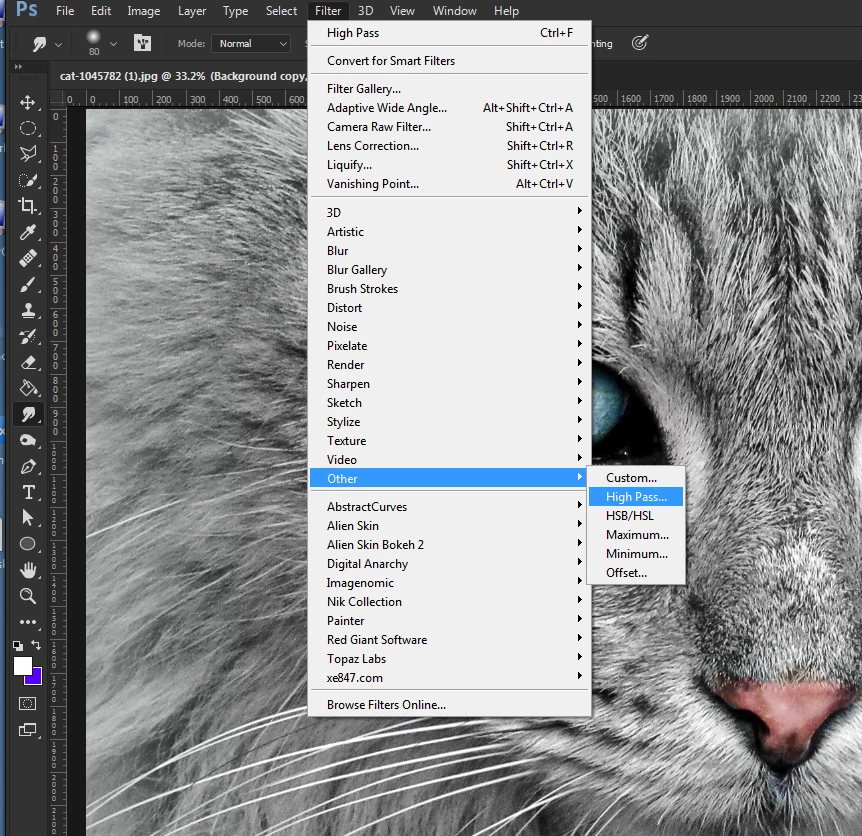
Adjust the preview to give an enhanced edge like below. This is trial and error which is why a smart object is best to use as a smart filter is available for retrys.
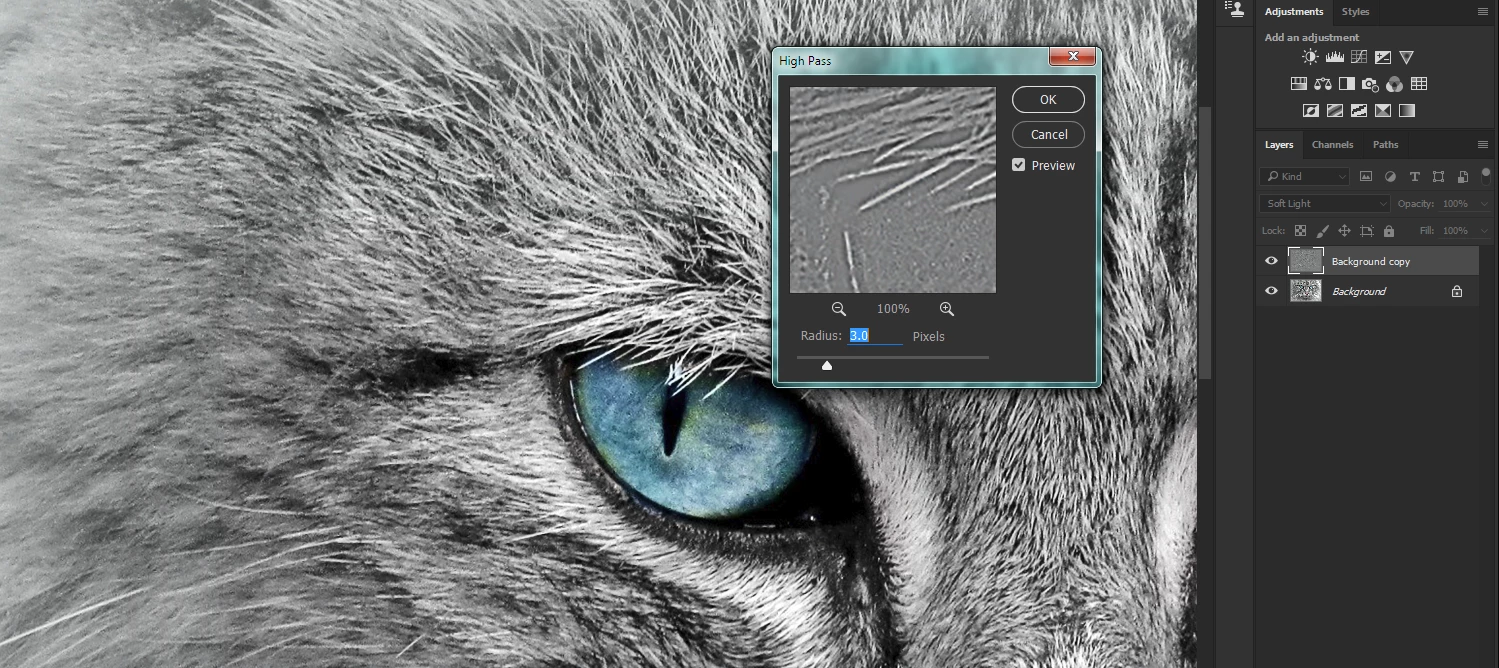
What this procedure does is sharpen the image in a very controlled way compensating for loss of focus during the enlargement.
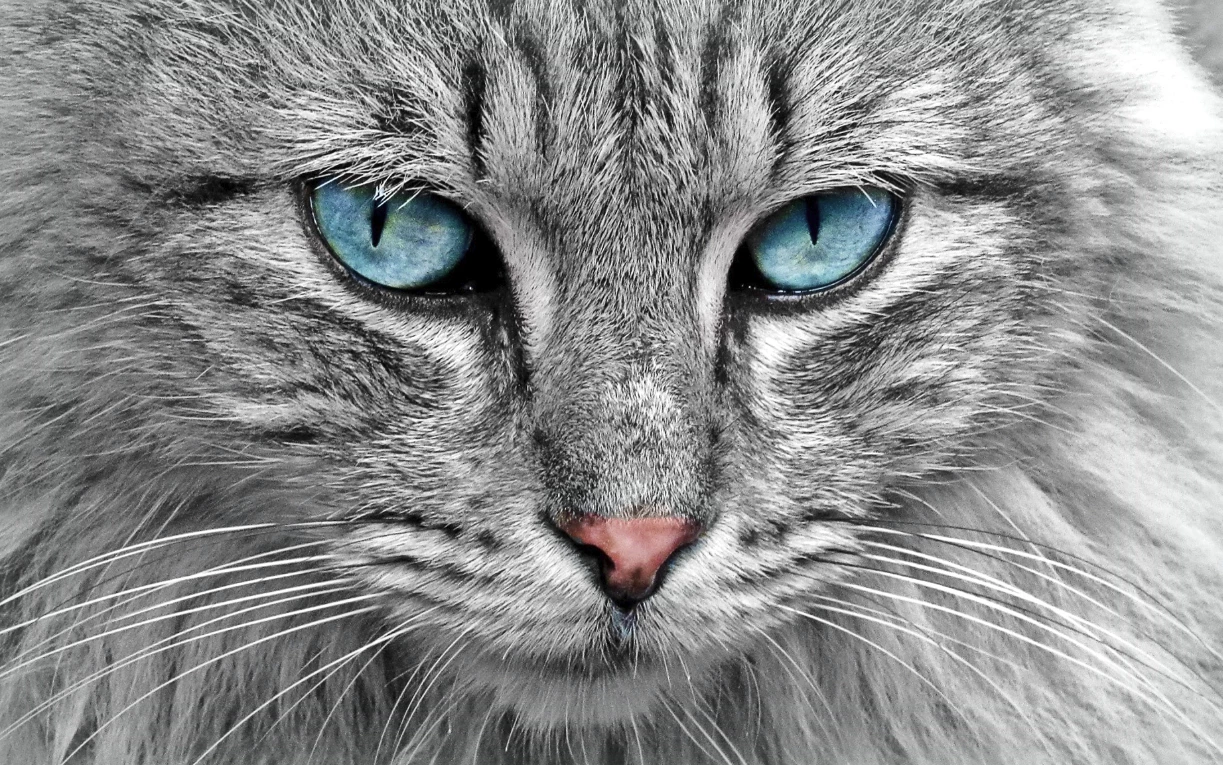
Generally if you start with a good quality uncompressed image this will result in a nearly perfect enlargement
Better results can be obtained with third party plugins like Alien Skin Blow UP as they have more sophisticated algorithms for enlargements but this method tends to work very well

