Answered
How to recreate this effect?
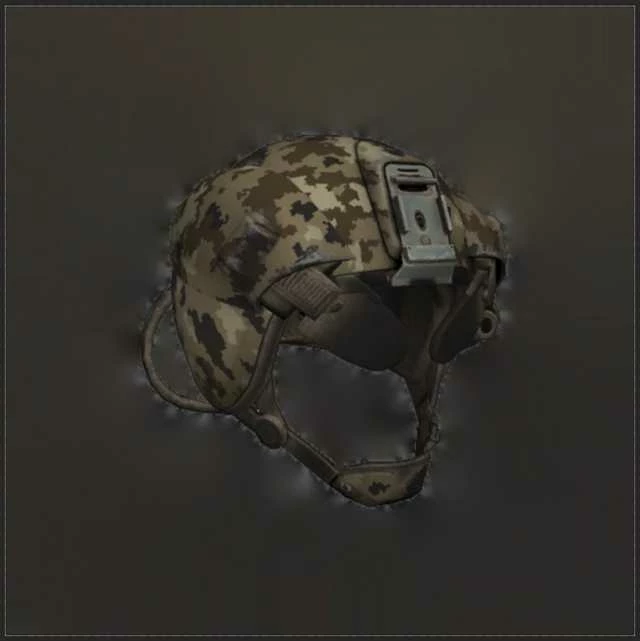
Hello. I am wondering how I would recreate this effect visible around the helmet:
https://i.imgur.com/NL0TilU.png
[image inserted by moderator]
Hello. I am wondering how I would recreate this effect visible around the helmet:
https://i.imgur.com/NL0TilU.png
[image inserted by moderator]
Hi there,
As you're looking to create the same effect as depicted here:
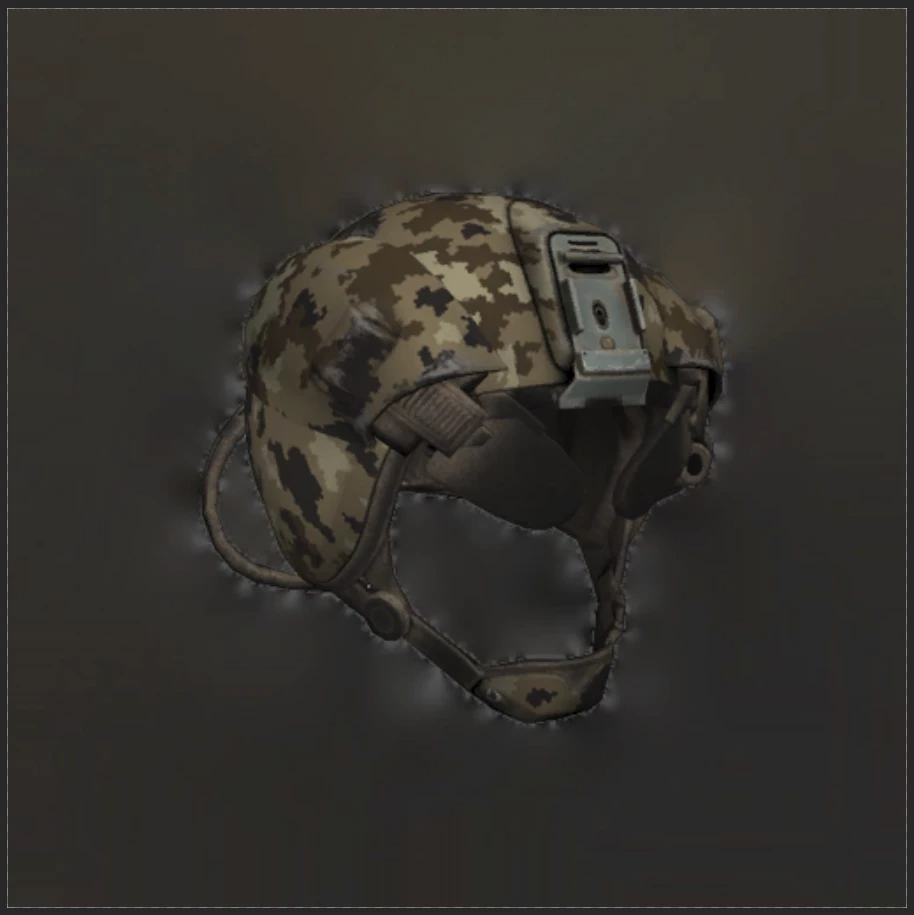
You need to select the quick selection tool, then click on the helmet to make a selection. (keep clicking on different ares of the helmet until you have a complete selection).
Once you have the helmet selected, go to Select and choose Inverse Selection Or Tap Ctrl+Shift+I (Windows), Cmd+Shift+I (macOS) to inverse the selection.
Then go to Filter > Blur > Gaussian Blur and increase the blur effect by sliding the slider.
Regards,
Sahil
Already have an account? Login
Enter your E-mail address. We'll send you an e-mail with instructions to reset your password.