To obtain the result you want without brushwork, you can use Lab Color to create a channel mask and then link it to your susbject image after placing a white Layer below the image layer.
Top row: Change the Mode to Lab Color, duplicate theachannel and use Curves to create the mask.
Bottom row: Return the Mode to RGB, add a white layer below the image layer and link the mask to the image layer. At this point you may flatten the file or Cmd+Opt+Shift+E to create a composite layer.
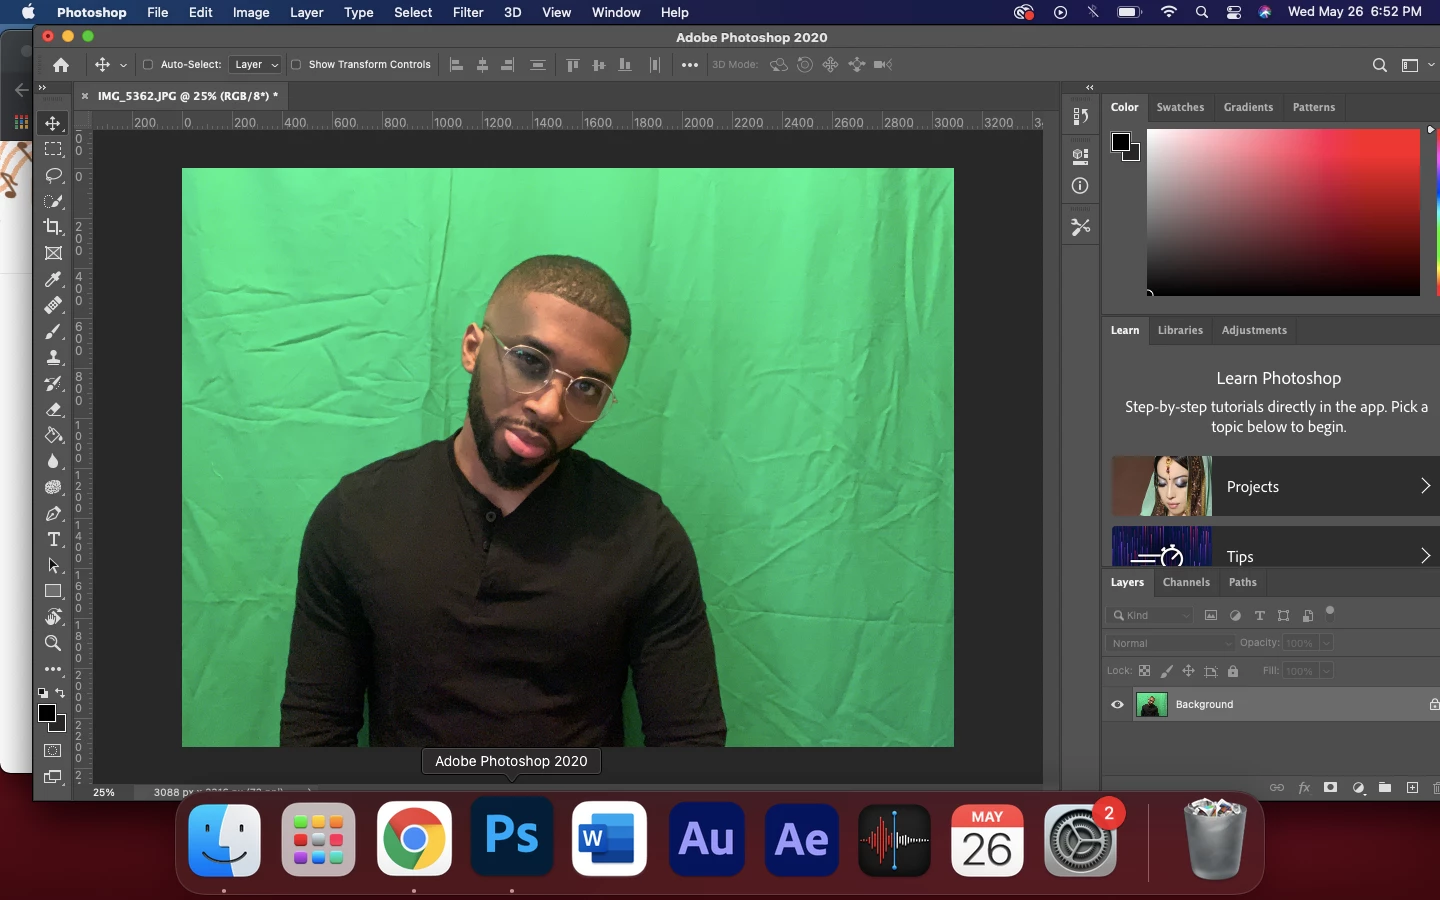
Side note:In the future, I suggest that you place the green background further from the subject to avoid any green spill affecting the flesh tone.
There are many ways to do it; this is only one of them. Use Select-Color Range to select the green color. With the selection active add a layer mask. Place a new layer below the original and fill it with white. Paint on the mask with black for any areas that were missed. Paint with white to add back areas if needed.