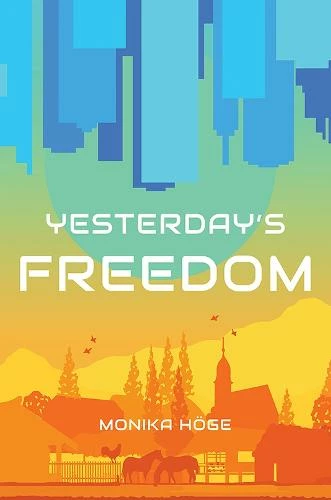
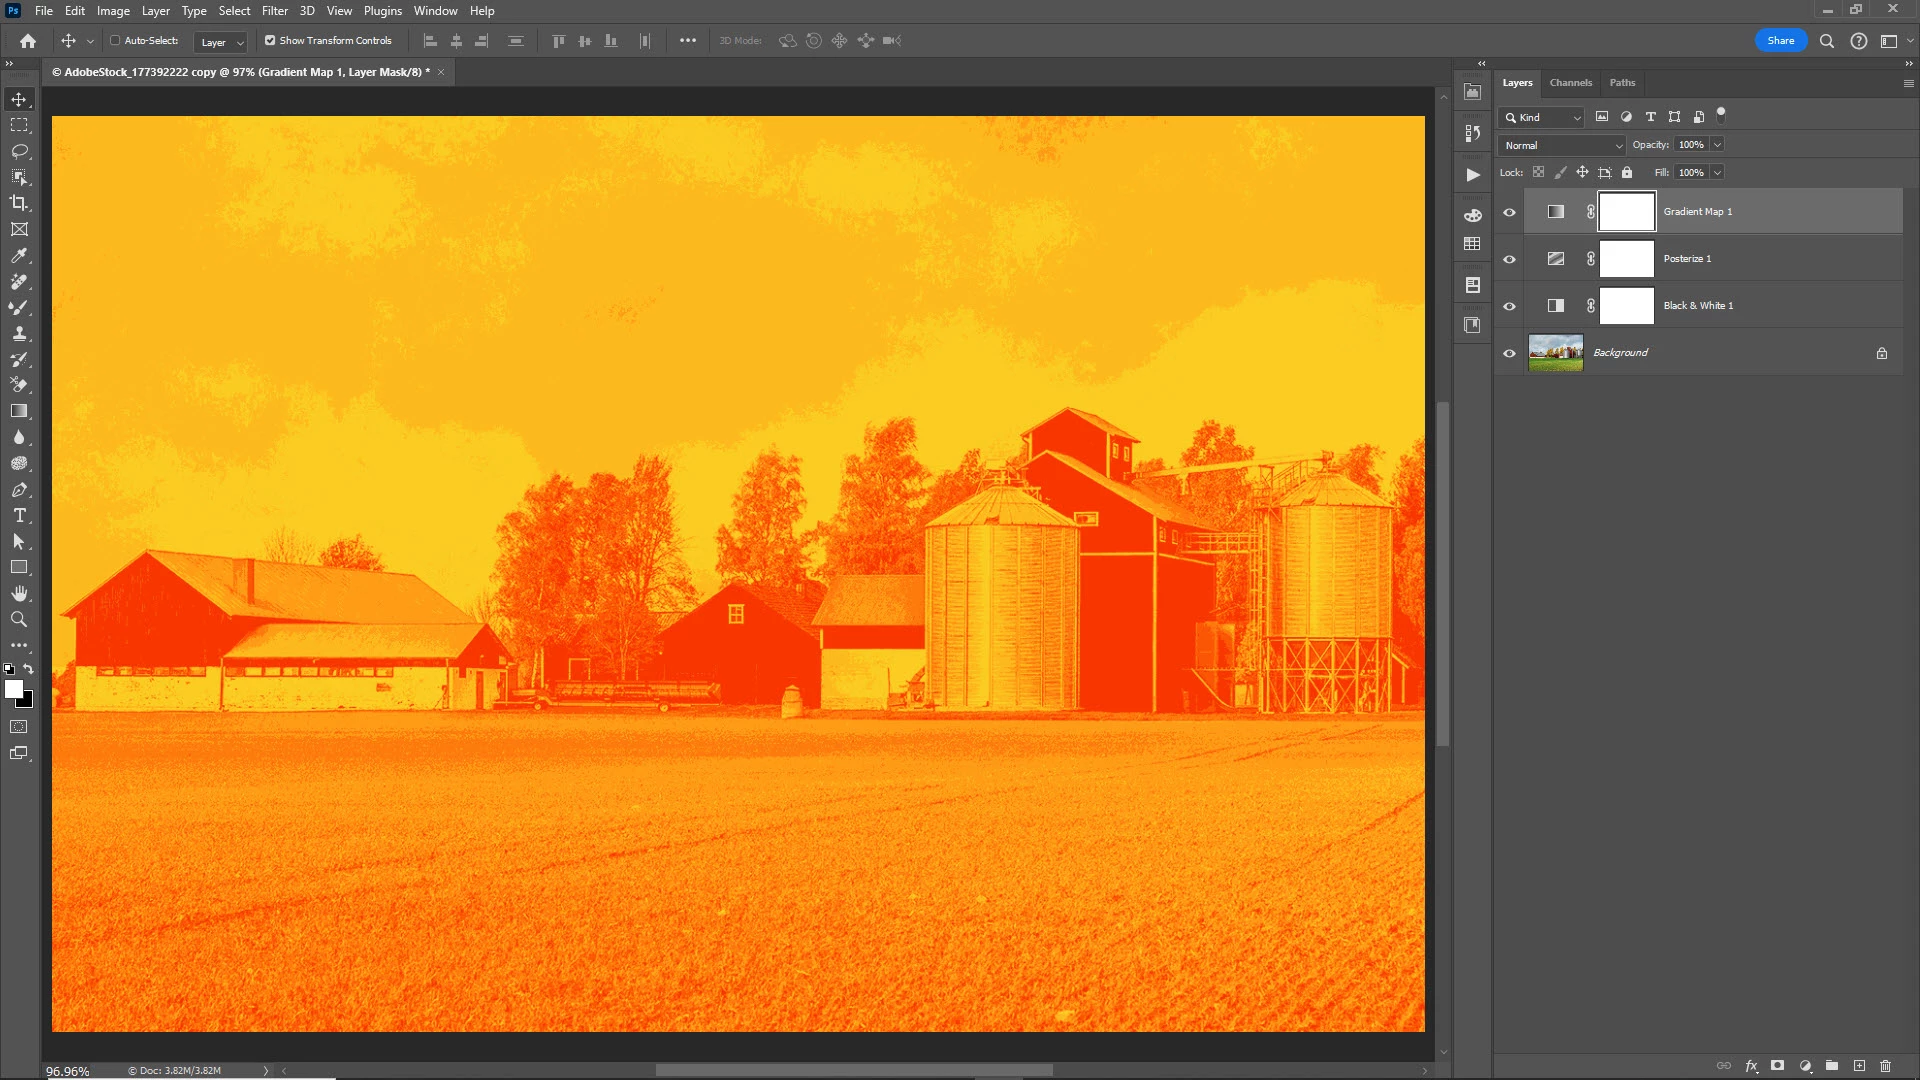
A quick way to make a photo look like the bottom portion of that graphic would be to apply 3 adjustment layers:
- Black & White
- Posterize
- Gradient Map
...although it may leave more details in the result than in the sample graphic.
Here's how:
- Add the Black & White adjustment layer (go to the middle icon at the bottom of the Layers panel and select Black & White... or go to Layer > New Adjustment Layer > Black & White...)
- With the adjustment layer thumbnail (as opposed to the layer mask) selected, go to the Properties panel
- Move the sliders to make the desired portions of the image stand out by making them lighter or darker
- Add the Posterize adjustment layer (go to the middle icon at the bottom of the Layers panel and select Posterize... or go to Layer > New Adjustment Layer > Posterize...)
- In the Properties panel, set the slider to anywhere from 3-6ish levels--however many variations of the colors you want in the end result (I used 6 in the example above)
- Add the Gradient Map adjustment layer (go to the middle icon at the bottom of the Layers panel and select Gradient Map... or go to Layer > New Adjustment Layer > Gradient Map...)
- In the Properties panel, click on the gradient to open the Gradient Editor
- Go to the Oranges presets, select Orange_05, and click OK
- In the Properties panel, select Reverse if you need to swap the yellows for the oranges