April 21, 2019
Answered

How to resize a photo to original size

  • April 21, 2019
  • 2 replies
  • 2489 views

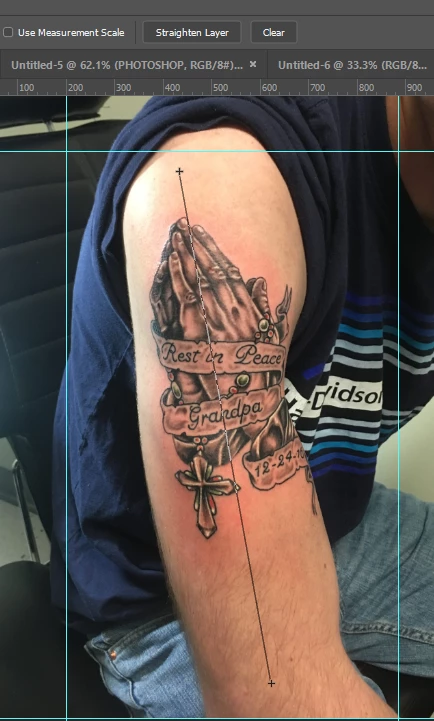
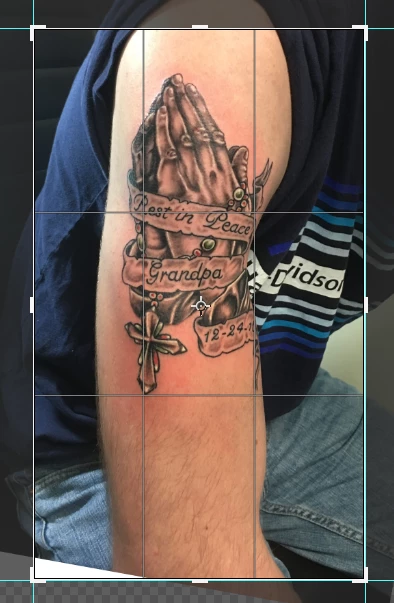
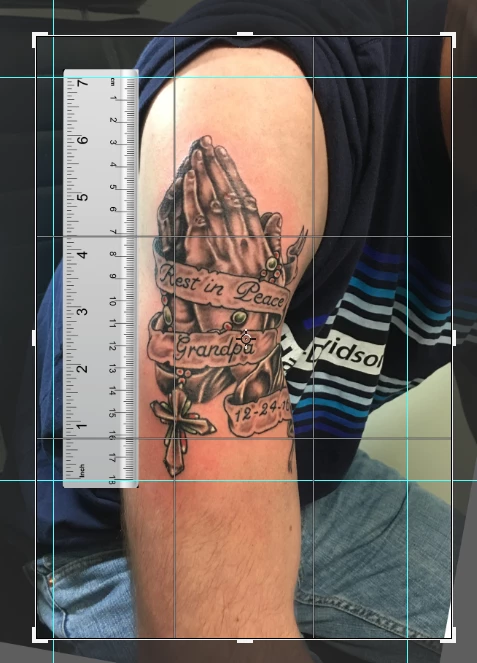
Hey, as a tattoo artist, I sometimes take pictures of the body part, then upload it into PS and draw digitally onto it directly.

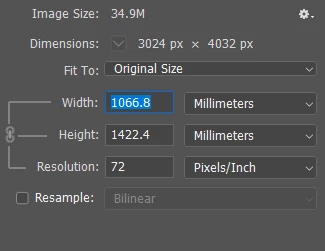
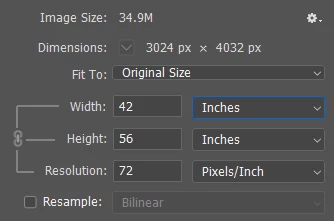
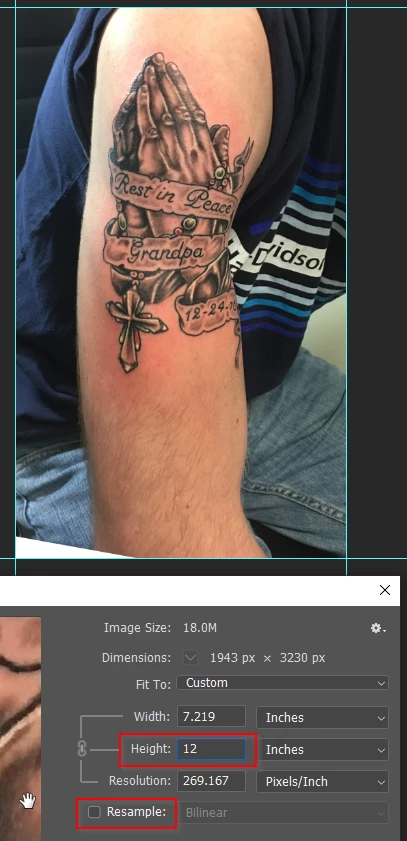
The problem is of course that when you open a photo in PS, it's never the actual lifesize. It all depends on how far the camera was, ....

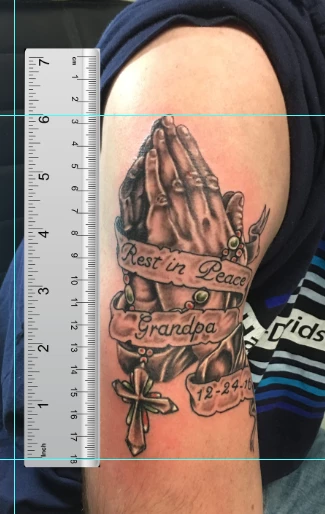
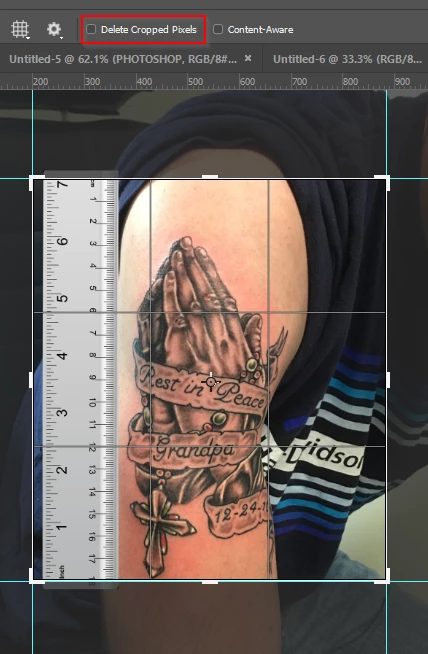
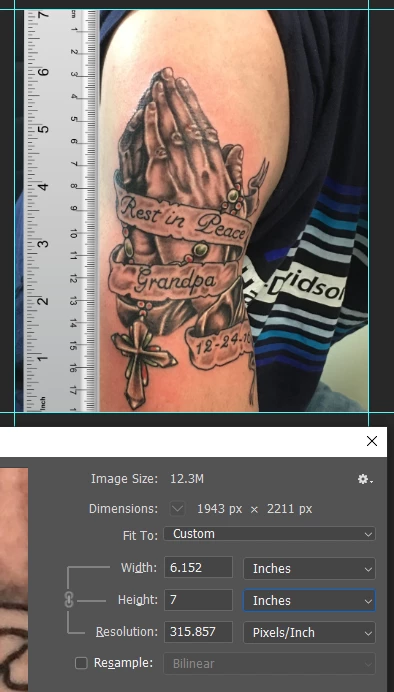
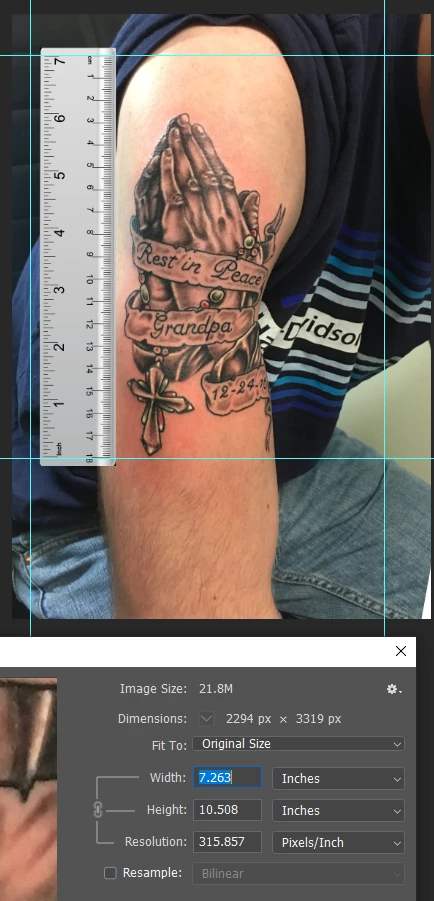
I have a few methods how I resize the file or sometimes I put a ruler next to the body and take a picture with the ruler and then resize it according to the real ruler but if the camera was not 100% symmetrical with the camera, there's always a fault margin.

I'd like to know how I can size a photo in PS to the actual size of the object I took a picture off. Is there an easy way or does anyone have any idea on how to make it myself easier.

I use PS CC 2017

Thank you

This topic has been closed for replies.
Correct answer Trevor.Dennis

I pulled this from Google images. It is a bit over 4000 pixels high, and will print at 1422mm high (56 inches)

If you have a scale in the image, then use that, but for arguments sake, let's say the arm is 300mm from shoulder joint to elbow joint.  Well keep things rounded, so 12 inches if that's your preferred unit.

To remove the need  to mess with trig, I've run the Ruler tool down the arm, and will click on Straighten layer.

The guides  are there to give me a reference when cropping, and I'll crop because it will give me an image size I know to be 300mm or 12 inches high (remember I am rounding to keep it simple)

All we need do now is open the Image Size dialog, uncheck resample, and type in the height.

OK, let's do it again using a reference that you included in the image.

I've moved  the guides to align with the tattoo

I've unchecked Delete Cropped Pixels, and will crop to align with a convenient whole number on the ruler

Use Image size again to set the height

Then, if it helps context,  use Crop to reclaim the previously cropped pixels (which are still available because you turned off Delete Cropped Pixels).

Photoshop will know the scale now, and it will print actual size.  Make sure that printer properties are not going to mess things up, which probably just means that Fit to Page is not selected.

2 replies

April 23, 2019

I did one where I have to do a cover up on and followed your steps 1 by 1 just to be sure I didn't miss anything out.

I always left the 'resample' box ticked on. And you didn't, that's why I was always left with very small files to work on and had to fiddle.

When  it's not resampled, it leaves the file the same and just adjusts the rulers to real size so to speak so now I can actually work on a large picture immediately.

You saved a poor tattoo artist a lot of stress and time.

Thank you ever so much @Trevor.Dennis

Trevor.Dennis
Community Expert
Trevor.DennisCommunity ExpertCorrect answer
Community Expert
April 21, 2019

I pulled this from Google images. It is a bit over 4000 pixels high, and will print at 1422mm high (56 inches)

If you have a scale in the image, then use that, but for arguments sake, let's say the arm is 300mm from shoulder joint to elbow joint.  Well keep things rounded, so 12 inches if that's your preferred unit.

To remove the need  to mess with trig, I've run the Ruler tool down the arm, and will click on Straighten layer.

The guides  are there to give me a reference when cropping, and I'll crop because it will give me an image size I know to be 300mm or 12 inches high (remember I am rounding to keep it simple)

All we need do now is open the Image Size dialog, uncheck resample, and type in the height.

OK, let's do it again using a reference that you included in the image.

I've moved  the guides to align with the tattoo

I've unchecked Delete Cropped Pixels, and will crop to align with a convenient whole number on the ruler

Use Image size again to set the height

Then, if it helps context,  use Crop to reclaim the previously cropped pixels (which are still available because you turned off Delete Cropped Pixels).

Photoshop will know the scale now, and it will print actual size.  Make sure that printer properties are not going to mess things up, which probably just means that Fit to Page is not selected.

April 22, 2019

I'm kinda embarrassed to say that those are the 2 methods I've been using I should have written it in my question.

I'm sincerely grateful for you taking your time to explain them so detailed. I've never used the Ruler tool to Straighten the layer so that one I'll definitely remember.

However it's with those methods that there's a fault margin and for new designs a few millimeters don't matter but if I had to cover up that tattoo, the accuracy needs to be spot on most of the times and that's why I turned to this forum in case there was a different way to do it.

I guess there's not lol

Now that I'm rereading all this it made me think again and realize that it's not so much a PS thing but the accuracy of the photo that counts, angle of the camera and the ruler itself.

Maybe I should just invest in a forensic ruler and follow these instructions to get the most accuracy with the above methods.

Thanks again for your time.