Participant
May 14, 2025
Answered

How to tackle light leaks? (B&W)

  • May 14, 2025
  • 3 replies
  • 1068 views

Hey all,

I'm a semi-newbie to Photoshop and Lightroom on Mac & IpadOS, but trying to pick up useful skills.

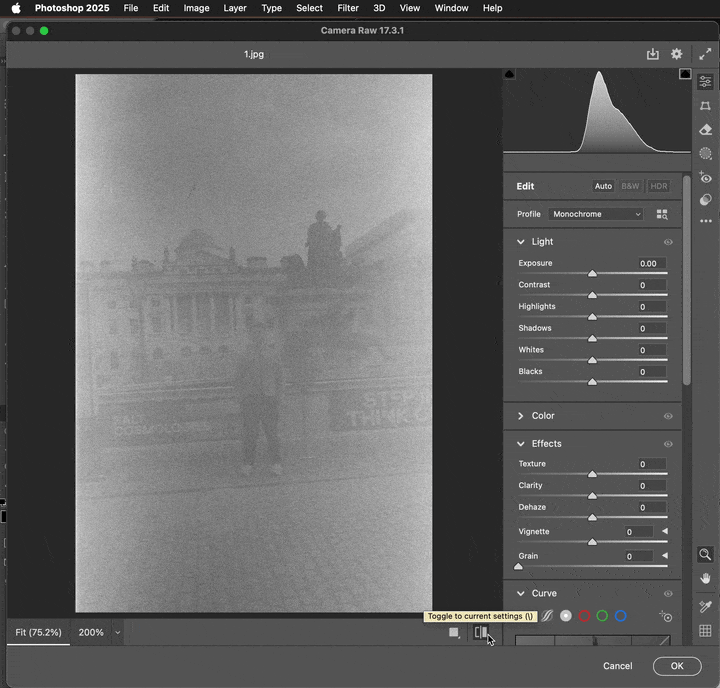
I recently had my first roll of Black & White film come back, and oddly the middle of the roll seems to have fallen foul to some light leakage. I have no clue how this happened, as it doesn't impact the rest of the roll at all.

In either case - there's varying levels of impact. Was just wondering if there was anything in the ecosystem I could leverage to try and smooth out the impact? Some may be beyond saving, but wanted to understand if I had any options here. Typically I see people with impacted colour film told to use a black and white filter... but that isn't an option here for obvious reasons.

Thanks in advance.

Sam

Correct answer Conrad_C

It looks like the light leaks were not only uneven, there’s also a general fogging that took out a lot of the contrast and detail.


For this situation, instead of starting with Photoshop tools, it might be more efficient to start with the Camera Raw filter (in Photoshop choose Filter > Camera Raw Filter). In the demo below I did a quick and rough edit; if you spend more time on it you’ll do better. I used the Edit tools in Camera Raw to try and restore overall contrast; because the fogged image is hazy the Dehaze option turned out to help a lot. To resolve local tonal inconsistencies I then used the Masking tools in Camera Raw; you can choose to use masked adjustment layers in Photoshop instead.


3 replies

Conrad_C
Community Expert
Conrad_CCommunity ExpertCorrect answer
Community Expert
May 15, 2025

It looks like the light leaks were not only uneven, there’s also a general fogging that took out a lot of the contrast and detail.


For this situation, instead of starting with Photoshop tools, it might be more efficient to start with the Camera Raw filter (in Photoshop choose Filter > Camera Raw Filter). In the demo below I did a quick and rough edit; if you spend more time on it you’ll do better. I used the Edit tools in Camera Raw to try and restore overall contrast; because the fogged image is hazy the Dehaze option turned out to help a lot. To resolve local tonal inconsistencies I then used the Masking tools in Camera Raw; you can choose to use masked adjustment layers in Photoshop instead.


Trevor.Dennis
Community Expert
Community Expert
May 15, 2025

These might be the most messed up images I have seen on this forum in the last 16 years!  The issue are not uniform either, so you are going to need to mask so you can edit area by area.  This is just the central section, and has completely lost the face and other detail of the man in the foreground.  Most of the edit below was done with Topaz Photo Ai, and then some more with Camera RAW.  I started with Denoise, but had to keep going back and increasing the denoise strength as I increased detail.

I'm thinking that the airport xray theory could well be right.  There are two types of light leakage problems.  The usual one is when the film is removed from the camera, and put in a pocket while not in its wee case.  The light ingress is via the slot in the canister, and shows as streaks perpendicular to the film's length like below.


The other is via leaks in the camera case, and they are going to show as radiating from the source of the leak.  The problem with this film is highly uniform, which I can see coming from light leakage.  Could it also be due to old film stock or poor processing with old chemicals?   Most likely I would say.


Whatever the cause, I don't see how you could get a reasonably usable result from such badly damaged negatives.

Legend
May 14, 2025

I'm asking while I think on the fix I want to attempt. before I forget the questions --

Is this a camera known for light leaks?

These look like travel snaps -- did you get your camera and film hand-processed at the airport? Looks like x-ray fog.


--


My thought was Photoshop 2025>Filter>Neural Filter>Photo Restoration (beta)

One can recover a limited amount of detail, but there doesn't seem to be any detail to recover.

I only played with one of your photos before giving up. The magicians who lurk here may have better ideas on recovery.

Photo enhancement set to 25%, Noise reduction to 50%. [added 50% Contrast]
Only the left, more-normally exposed side of the photo was "recovered."


Larry
Participating Frequently
May 14, 2025

hi