“72 ppi” is not a useful number by itself. It only has meaning when you also state the printed size. So in your question there are two missing pieces of information. You did not mention the width and height of the image in pixels, or how large the image needs to be printed in inches or centimeters. Without that information, we can’t calculate the effective ppi of the image. Maybe the image already has the necessary resolution.
For example, if the image is 900 pixels wide by 600 pixels tall, then we know that:
- If you print it 3 inches wide, it is 300 ppi because 900 pixels divided by 3 inches equals 300 ppi.
- If you print it 6 inches wide, it is 150 ppi because 900 px / 6 in = 150 ppi.
- If you print it 2 inches wide, it is 450 ppi because 900 px / 2 in = 450 ppi.
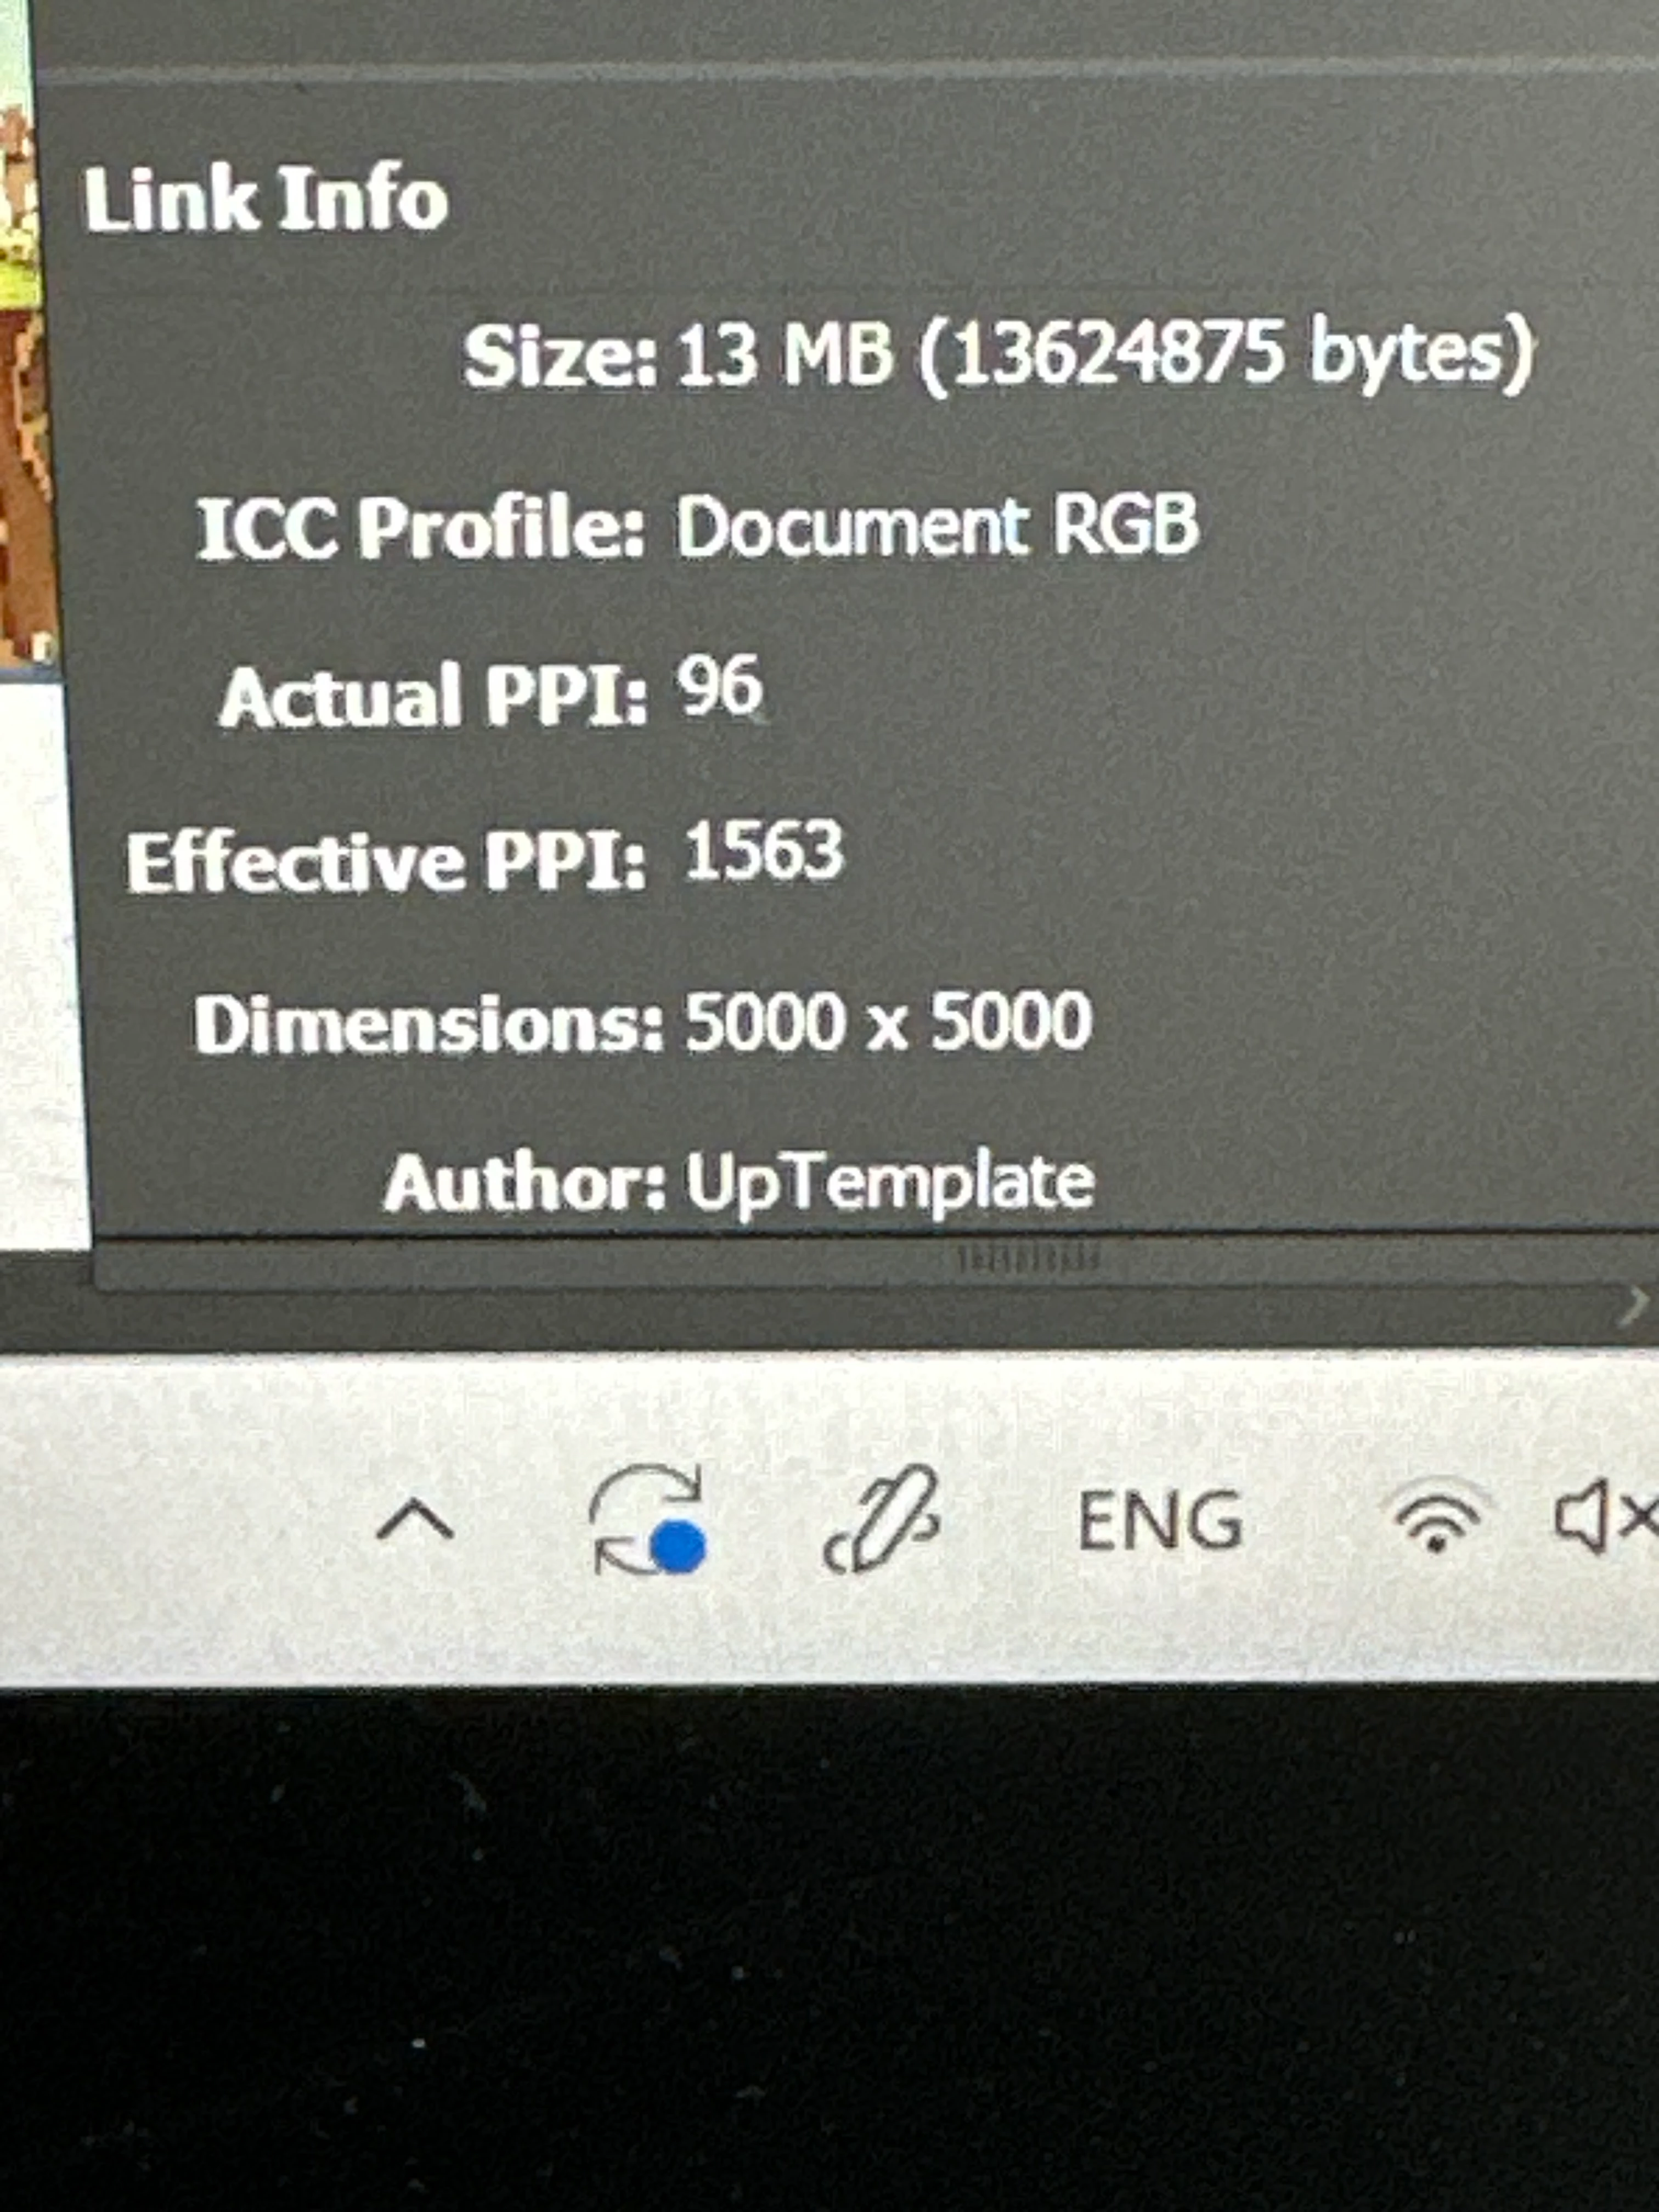
This is why, in InDesign, the Info panel displays Effective PPI when you select an image on the page. Effective ppi resolution is the width and height of the image corrected for its print size in inches on the page using the formula above. So check that first, in case it turns out that upscaling the image in Photoshop is not necessary.
If you want to print it large enough that the effective resolution falls below 300 ppi, then you can decide which resizing method to use. And this has changed a lot in the last few months!
- Old methods: Use the command Image > Image Size, and use a Resize interpolation method such as Bicubic Smoother, Preserve Details, or Preserve Details 2.0. You should test with more than one to see which works best with the details in your specific image.
- Newer methods that use machine learning to try and preserve details better than the old methods: The Super Zoom Neural Filter (Filter > Neural Filters), or Super Resolution in the Camera Raw Filter.
- The newest method uses AI to try and invent plausible details: Use the command Image > Generative Upscale, then choose which AI model to use.
Out of all these options, you may find that Preserve Details 2.0 is not that great, and that the newer methods that use machine learning/AI produce better-looking details.
What print professionals will always recommend is, instead of settling for an image you found online that might not have enough resolution, contact the source of the image and license a full resolution version. A full resolution image always has more real details than a downloaded low-resolution image that you try to upscale, even with AI.