Inspiring
November 27, 2018
Question

Invert selection

  • November 27, 2018
  • 2 replies
  • 3031 views

I press Q to select and CTRL I to invert selection. I wind up with this: (red arrow)

I then click on the box with the thin white lines I wind up with this: (red arrow)

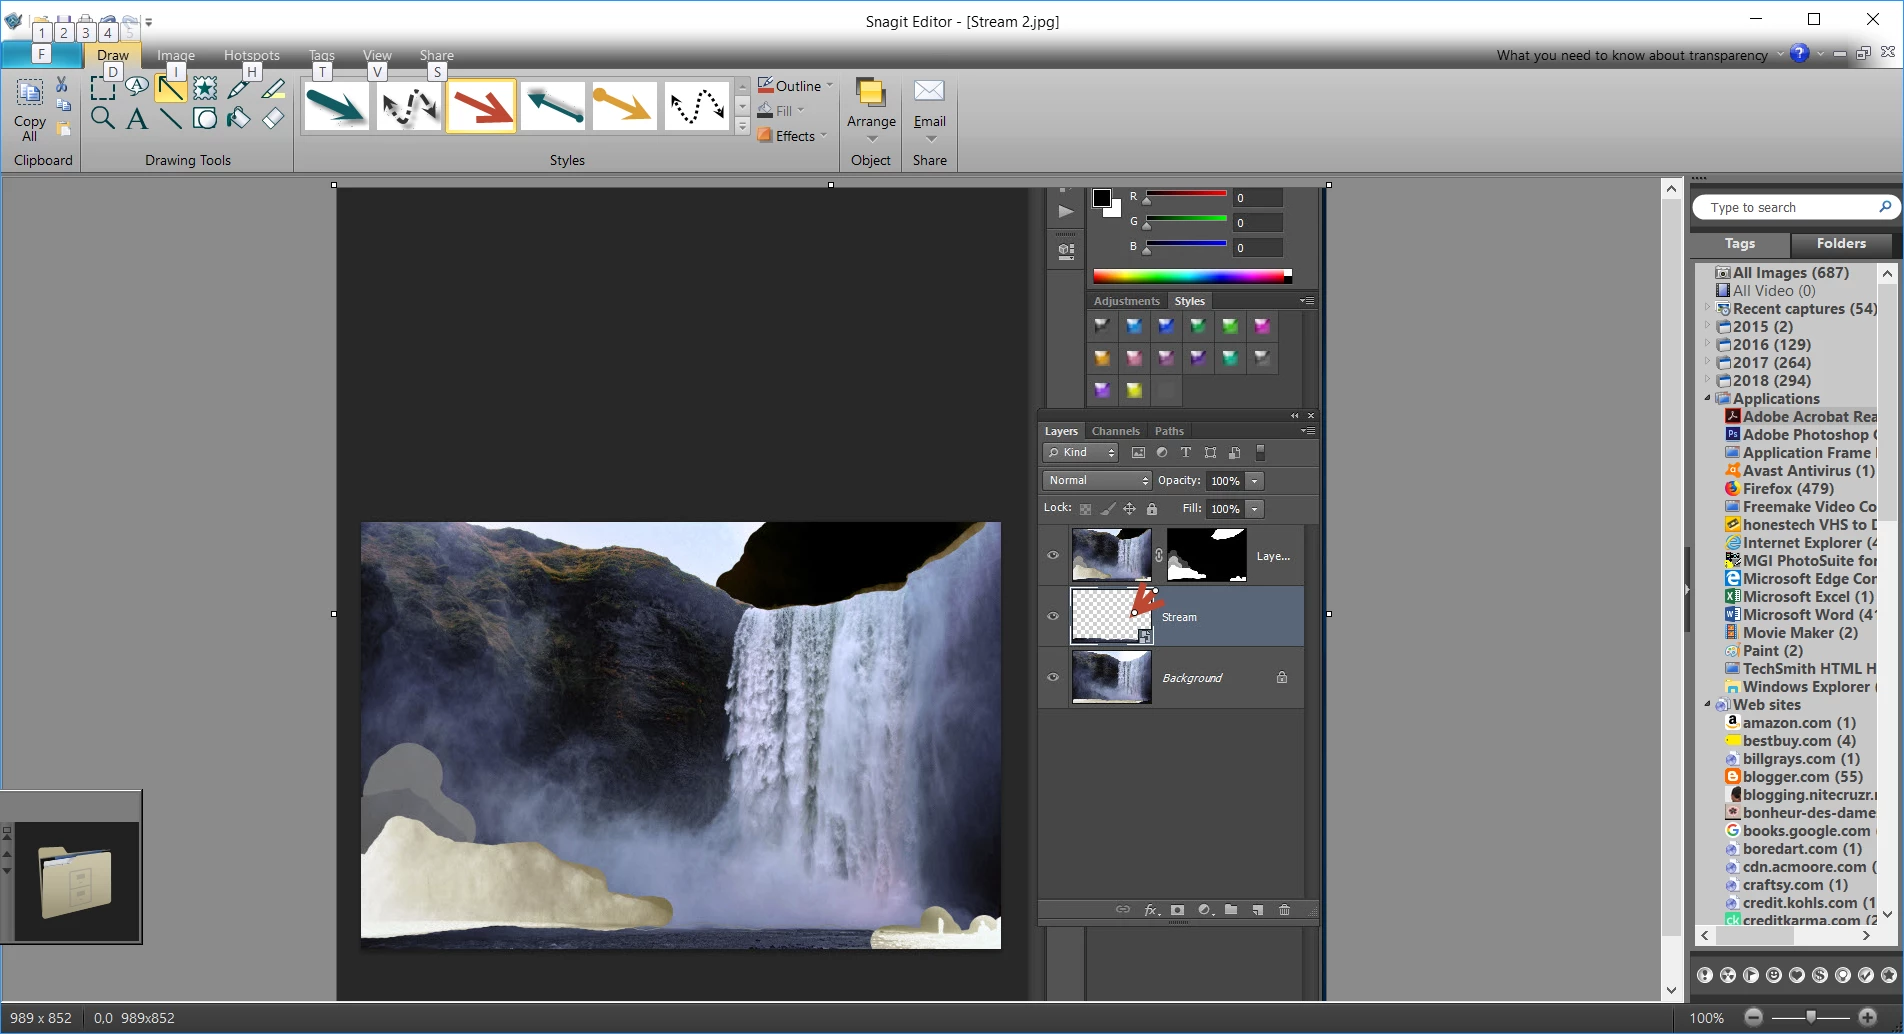
It is the same when I mask the falls, mists...

NOTE: At the beginning of the tutorial, after pressing Q to select and CTRL I to invert--the rock, people are cloudy white--why?

This topic has been closed for replies.

2 replies

Trevor.Dennis
Adobe Expert
November 27, 2018

lucienp8924865  wrote

I press Q to select and CTRL I to invert selection. I wind up with this: (red arrow)

Ctrl i does invert the Quick mask selection, but I think you are making things too complicated.  Decide on how you'd like Quick Mask to work.  Set it accordingly, and go from there.

I am going to come straight out and suggest you set yous up the same as mine, because I think the tutorial you showed us has his set the same way.  So double click the Quick mask icon at the bottom of the toolbar, and if not already set, click on Selected Areas. 

You now know that painting with black adds to the selection, and white removes from the selection.

Painting with 50% grey, gives you 50% transparent selection.  If you come out of Quick Mask and paint inside the selection, it would be the same as using a  brush set to 50% opacity.

What a lot of people don't grasp straight away, is that when you are in Quick Mask you can use Photoshop's tools to help. 

In fact it might seem counter intuitive to use a selection tool like the Marquee tool to help make a selection in Quick Mask, but it works

Hitting M to go into the Marquee tool lets you move it into a new position, and b takes you back to the brush to paint with black to add to the selection.

Another cool thing with Quick Mask is that we can blue it to give us a visual indication of how much we have feathered our selection.  This is a very useful trick.

So get comfortable with Quick Mask, and know what is and isn't selected.  

Inspiring
November 27, 2018

I am a bit sleepy, been overwhelmed with little things, i.e., I don't know how to see image and Timeline without toggling back and forth. I am going to check out your links tomorrow when I am not soooo frustrated. I don't quite understand why, when I press  mask image on Toolbar, it doesn't show red. Then I hit the sound icon on the menu bar and it took me an hour of messing with my cords before I figured that out! I did change the percentage to 50 as shown in your image. Thanks and please don't give up on me. You are the only one who actually points things out with arrows...

JJMack
Adobe Expert
November 27, 2018

It is not possible to tell what you are doing. Your Tool bar and history palette is not present in your screen capture.  Q enters and exits quick mask mode.  I do see any quick mask or any section for invert selection to invert.  The red arrow layers look like a it pointing to Placed png image layer. Somehow it look like you mover or replaces the contents of the placed smart object layer between the two screen captures. I see no box with thin white lines ??? At the beginning of the tutorial of what tutorial??

Here is what a selection looks like, Followed be Q to enter quick selection mode, followed by Ctrl+I invert selection.

or thhis id quickselection mode is set to selection

JJMack
Inspiring
November 27, 2018

Here is link to tutorial, clicking on mask on left toolbar:https://www.youtube.com/watch?v=YmTHX0P9T9M&feature=em-comments

Images are screen print of my screen.