I've always thought it can be a lot less straight forward that your average tutorial makes out, because the reflected object is as often as not going to have an uneven bottom edge, so simply flipping a copy of the image is going to leave all sorts of gaps and reflection errors. In fact I don't know of a fool proof solution, and would love to hear how some of the more experienced forum regulars approach it?
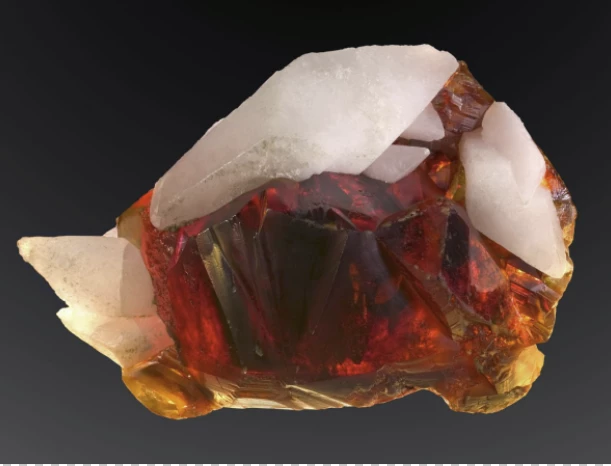
Minerals are likely to be a particular problem with the outline of this one being not untypical.
My less than perfect approach is to start by flipping a copy, and adding an inverted layer mask to the 'reflection'. Then unlink the layer mask so you can _try_ and warp the reflection into alignment. Of course, warp is not going to cut it with so ragged a bottom edge, and Liquify on a Smart Object of the reflection is not going to make a great job.
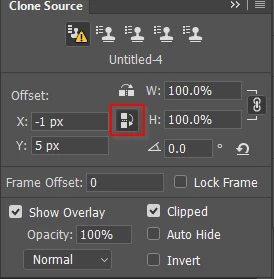
My next approach is to use the Clone tool flipped vertically in the Clone Source panel. You have to continually move the sample point to get the offset 'about' right.
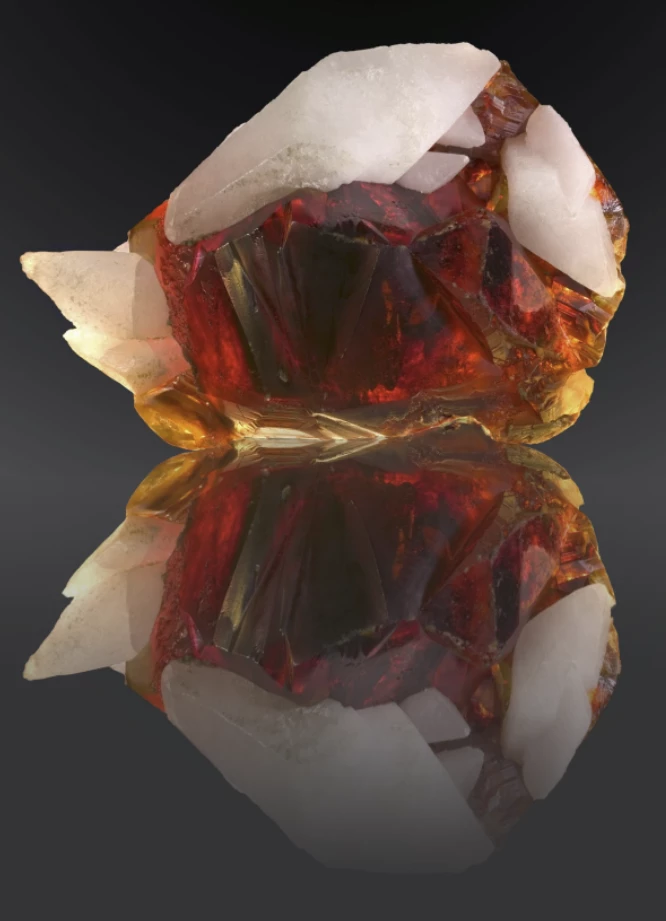
It is still a long way from perfect, and we don't know how far from the reflecting surface those concave elements are. We would see a reflection of what lies 'beneath' that part of the curve that we can see directly, whereas to some extent, I have tried to interpret the object as if it had been sliced perfectly sliced through horizontally, and was sitting completely flush to the reflecting surface. It's an interesting problem.

 Thank you very much for any tips and advice