Participant
August 7, 2019
Question

Modifying a selection (e.g. "Border") causes feathering

  • August 7, 2019
  • 2 replies
  • 736 views

I make a selection with the rectangular select tool. There is no feathering to it; it is completely solid, 100% opacity, all the way around. Anti-aliasing is disabled and feather is set to 0 px.

I go to Select > Modify > Border. It creates a border.

I go to fill in the modified selection area (with a brush or the paint bucket, same behavior either way) but instead of being solid, it's feathered the entire way around and the fill goes beyond the marked selection area.

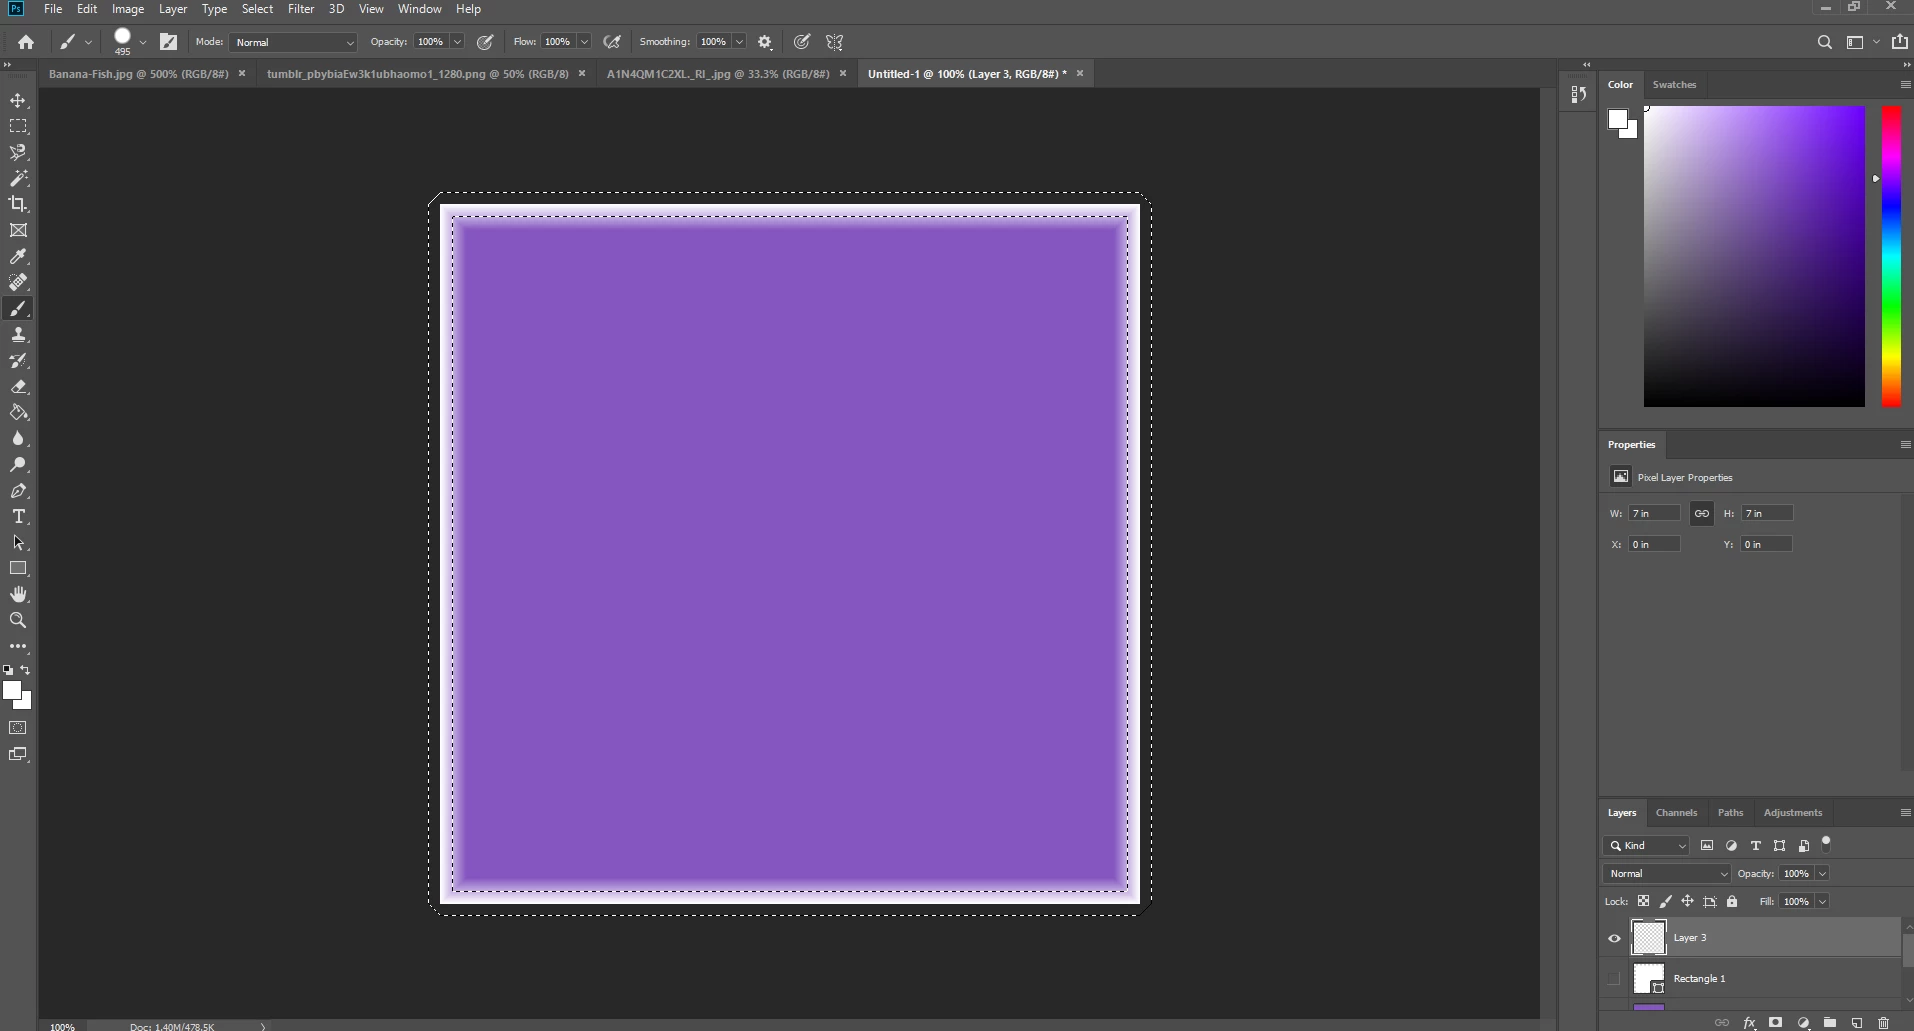
I need SOLID selections. If I wanted it to be feathered, I would set the initial selection to be feathered. How do I fix this so that modified selections don't become blurry/feathered/antialiased?

Windows 10 | Adobe Photoshop CC 20.0.5

This topic has been closed for replies.

2 replies

josephlavine
Community Expert
Community Expert
August 7, 2019

I tried to duplicate your issue as I have never heard of this happening and was unable. Please share your PS version and OS.

thanks,

Jeff Arola
Community Expert
Community Expert
August 7, 2019

The origin of the Select>Modify>Border or Select>Fringe as it was known in the first couple of photoshop versions was mainly used for blending pasted or floating selections into the content below. In the first several versions of photoshop 1, 2 and 2.5 there were no layers.

The selection made with Selection>Modify>Border is intended to be feathered.

One could select the edges of a floating selection with Fringe which as you have seen put a sort of feathered border around the existing selection and apply blurring with say Gaussian Blur to better blend in the floating selection with the content below before Defloat which made the content merge down into the area below.

Of course there are numerous creative uses for Select>Modify>Border including making some pretty interesting frames combined with layer styles.

Anyway, you could make your selection with the Rectangular Marquee Tool or Ctrl/Cmd click on the object layer, click on the Quick Mask Mode icon at the bottom of the toolbox and then go to Filter>Other>Maximum and enter the desired size of the stroke.

Then Exit Quick Mask Mode, which leaves a selection and go to Edit>Stroke and use Inside and enter the same amount you used in the Minimum filter.

1. Make selection of object such as Ctrl/Cmd clicking on the layer thumbnail in the layers panel

2. Click the Quickmask icon second from the bottom in the Tool Box, go to Filter>Other>Maximum and

    enter the desired border size. 16 in this example

3. Click on the Quickmask icon to exit and your left with a selection. Go to Edit>Stroke and for the amount

    use the same number as used in the Maximum filter then Inside for the Location