I think the issue is going to be scale. The size of each poster will depend on how you photograph it. A 2 inch poster that fills the frame in the camera/phone, will be out of scale with a 20 inch poster that fills the frame.
There may also be an issue if the camera was not perfectly perpendicular to the center of the poster poster.
Lets deal with the this one first as the fix is easier, and that is Perspective Crop. This will get things perfectly square, but the aspect ratio might be out, so either live with that, or fix it with Free Transform.
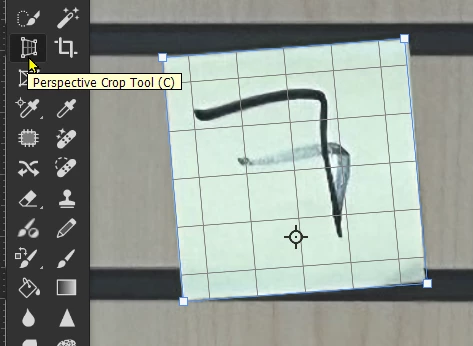
Use Perspective Crop to square up your wall image with it filling the frame.
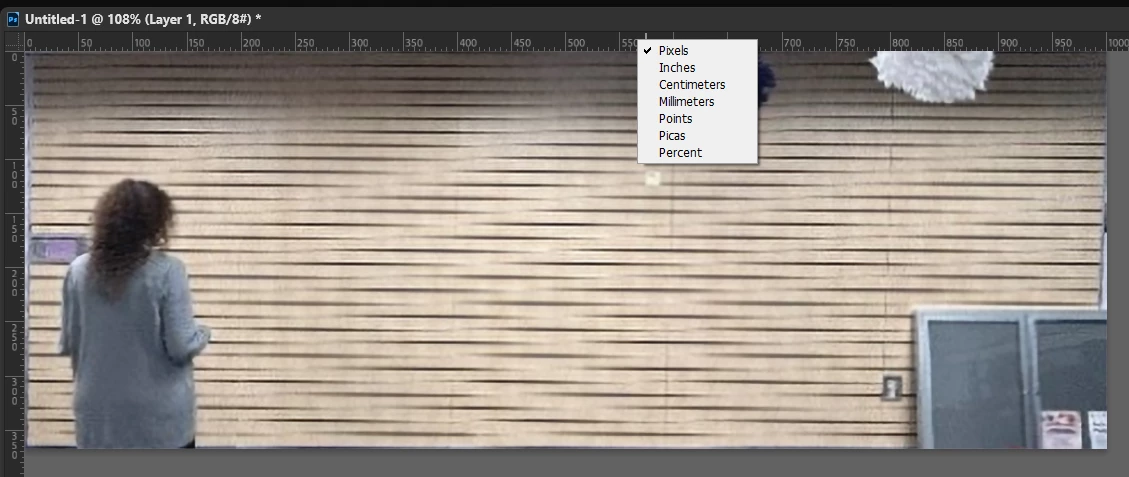
Turn on rulers (Ctrl r) right click inside a ruler and set the units (metric or imperial).
Now resize the image so that the rulers can equate to the size of the wall.
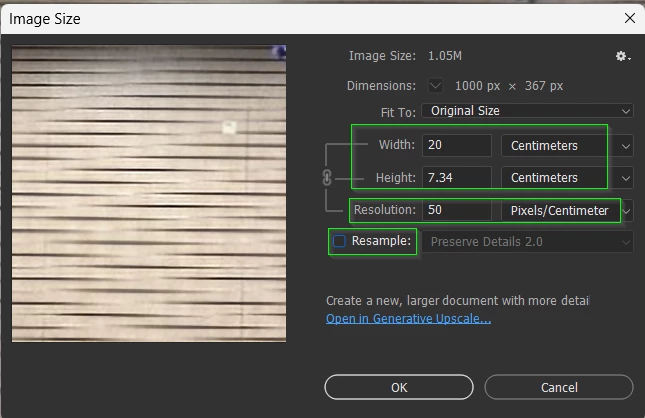
I have turned off Resample so the image pixels will not be changed.
It is currently showing the wall is 20 centimeters, and resolution is 50 pixels/centimeter
Let's say that the wall is actually 5 metres long (so we will interpret centimeters as metres going forward).
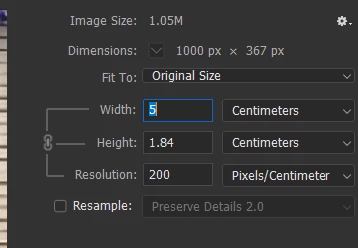
Do the math, that says we need to set the resolution to 200

And the size now matches reality (if we view centimeters as metres)
Now open Preferences and set appropriate grid units (base 10 if metric)
I also change the grid colour to make it more visible.
You now have a reference overlaid to set your posters to.
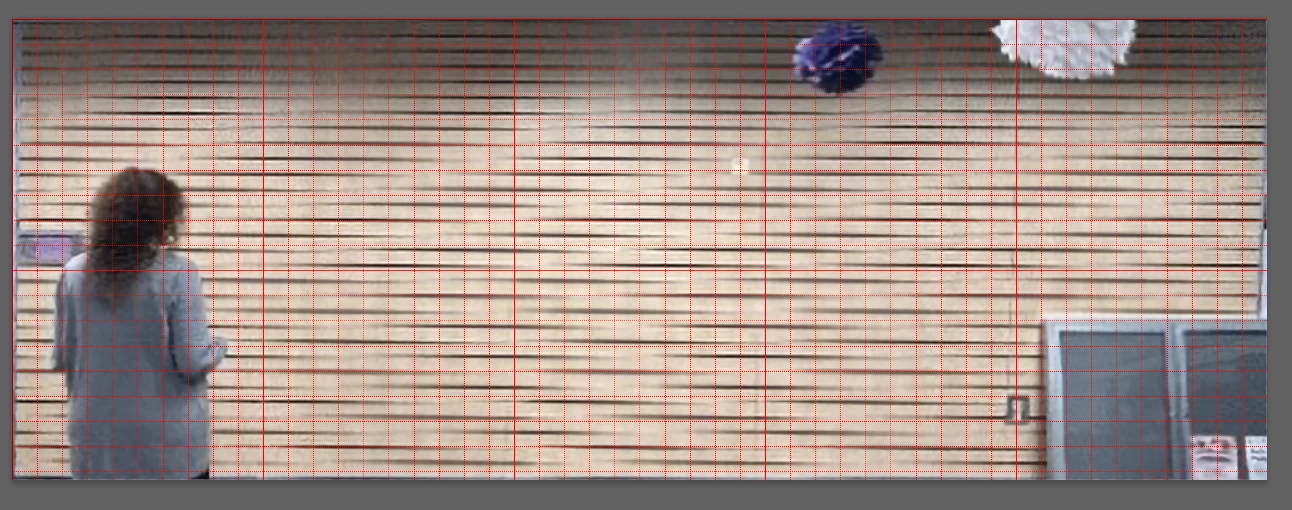
Resize each poster to the wall scale, and place them on the wall. Each sub-grid line is 100mm in our case. the images will snap to those lines if snap is turned on.
Tip: With the Move tool selected, make sure Auto Select is disabled. You can then Ctrl select each poster by placing the cursor on it and Ctrl draging.
I hope you can work all that out. Just ask if you need more help.

