Participant
July 2, 2024
Answered

Need Help with Editing Permanent Makeup Photos

  • July 2, 2024
  • 2 replies
  • 1333 views

Hi everyone,


I need some guidance on editing client photos for my wife's permanent makeup salon. I've been using Photoshop for years, primarily for creating marketing materials, but I'm struggling to achieve the specific look we want for these photos.


I've searched extensively for tutorials and even invested in some paid courses, but none of them have helped me reach the desired outcome. I'm looking for advice or techniques to enhance and retouch the photos to showcase the permanent makeup work effectively.


Here's a sample photo illustrating the style I'm aiming for: 


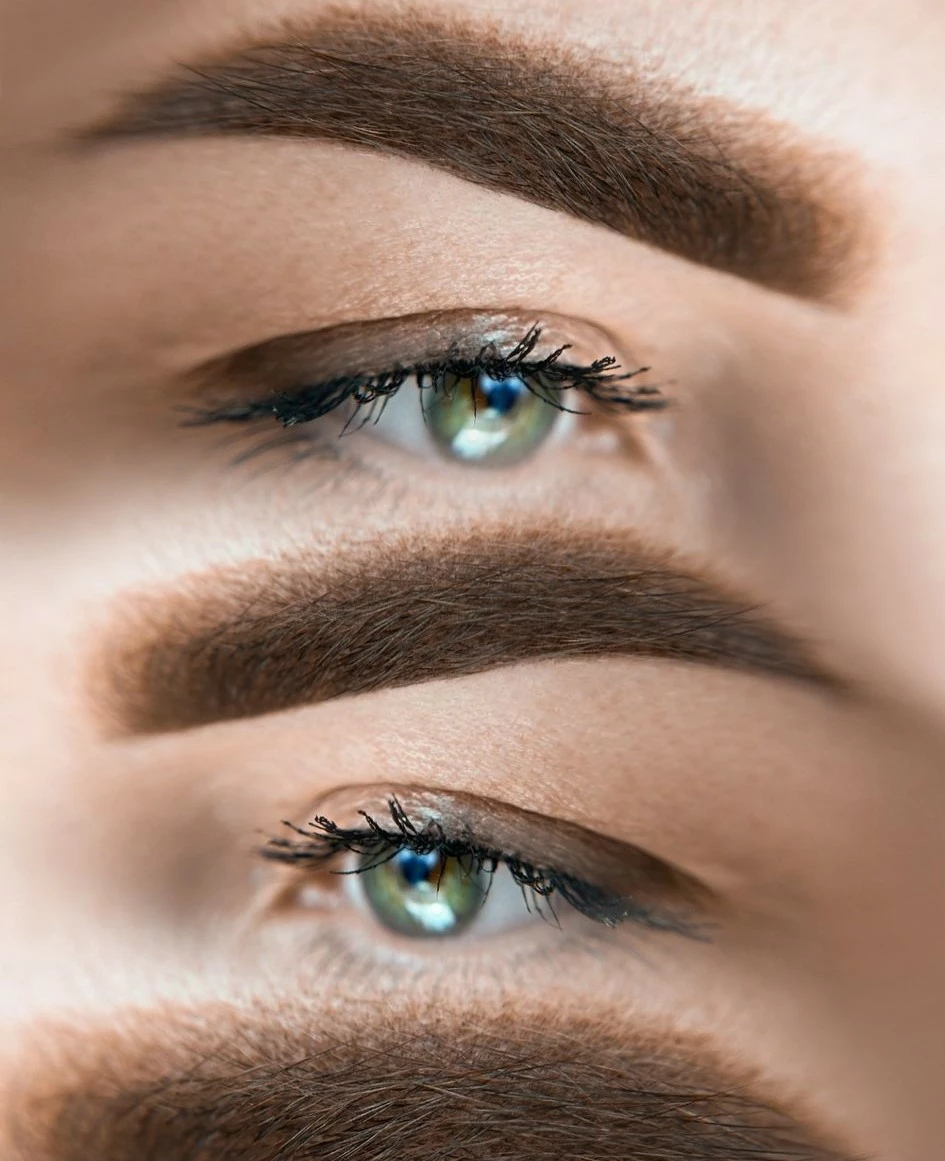
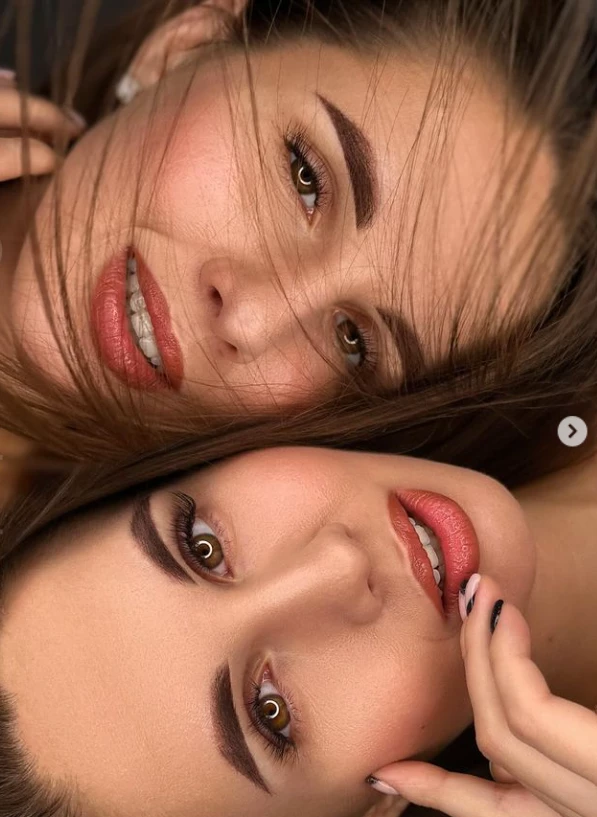
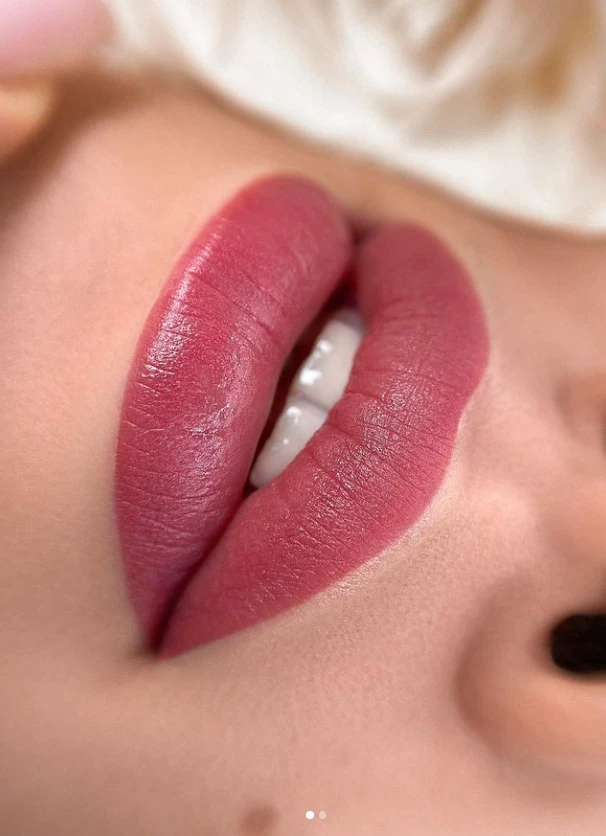
Any tips, step-by-step guides, or resources would be greatly appreciated. Thanks in advance for your help!


This topic has been closed for replies.
Correct answer Kevin Stohlmeyer

I'm not saying that lighting wilk not improve the overall quality. I'm saying that will not have the outcome I expect. I also do photogtaphy and i am also marketer for the biggest permanent make-up contest in Romania. Lights will not remove redness from face , sleepy eyes, or all kinds of impuritie, and also will not make the face unrealistic as i am lookin for.


You can try using the Frequency Separation editing method.

Not going to reiterate the need for good source photos to start. Judging by the examples you've given and your replies - you seem set on your methods. Here is a resource for retouching:

https://www.lisacarney.com/basic-frequency-sep

https://www.youtube.com/watch?v=WaOWcjfBCNU


2 replies

Participant
December 21, 2024

Hi there,

It sounds like you’re trying to refine your editing process to showcase your wife’s salon work in the best possible light. Enhancing photos for permanent makeup can be tricky, especially when you’re trying to highlight fine details while keeping everything natural-looking.

Here are a few tips to help you:

  1. Focus on Skin Retouching: Use tools like the Spot Healing Brush or Clone Stamp Tool in Photoshop to smooth out any blemishes while maintaining natural skin texture. Avoid over-editing, as it can make the results look artificial.

  2. Enhance Colors and Details: Use Dodge and Burn techniques to enhance the makeup and subtle features. This will make the permanent makeup pop while maintaining realism.

  3. Use Frequency Separation: This technique allows you to separate texture and color layers for precise adjustments to skin tone and texture without blending them.

  4. Adjust Lighting and Shadows: Fine-tune the image using adjustment layers like Curves or Levels to improve lighting and bring out the details.

If you’re pressed for time or want a professional touch, you could consider outsourcing the editing. A service like FixAnyPhoto specializes in photo retouching and can enhance your client photos to perfectly match the style you’re aiming for.

Feel free to share a sample photo or more details, and I’d be happy to offer more tailored advice!

Legend
July 2, 2024

These photos are mainly the result of good lighting. Try using a ringlight or butterfly lighting with a bounce panel below.

Participant
July 3, 2024

Not really, there are many freelancers doing this edits on your photos. We have also payed someone a few times to edit our photos like this.

D Fosse
Community Expert
Community Expert
July 3, 2024

Not really? You'd rather spend a workday in Photoshop than ten minutes setting up proper lights?


Not everything is "just Photoshop". A lot of it is still good photography.


Invest in some good lighting. A ring light for closeups, and a couple of studio flash units. You can use soft boxes, but often you get the softest lighting by bouncing off white surfaces, walls etc.