Answered
Need help with making interior shots look nicer
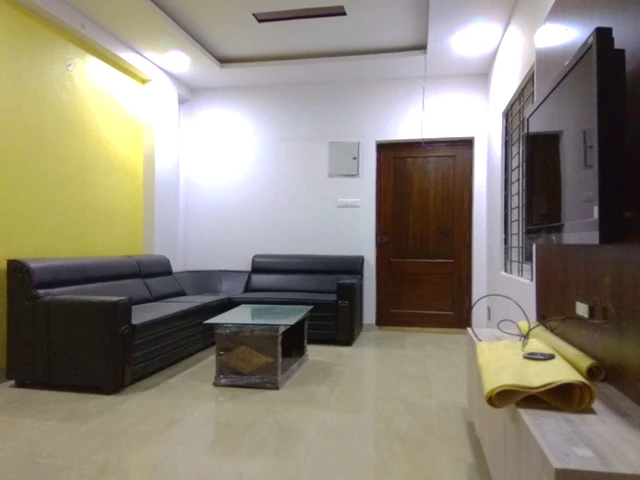
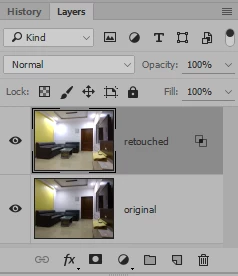
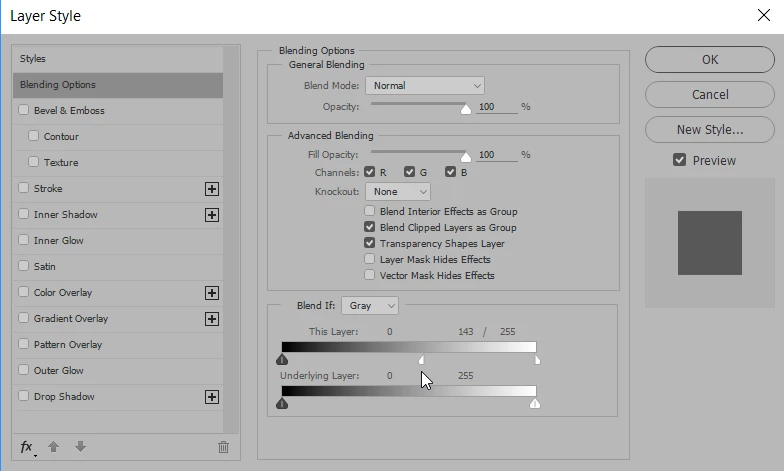
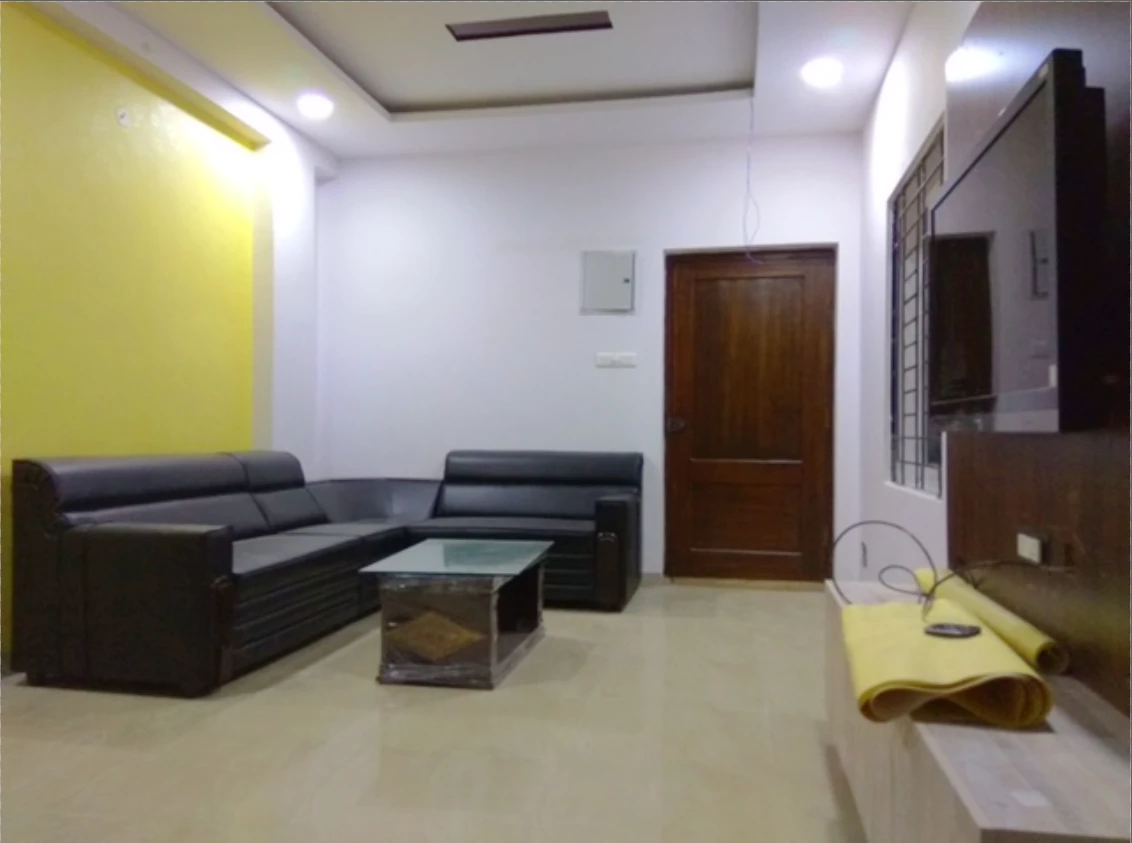
I have a client who gave me some pictures to use in a commercial. Unfortunately the pictures aren't very good and I want to make them look nicer but I don't know much about photoshop. I tried to improve the picture based on a tutorial I found and I am happy with it for the most part but there are these bright glare spots I want to get rid of. Any advice?
Before:
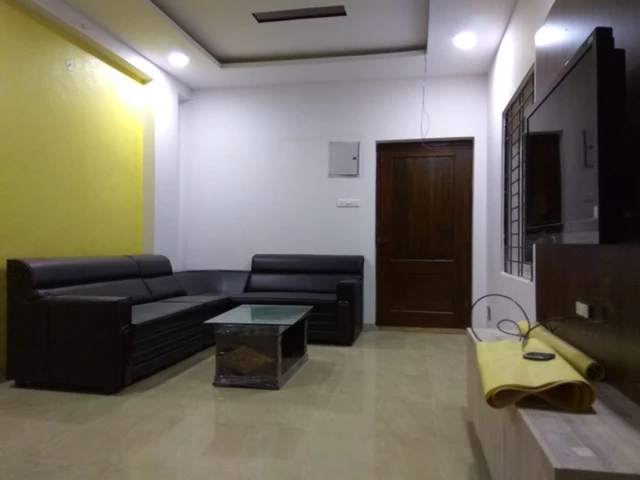
After: