Quick Steps! Create a color stamp brush

How to create a colored stamp brush from an image
If you like creating posters, newsletters, or other projects that include a repeating graphic, you might consider turning it into a brush. Here are step by step instructions to create a color brush.
❶ Launch Photoshop and create a new document
- Launch Photoshop your desktop and create a new document by selecting file-new from the menu
(shortcut: Ctrl/Cmd N)
-
A new window will open with options. Set the desired file size of the file in pixels based on the maximum size you want your brush to be. Mine are usually between 200 and 400 pixels.
-
Be sure to scroll down to Background Contents, select Transparent and click OK. This will ensure you don’t have a solid box around your brush
❷ Create the brush content
-
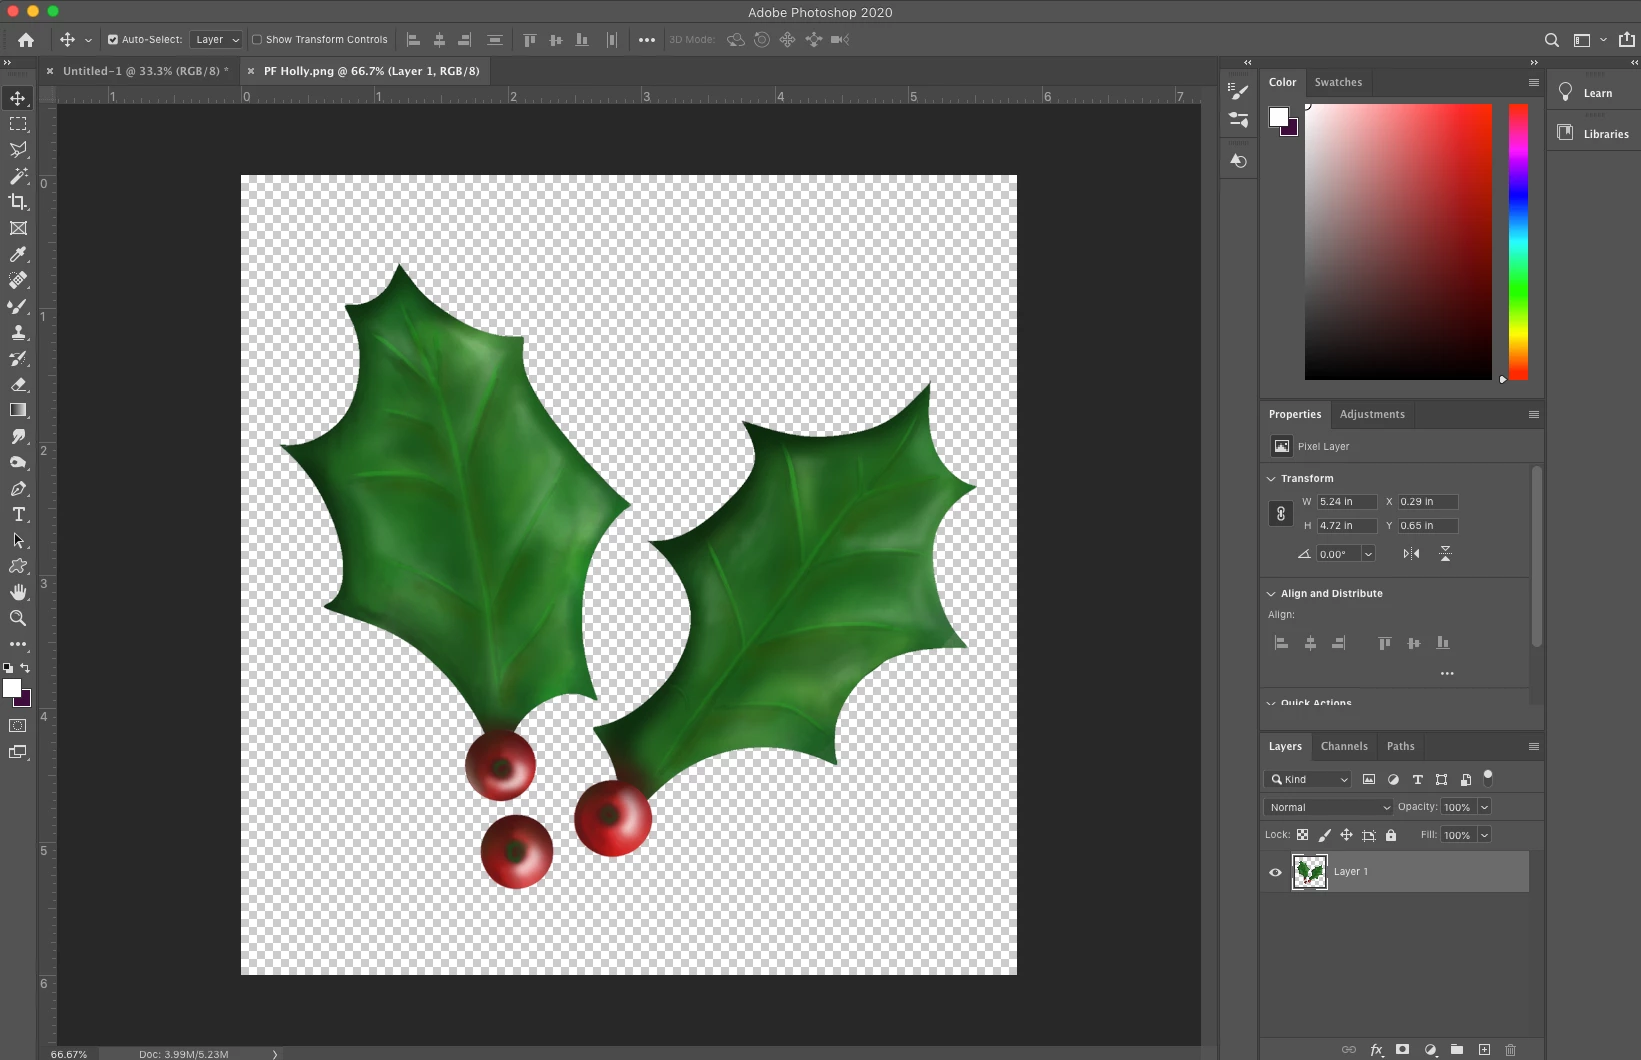
Now, you can paint, use shapes, or copy a selection from a photo to create the content of your brush
-
I painted some holly to use for my brush. Remember to keep the background transparent.
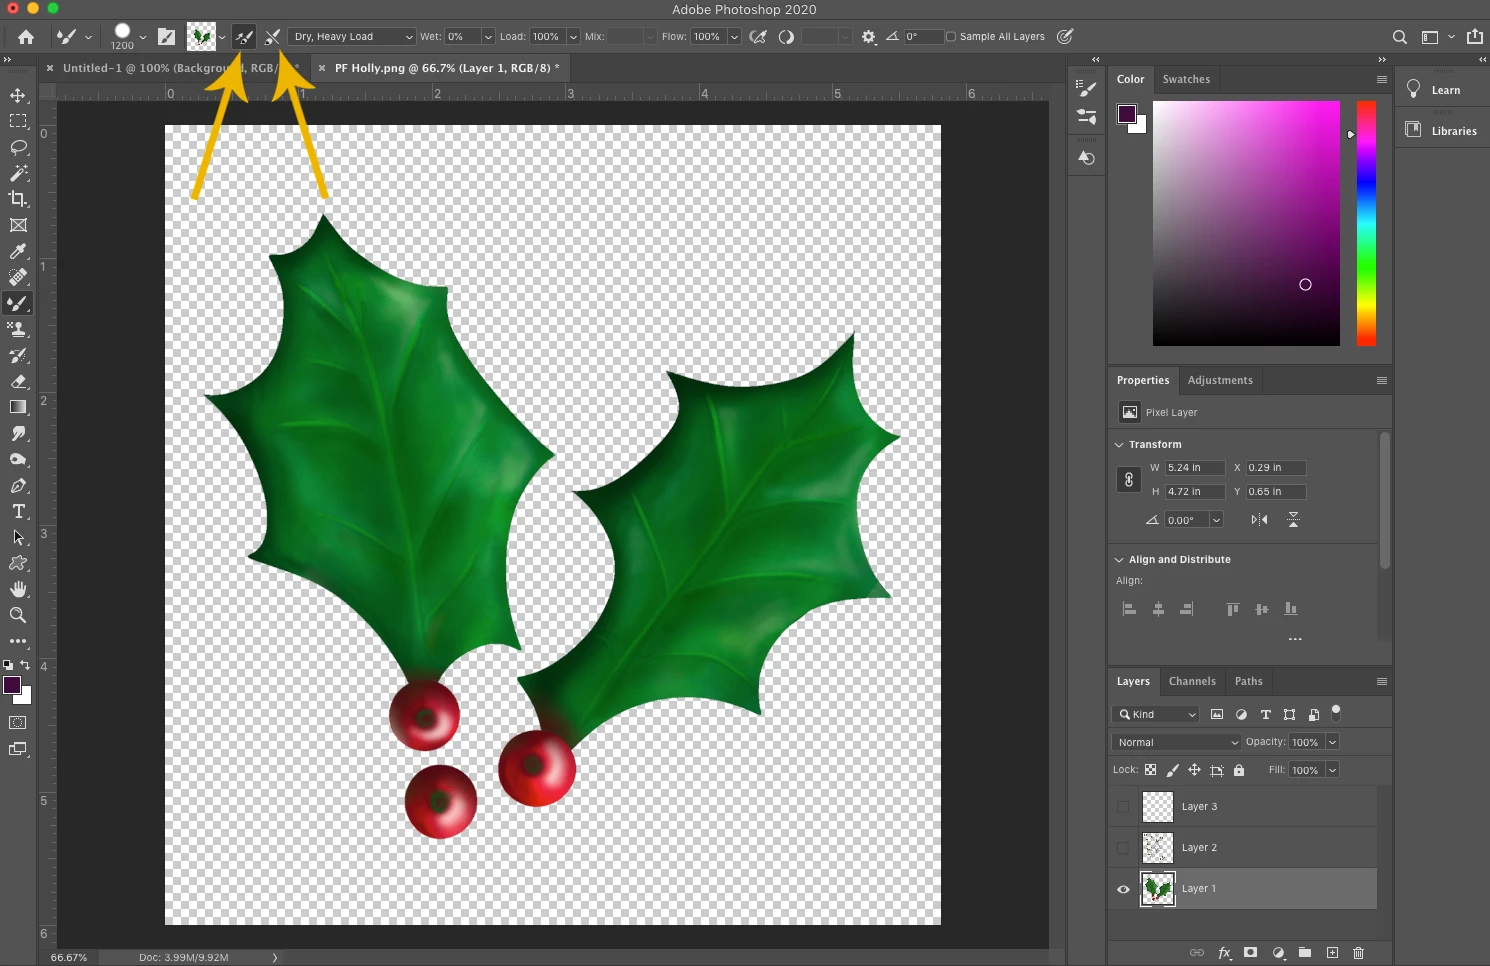
❸ Select the Mixer Brush Tool
-
Long-Click on the brush tools to bring up the flyout and choose the Mixer Brush Tool from the options
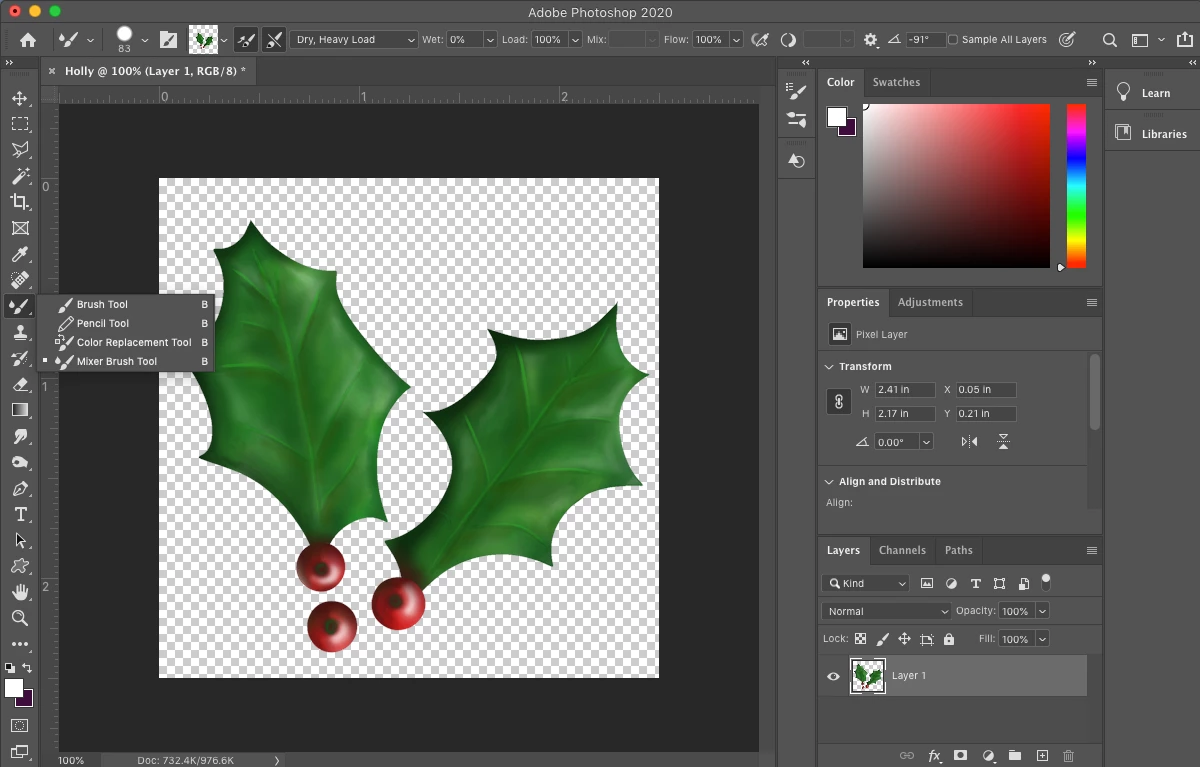
- Choose the hard round default brush

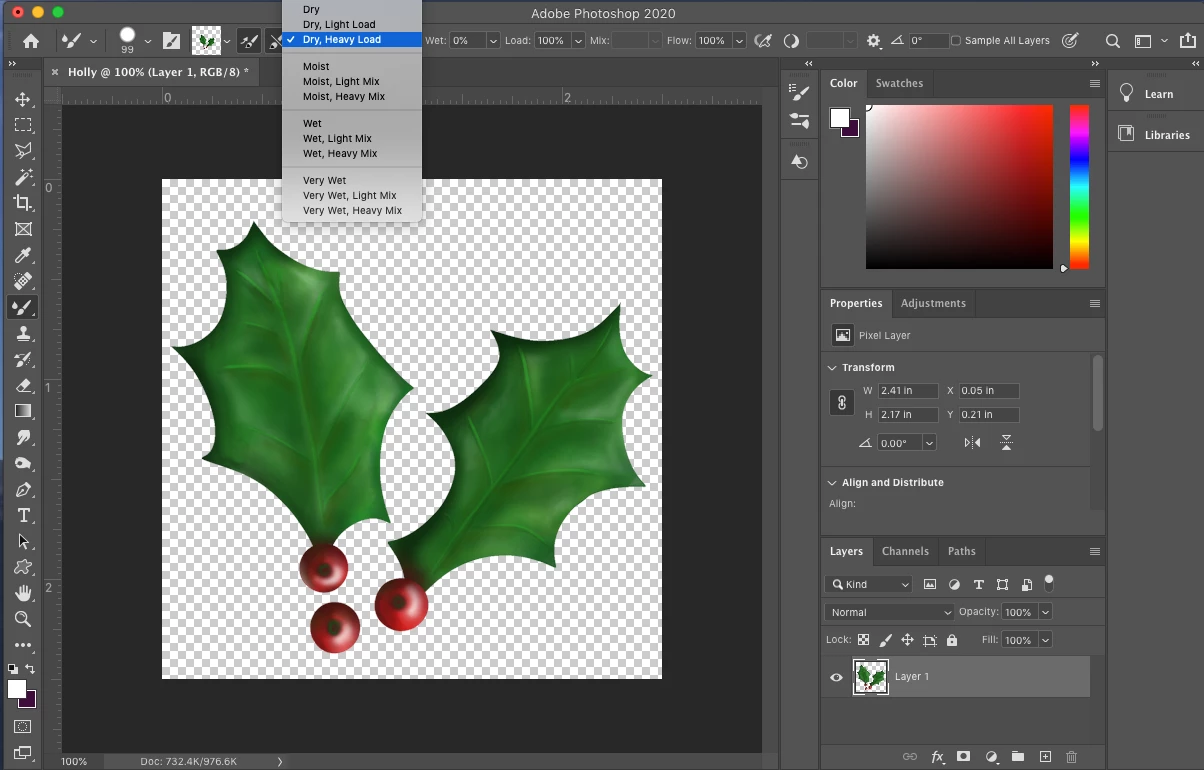
- Set the options to Dry, Heavy Load, Wet: 0%, Load 100%, Flow 100%
❹ Capture the brush image
-
Set the brush size large enough that your image fits inside of it (shortcut: Use the bracket keys to adjust the size)
-
Hold down the Alt/Option key and click in the center of your image to capture the brush
-
You will see the image appear in the Current Brush Load swatch at the top

- Tap the > to the right of the brush image preview box
- Ensure load solid colors only is not checked
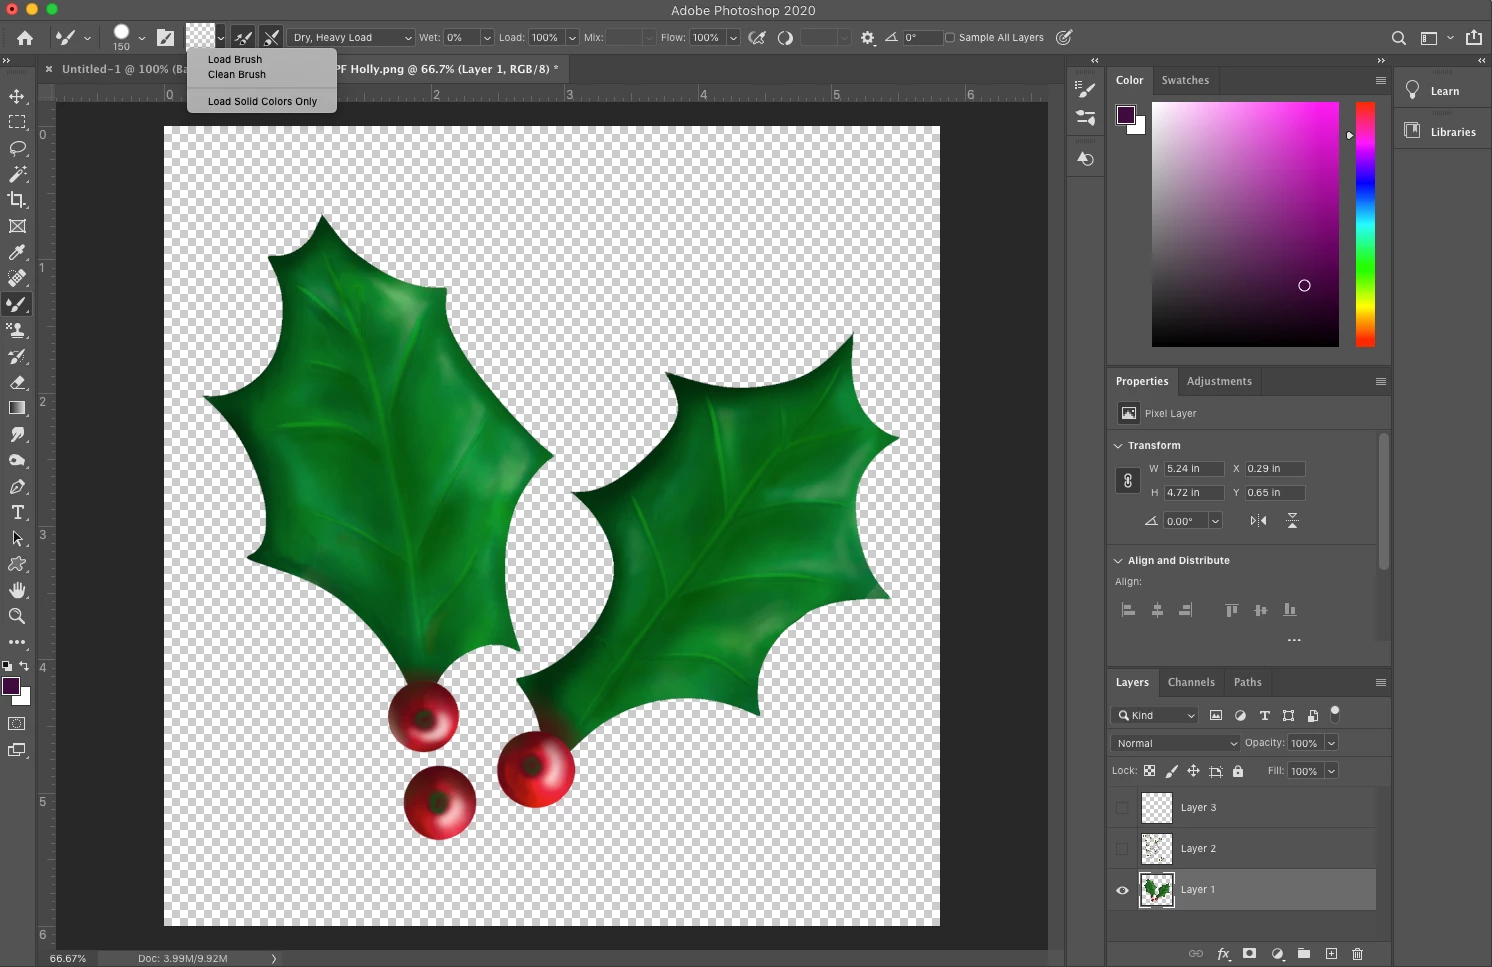
- Enable Automatic Load and ensure Clean is not enabled
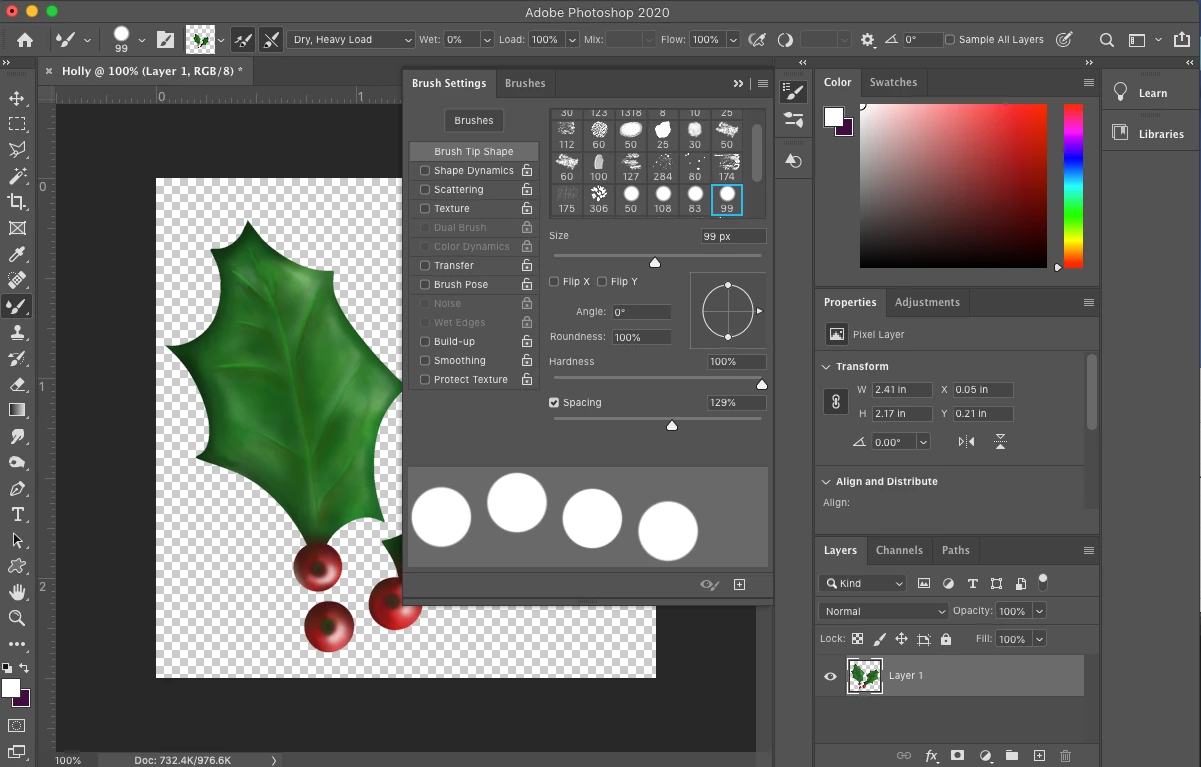
❺ Adjust the brush settings
- From the main menu, choose Window>Brush Settings to bring up the brush options (or click on the icon of the brush on the folder next to the brush size setting)
- Tap on Brush Tip Space and move the slider to the right until it looks like bouncing circles with space between them
- This will space your image out and keep your brush from looking like a long tube
-
You can play with this setting to see how different spacings look
-
Now click on Shape Dynamics
-
Change the Angle Jitter Control option to Direction
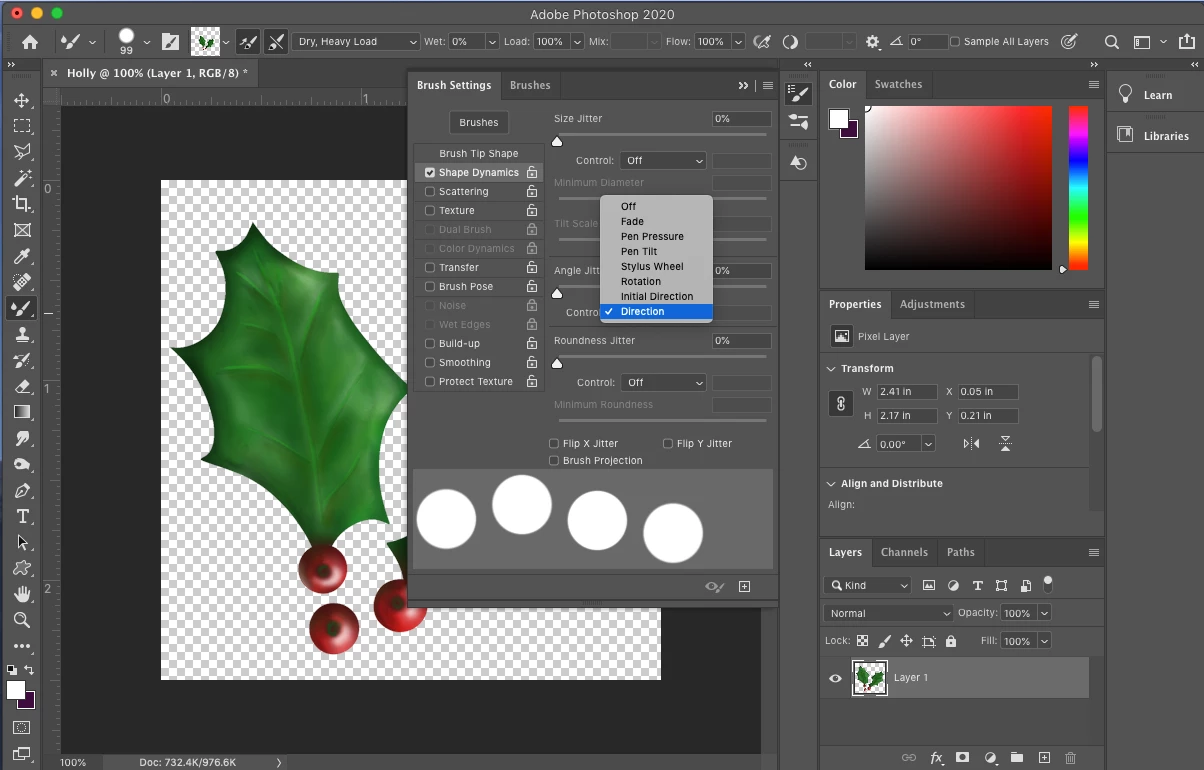
- If you have a pressure sensitive pen and you want the size to vary with pen pressure, you can also change the Size Jitter control option to Pen Pressure
-
Close the Brush Settings panel
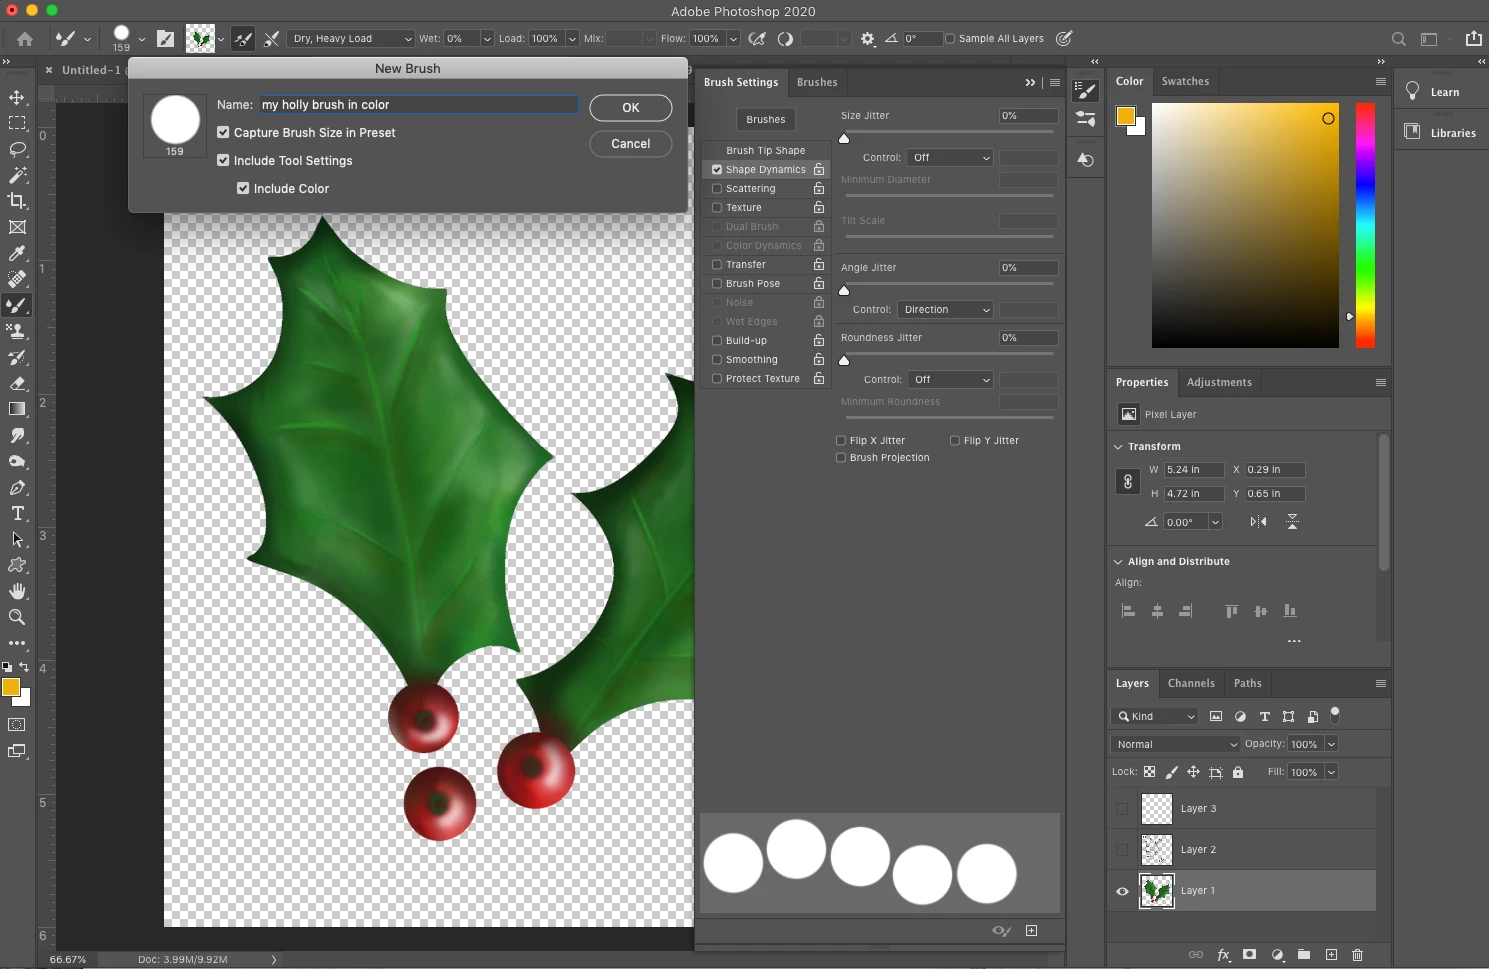
❻ Save and name your brush settings
- Tap on the + symbol at the bottom right of the brush settings
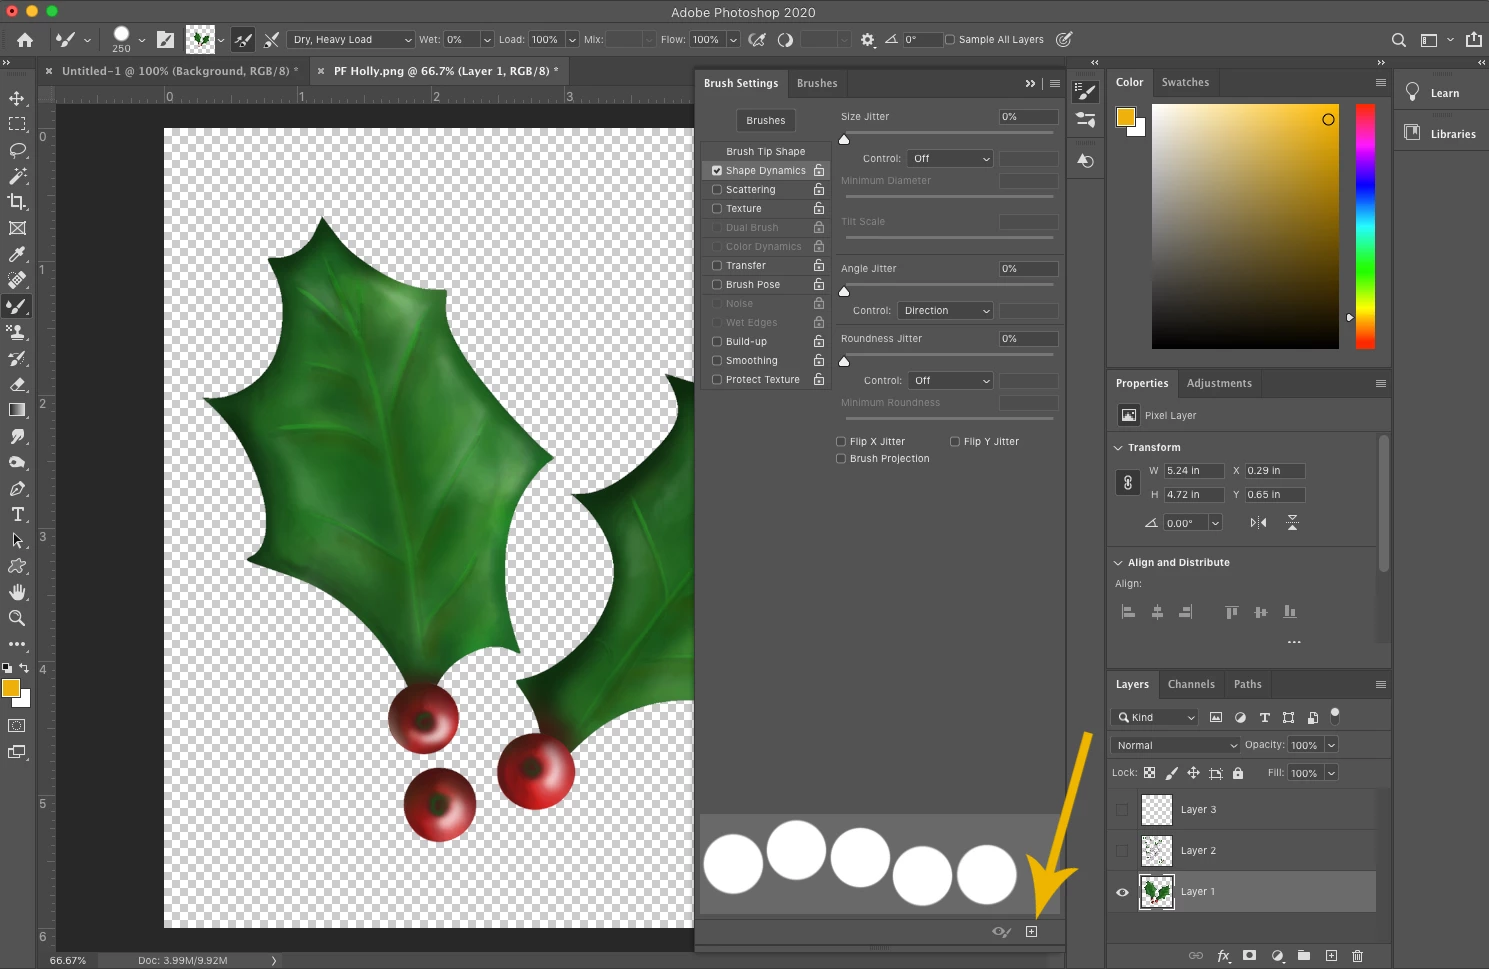
- Check the option Include Color and if desired, Capture Brush Size in Preset and Include Tool Settings
- Name your brush and click on OK to save it
❼ Use your new brush
- Create a new file or add a new layer and give your new brush a try!
- If you want to make a border, you can stamp the brush once, hold down the shift key, and then stamp where you want the last one. Photoshop will line them all up in a straight line.
- Clicking the brush once will work like a stamp.
- Painting with the brush will make a series of stamps that follow your brush stroke with the spacing you set before
Related Links:
Create and modify brushes in Adobe Photoshop
You can use this to create borders for a holiday newsletter or any other number of projects you can imagine!