September 20, 2017
Answered

Recreating lost/clipped highlights.

  • September 20, 2017
  • 1 reply
  • 1159 views

I will post at the bottom of this description one of the images in cause.

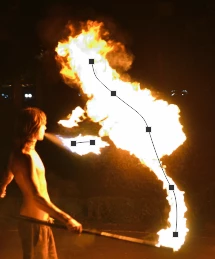
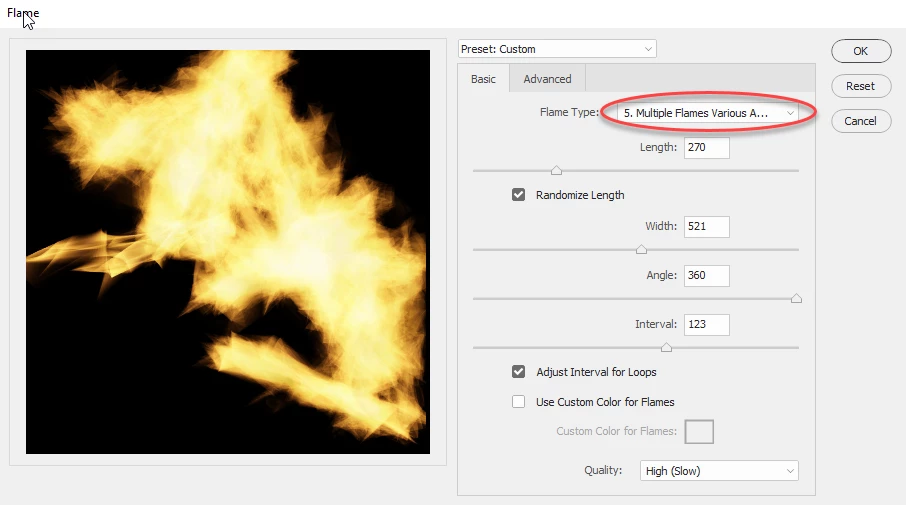
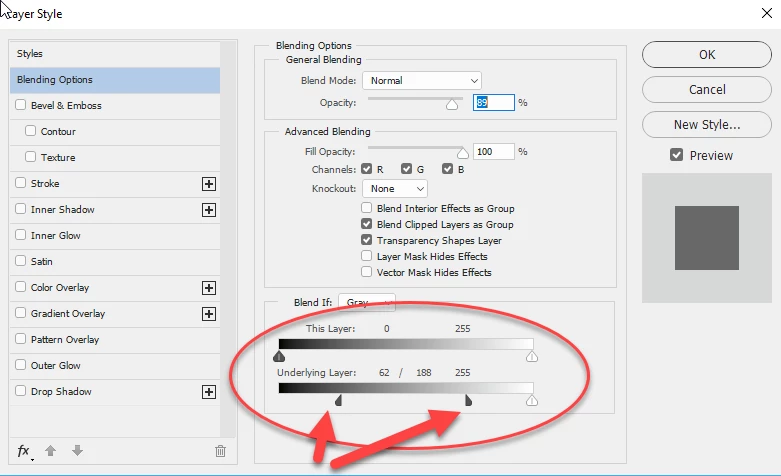
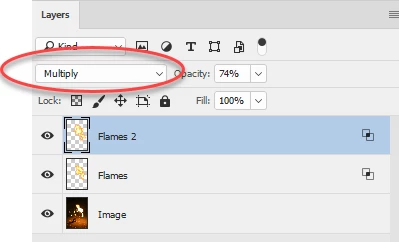
Photo was shot RAW, and in post-processing even dragging the exposure compensation slider down to -2 (maximum), and the Highlight Recovery slider to the maximum (100) , I cannot fill the white space in the middle of the flames. There is obviously lost information in there due to to dynamic range of the scene. Please help. I'll link one of the pictures. I am looking either for a tutorial on how to fill the whites inside the flames manually and blend them somehow to look as realistic as posible, or perhaps a tutorial on how to use some flames taken from google images and use portions of them, to fill the fire and do it in such a matter that the whole thing blends in.

If any of you see other solutions as well, I am open to anything.

I will link a photo with some expanations on it, and a clean version.

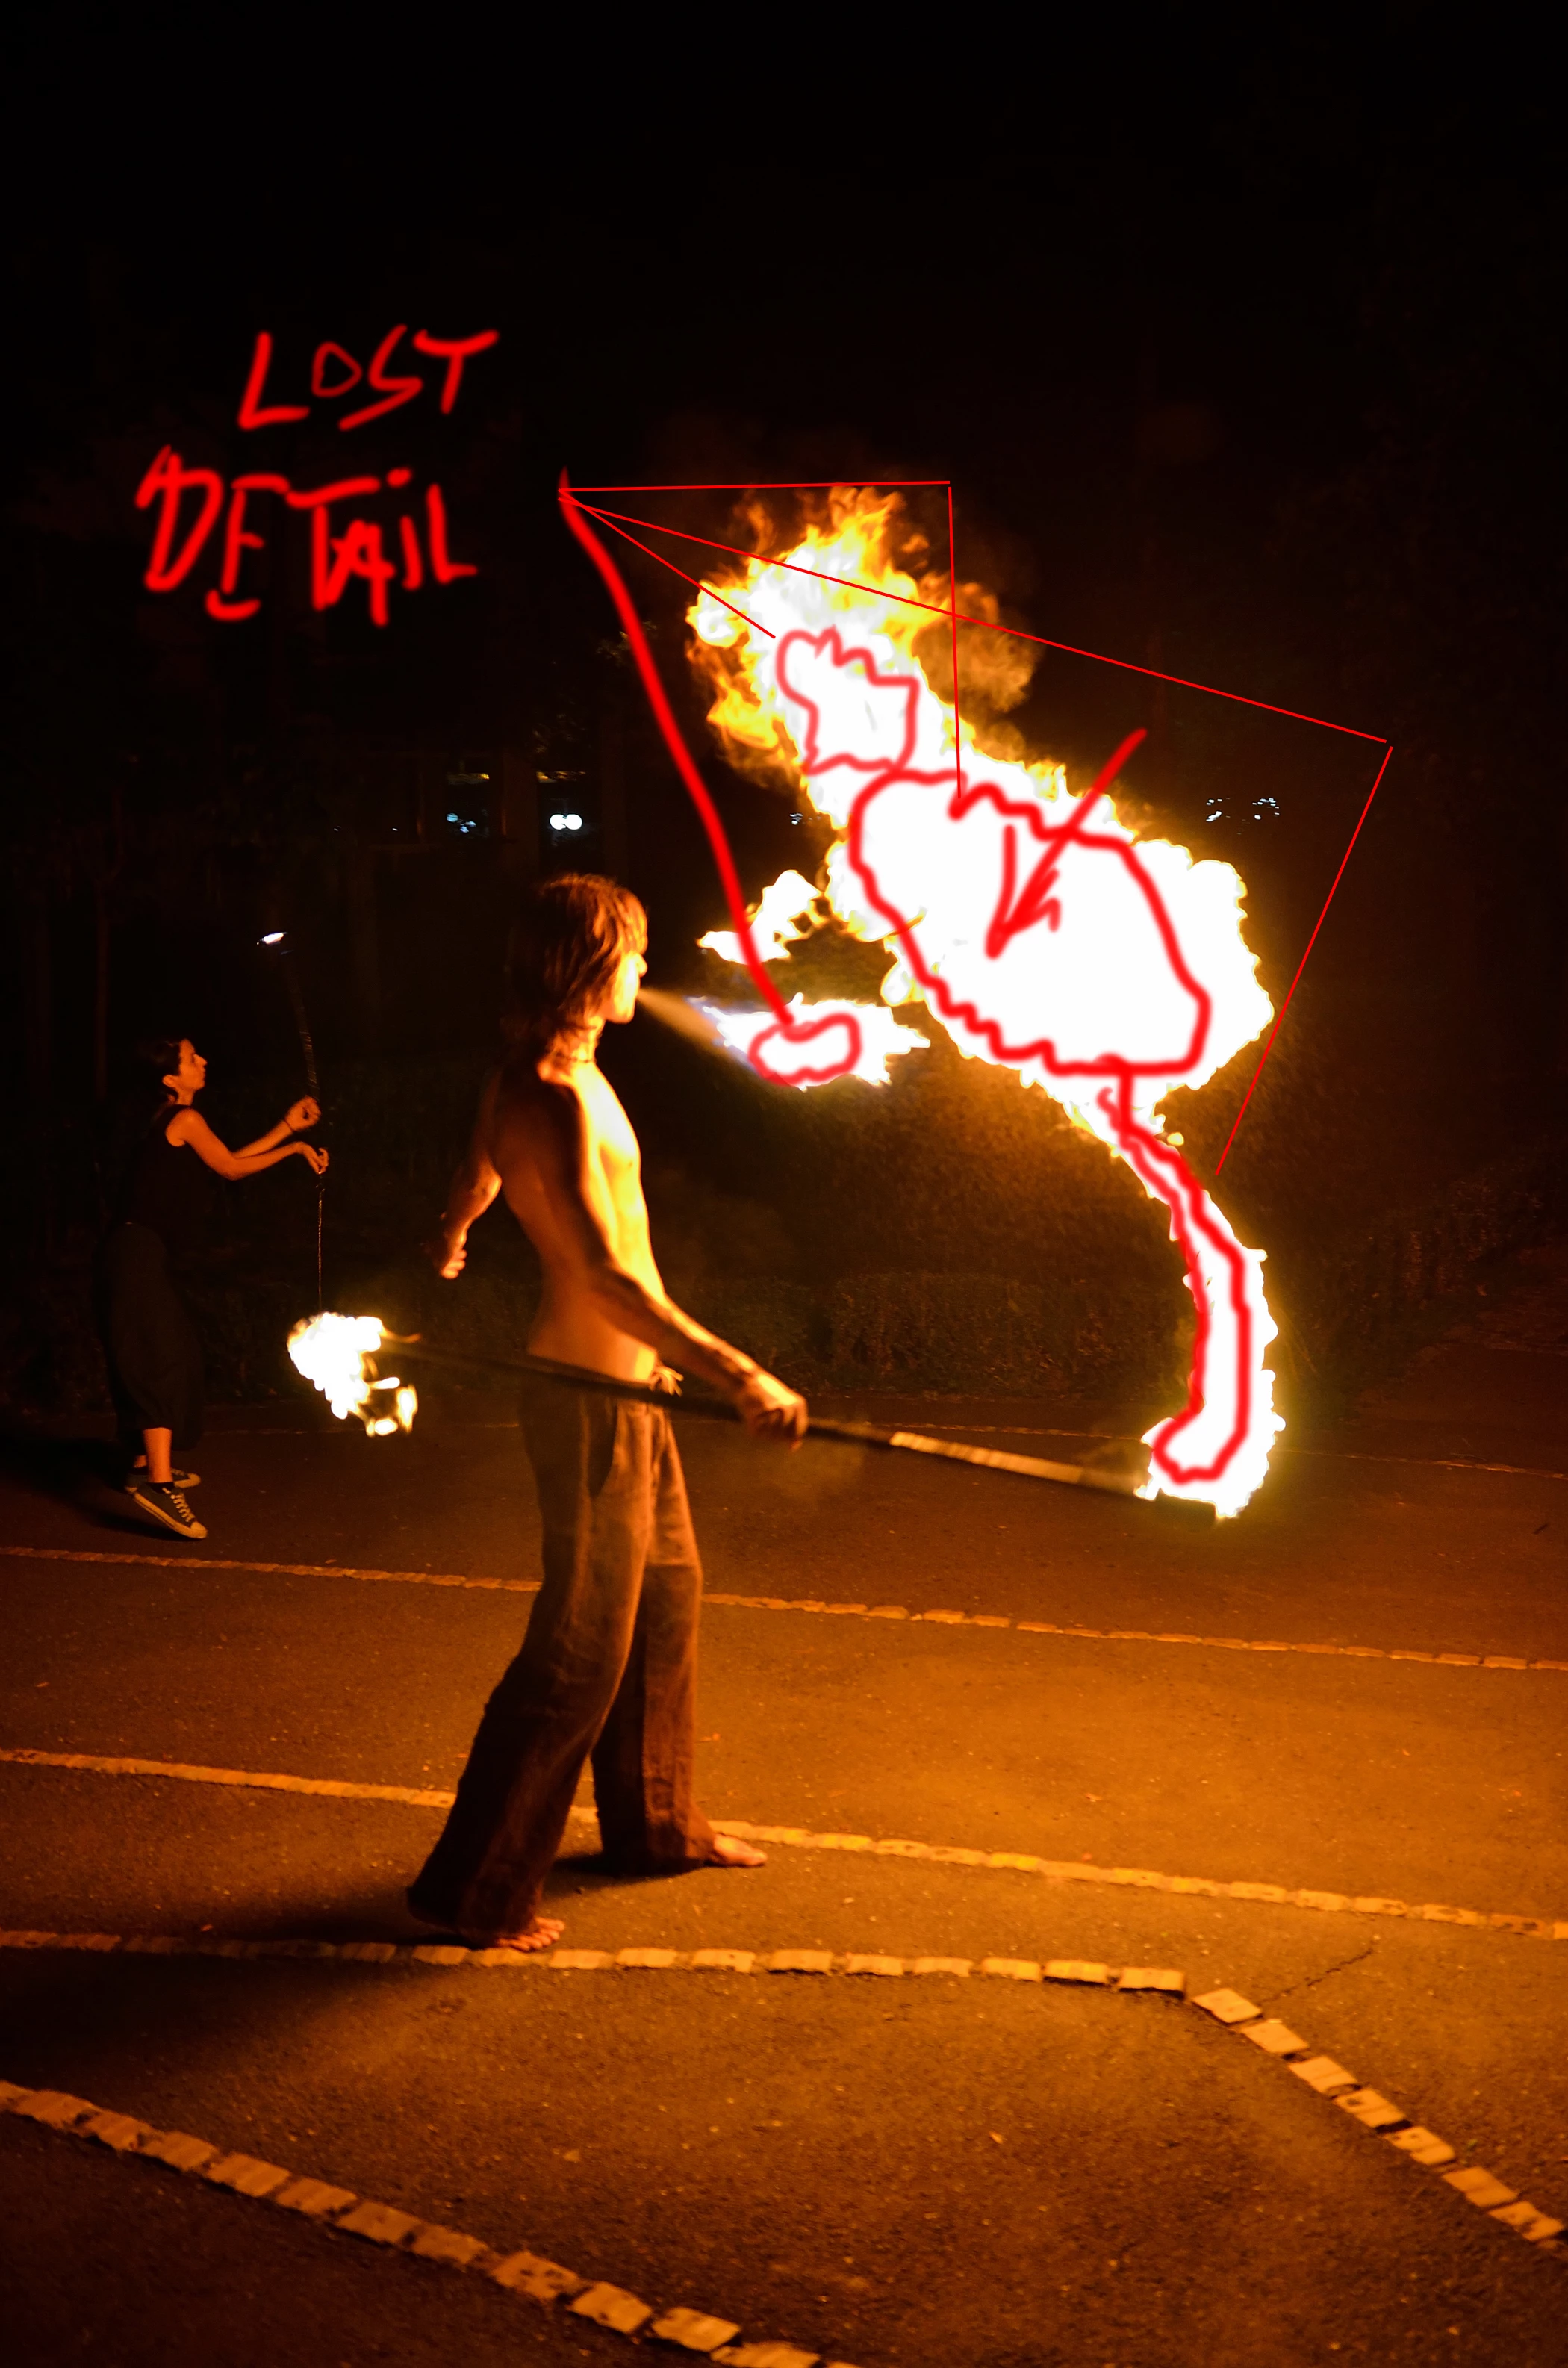
Link to the clean-image: UJO_5938.jpg - Google Drive

I appreciate very much any suggestion and person that is willing to take their time to guide me. Thank you in advance.

This topic has been closed for replies.
Correct answer davescm

Hi

Sure I'll give more detail.

1. I opened the image

2. I used Layer - New Layer to add a new empty layer above the image

3. I used the pen tool set to path to draw a path along the white area. (This path is required for the Flames Filter to work)

4. I went to Filter > Render >Flame and adjusted the controls dialogue to get some flames that matched your image.

I used Flame type "5 Multiple Flames Various Angles and in Advanced used Flame Style Normal

5. I clicked OK to render the frames to the layer.

6. In the layers panel I right clicked on the layer then on Blending Options.

In the dialogue that appears I moved the Blend If "Underlying layer" black triangle to the right. Holding down the Alt key meant I could split the black triangle.

This means the new flames only appear in the brighter parts of the underlying layer

Then click OK

7. I added a another layer using Layer - New Layer

8. I used the pen tool to draw a new path

9. I used  Filter > Render > Flame to create new flames but this time altered some of the sliders just to make the second layer different and set the advanced Flame style to violent 

10 Finally I went to the layers panel and set that new layer blending mode to "Multiply"

That was it

Have a play around and shout out if you get stuck

Dave

1 reply

davescm
Community Expert
Community Expert
September 20, 2017

Hi

One possible way is to use the Render Flames filter on a new layer then use Blend If.

In the example below I also added a second flames render set to multiply blend mode.

Dave

September 20, 2017

Thanks Davescm. Could you perhaps be a bit more specific with the steps. A step by step tutorial would be helpful. I am moderately familiar with photoshop.

davescm
Community Expert
davescmCommunity ExpertCorrect answer
Community Expert
September 20, 2017

Hi

Sure I'll give more detail.

1. I opened the image

2. I used Layer - New Layer to add a new empty layer above the image

3. I used the pen tool set to path to draw a path along the white area. (This path is required for the Flames Filter to work)

4. I went to Filter > Render >Flame and adjusted the controls dialogue to get some flames that matched your image.

I used Flame type "5 Multiple Flames Various Angles and in Advanced used Flame Style Normal

5. I clicked OK to render the frames to the layer.

6. In the layers panel I right clicked on the layer then on Blending Options.

In the dialogue that appears I moved the Blend If "Underlying layer" black triangle to the right. Holding down the Alt key meant I could split the black triangle.

This means the new flames only appear in the brighter parts of the underlying layer

Then click OK

7. I added a another layer using Layer - New Layer

8. I used the pen tool to draw a new path

9. I used  Filter > Render > Flame to create new flames but this time altered some of the sliders just to make the second layer different and set the advanced Flame style to violent 

10 Finally I went to the layers panel and set that new layer blending mode to "Multiply"

That was it

Have a play around and shout out if you get stuck

Dave