PS Motion
Inspiring
February 20, 2019
Answered

Removing haze from picture (dehaze doesn't help)

  • February 20, 2019
  • 6 replies
  • 1629 views

Hello everyone!

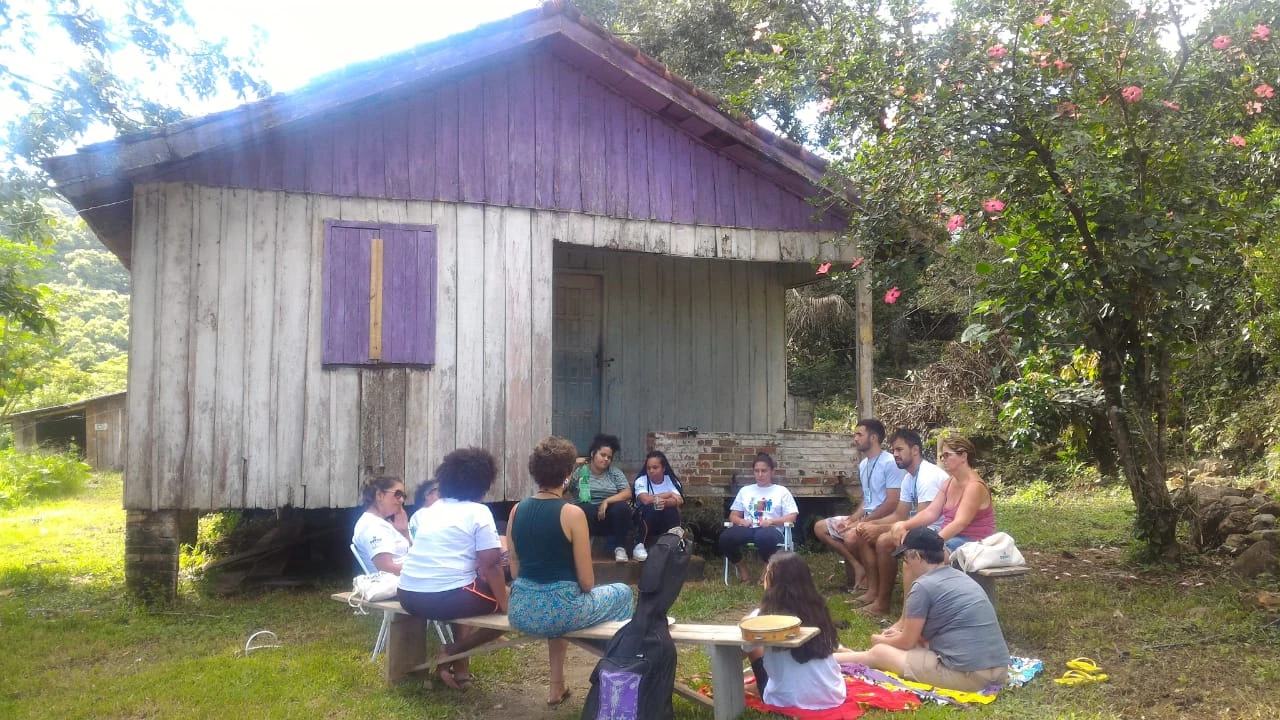
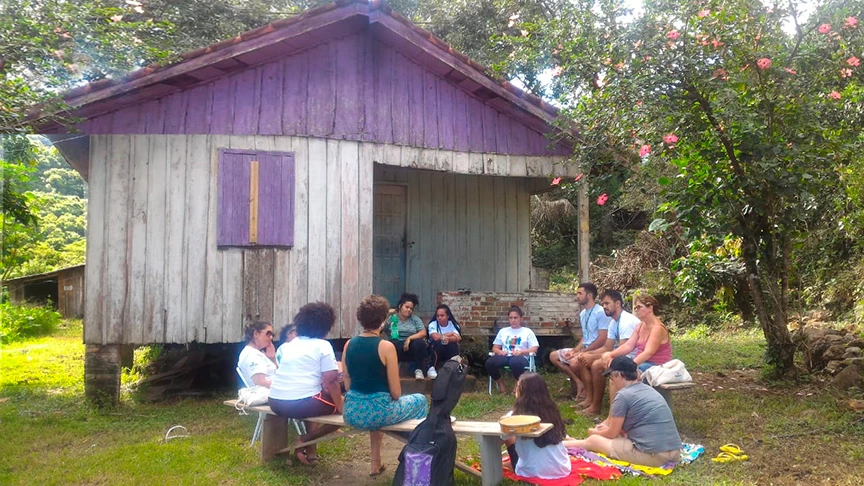
I'm having trouble removing this haze in the top left corner of the image and also in the white shirts of the girls on the bottom. This image needs a lot os corrections I know, but can someone help me with this specific task?

Thank you so much!

This topic has been closed for replies.
Correct answer Norman Sanders

Use the Polygonal lasso to Select, then copy the right half of the roof, purple panel and the greenery,

Edit > Transform > Flip Horizontal, then position and Transform > Distort .

Clone away obvious white clone area of greenery.

Select the ultra bright section alongside the cabin, then Curves to darken and blend into the scene.

Dodge the blue cast to the white shirt but don't eliminate it.  The shirt is illuminated with skylight, not sunlight, somewhat like bouncing a light off a blue wall. It is normal  with whites in the shade..

6 replies

kgrunwell
Participant
February 20, 2019

All great options! One other way to fix the haze is to (on a copied background layer) set your brush mode to color and sample colors of what you intend them to be. For example, sample a portion of the white shirt to color over the white shirt or sample a hair color you'd like the hair to be. Sample a leaf color, you'd like the leaves to be. Then color over the hazy areas with that sample color. You may have to sample in a few different places to get the color just right. I've also reuploaded the image with these changes quickly made so you can get an idea.

melissapiccone
Community Expert
Community Expert
February 20, 2019

You have some helpful answers above. This isn't really haze, it's blown out from the backlight. When you have pure white and blownout sections of your image, there is no data to recover so using the tips above with the clone tool, etc. are your best bet.

Melissa Piccone | Adobe Trainer | Online Courses Author | Fine Artist
Semaphoric
Community Expert
Community Expert
February 20, 2019

The area along the eaves is mostly in the Blue channel, and to a lesser extent, the Green channel, so you could use the Channel Mixer to use the information in the Red channel:


Norman Sanders
Norman SandersCorrect answer
Legend
February 20, 2019

Use the Polygonal lasso to Select, then copy the right half of the roof, purple panel and the greenery,

Edit > Transform > Flip Horizontal, then position and Transform > Distort .

Clone away obvious white clone area of greenery.

Select the ultra bright section alongside the cabin, then Curves to darken and blend into the scene.

Dodge the blue cast to the white shirt but don't eliminate it.  The shirt is illuminated with skylight, not sunlight, somewhat like bouncing a light off a blue wall. It is normal  with whites in the shade..

Norman Sanders
Legend
February 20, 2019

An additional comment regarding skylight. I have found that when the skylight color cast is overpowering, such as in the sample below, you can correct the problem by changing the Mode to CMYK, making a selection of the area, and choosing Color Mixer. With the output channel set to Cyan reduce the Cyan somewhat. Then, with the output channel set to Black move the Cyan slider to introduce the cyan tonal scale into the Black channel. When you are satisfied with the result change the mode back to RGB. With your current image, I don't think it is a distraction.

e

Legend
February 20, 2019

Black gradient set to Soft Light mode, some dodging and burning, color correction, dehaze filter, this will just take some playing around with.

Simmer1
Community Expert
Community Expert
February 20, 2019

Hi,

You can remove the haze from the top left portion of the image by sampling areas from the right side with the Clone Stamp Tool.

In regards to the haze on the t-shirts I would play around with the Virbance.

Kind regards,

Sim