When angles are involved, it's nearly always easier to construct your graphic perpendicular to the screen edges, and then rotate, although lines will snap to 45° when you hold down the shift key. So I pasted in your screen shot and rotated 45°, and used it as a template. I increased the size of your screen shot to 800 pixels wide to make it easier to follow.
Full disclosure, I actually used Illustrator, but Photoshop is fully capable of doing the same thing. In fact I am using Photoshot for the following screenshots. I also worked in red so you could see the construction against the black graphic, and changed it back to black when done. (Note your screen shot is set to greyscale, so I had to go Image > Mode > RGB to use red.
I've dragged out some guides from the rulers, but only by eye. I'd have used the grid if I wanted it perfect, but you'd have to mess about with the grid spacing to get it to line up with your screenshot template.
So start with the rectangular shape tool with fill turned off, and stroke set to red. I have set the stroke to 5pts for my screenshots, to make it clearer, but you can go back and change the weight at any time.
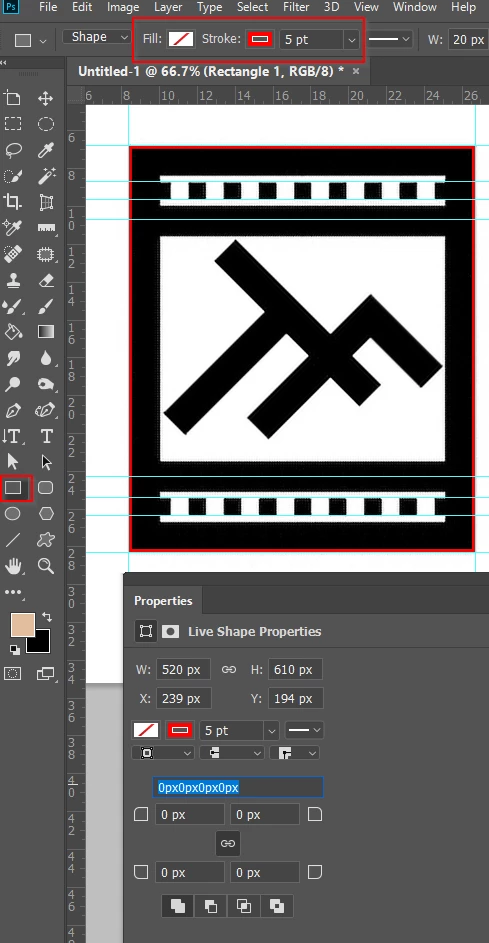
Next the line tool. With Photoshop we need to set the weight before making the line. Holding down the Shift key will force the line to be horizontal.
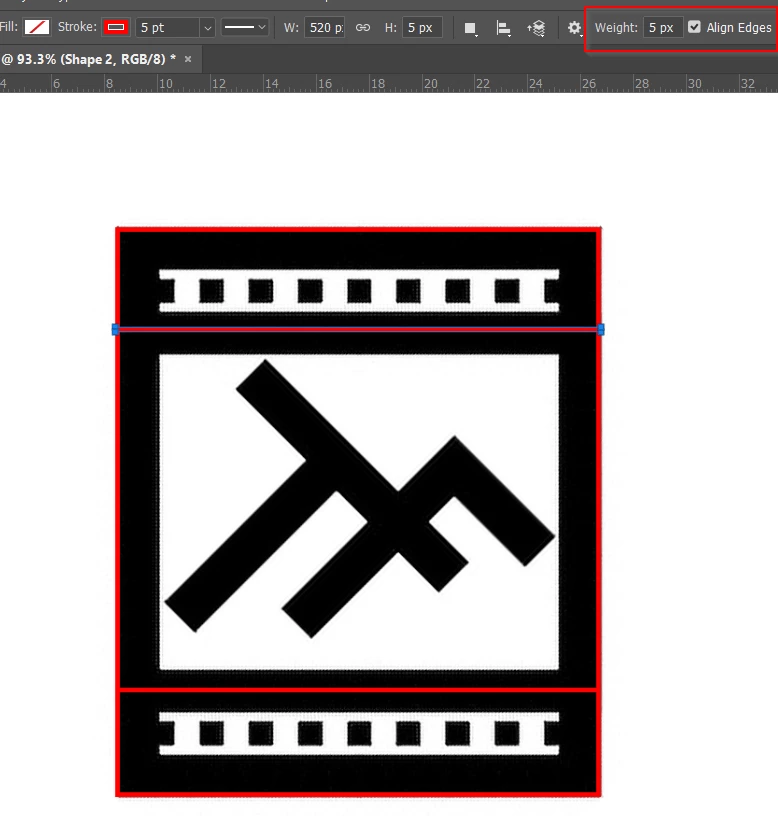
For the TF you can either use the Shift key to force the 45°, or finish the rest of the graphic, and rotate it to make the TF square. I just did the lines by eye, but you can use the Move tool to nudge the relevant shape layers into a better position if required.
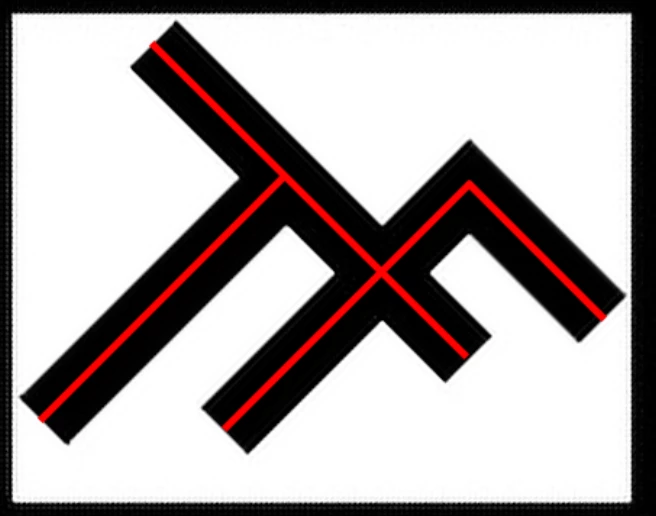
The squares are just a tiny bit more involved if you use Photoshop, but still easy. I suggest using a group to keep things tidy.
With the Guides turned on make your first square using the Rectangular Shape tool. Fill needs to be set to Red, and Stroke to none. Hold down the Shift key to force a perfect square,
Copy the square eight times, and drag the lowest square over the black square image left, and the top square over the black square image right.
Select the Move tool, and all the Square layers, and click on Distribute Horizontal Centres.
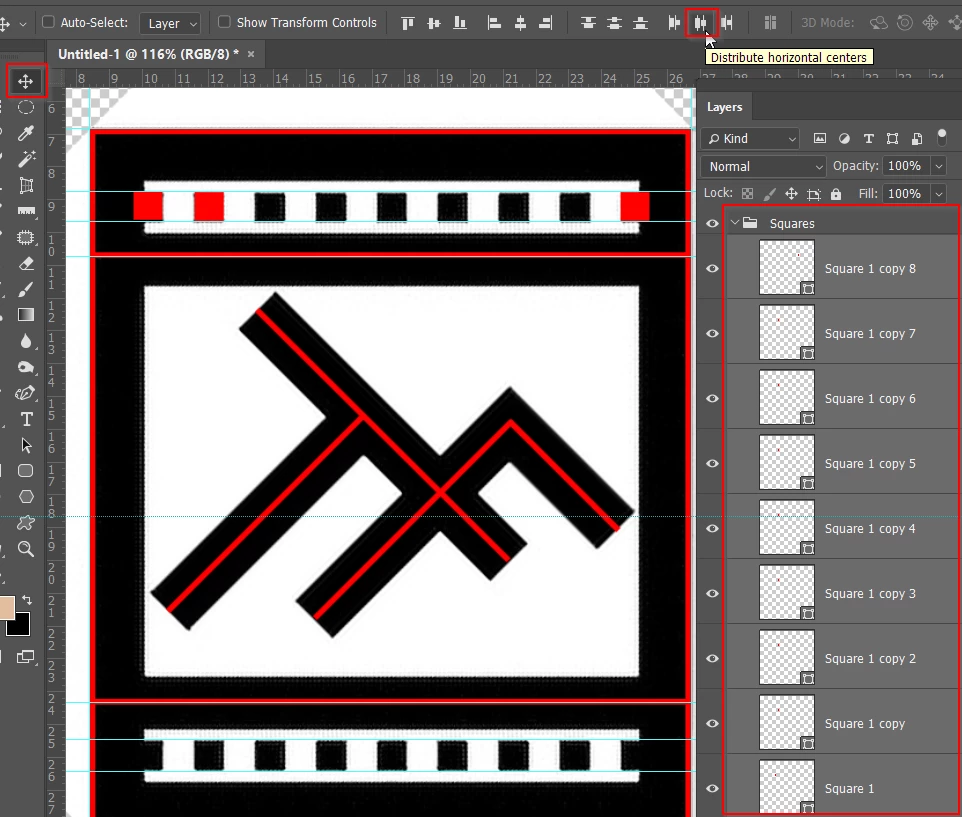
The squares will now line up

Copy the Squares group, and move the copy to the lower line of squares
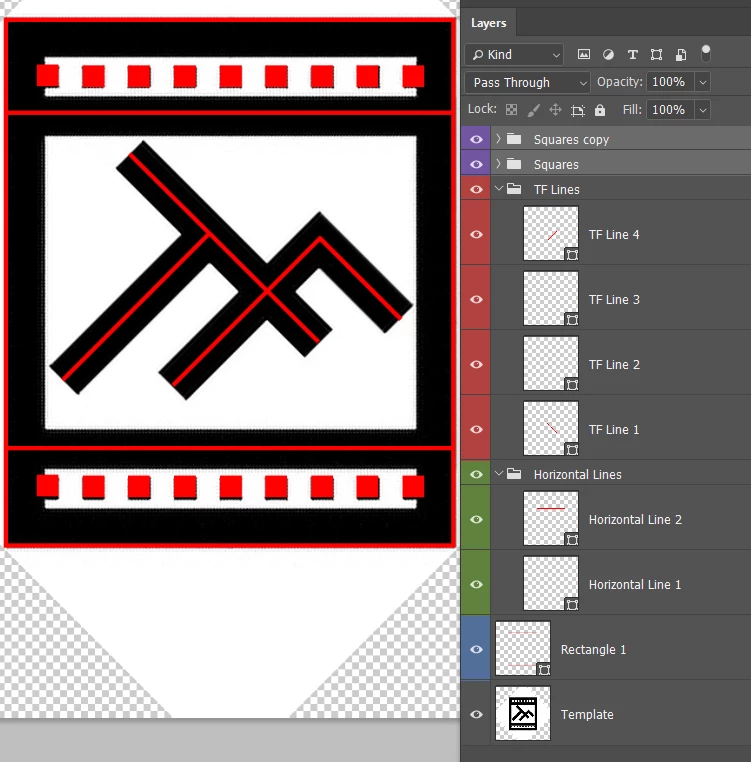
Almost there
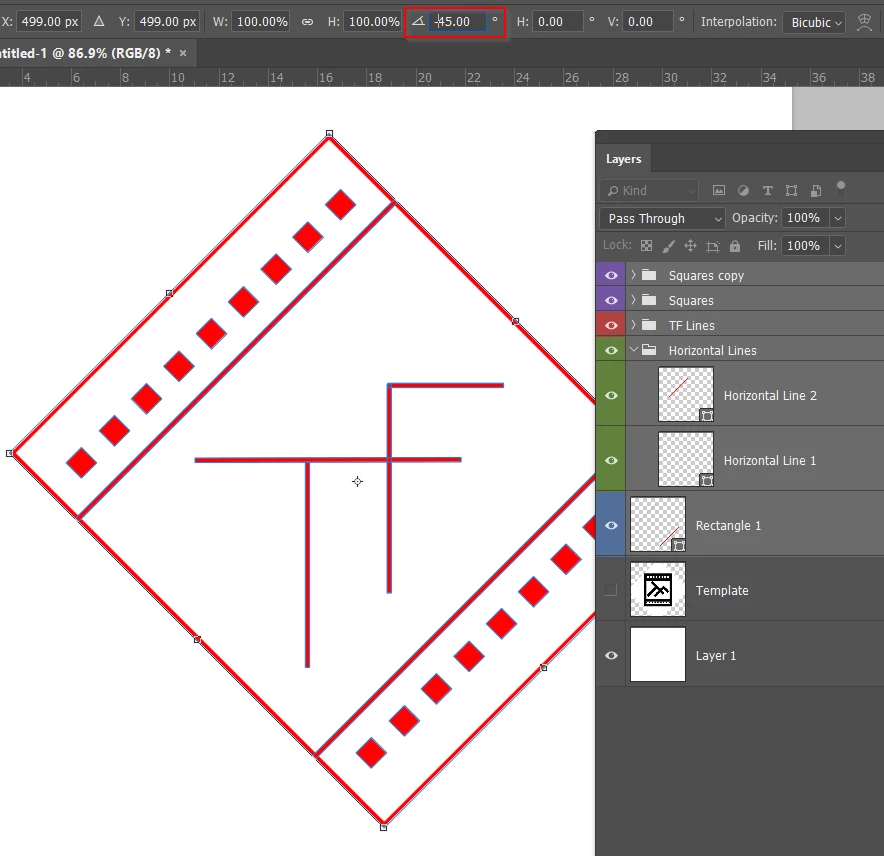
Select all the layers, and use Free Transform (Ctrl T) and rotate -45°
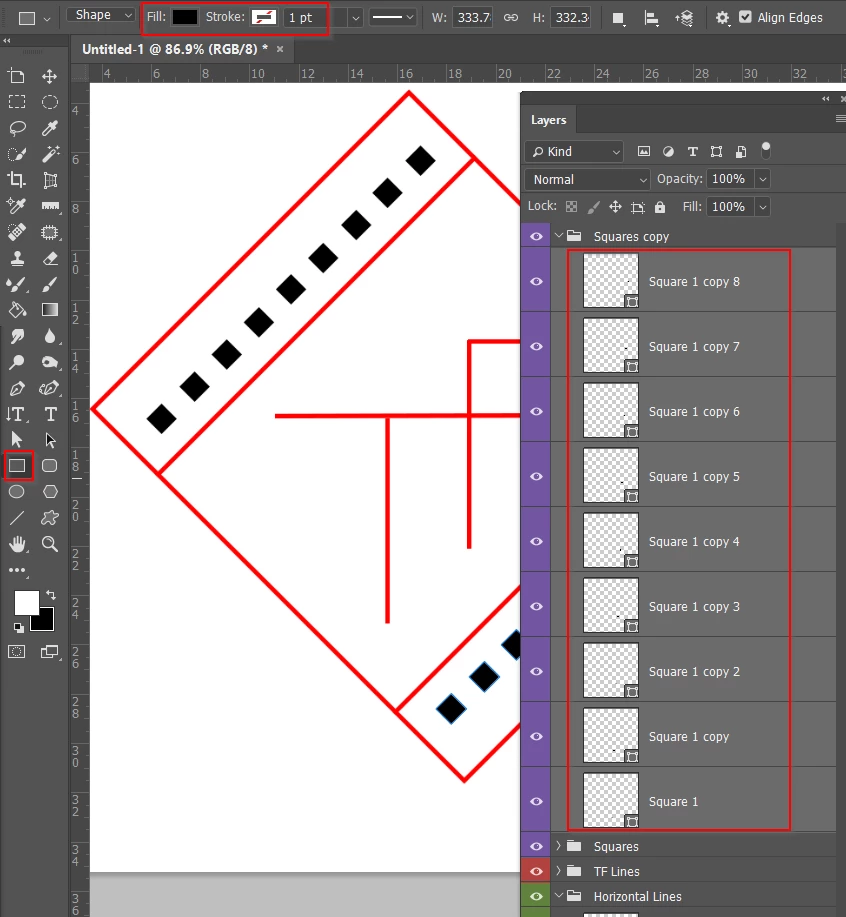
Select all the square layers and any of the shape tools, and set the fill to black
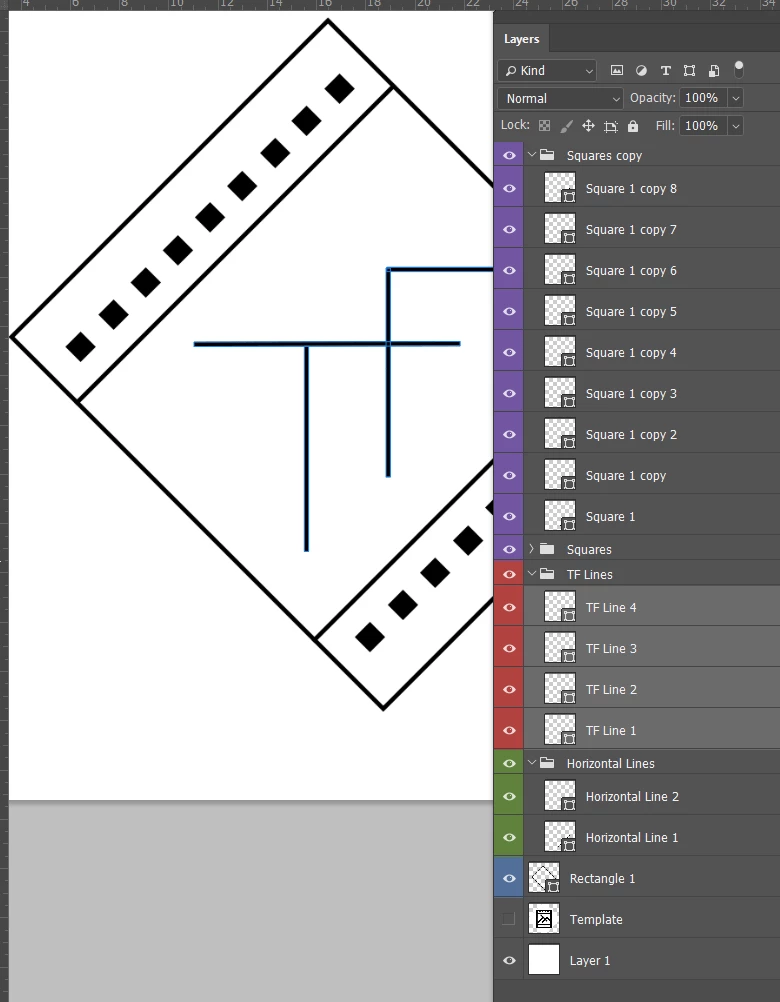
Now select the line and TF layers, and set the Stroke to black.
Job done, although the squares in my Photoshop version are not as evenly distributed as the one I did in Illustrator. To improve that, you'll need to nudge those layers _before_ you rotate the graphic.
What I like to do with a vector graphic like this, is to select all the layers and make them a Smart Object, and drag it to a CC Library.
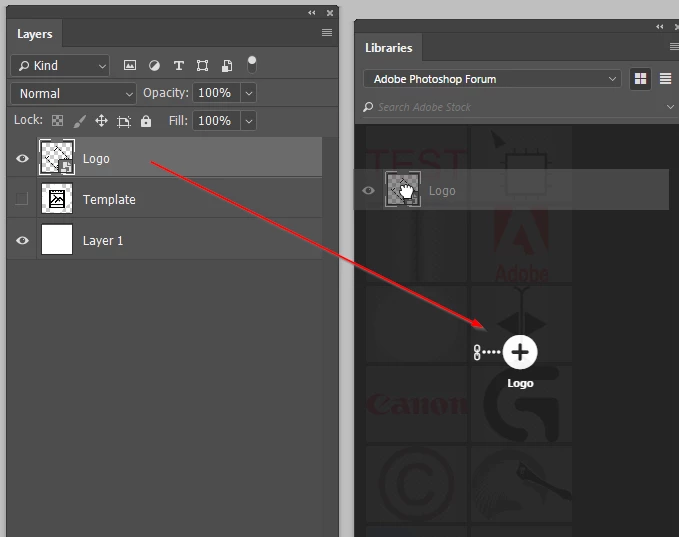
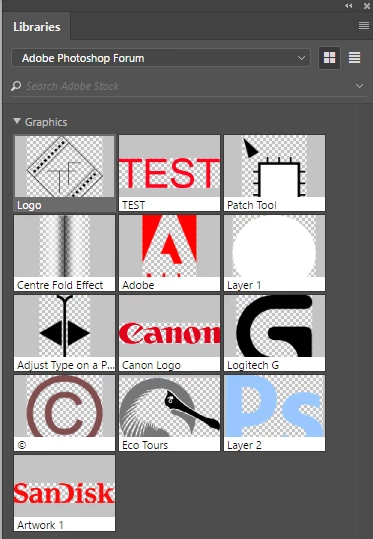
It will then be available forever, and if you have CC File sync turned on, available anywhere in the world where you have an Internet connection. You can also share with other people. You can have as many of these Libraries as you like, and name by client, job, whatever. I love these Libraries. I can find all the colours, fonts, graphics etc for a particular client without have to search my 32Tb of data spread over 18 drives!


 AdChoices