bartonlew
Legend
August 1, 2018
Answered

Smart Objects contents don't correspond to edited version

  • August 1, 2018
  • 2 replies
  • 326 views

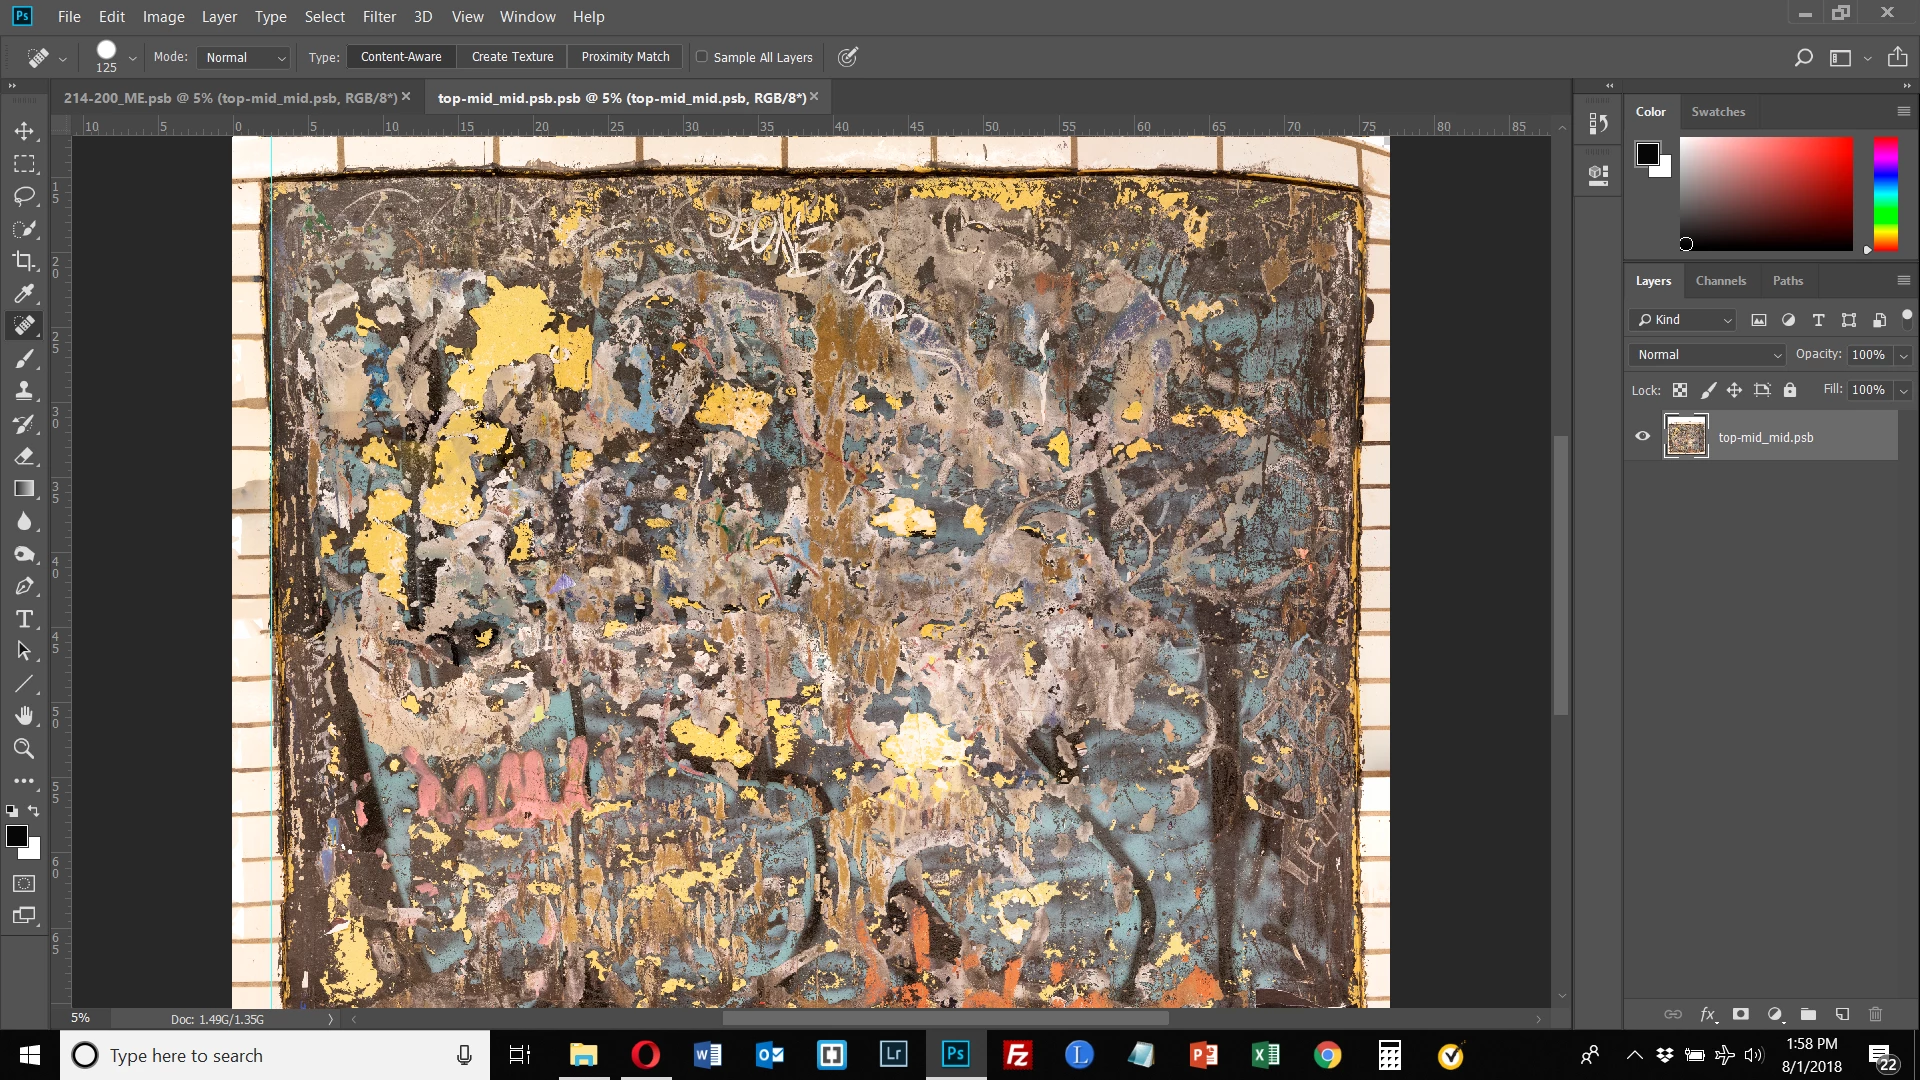
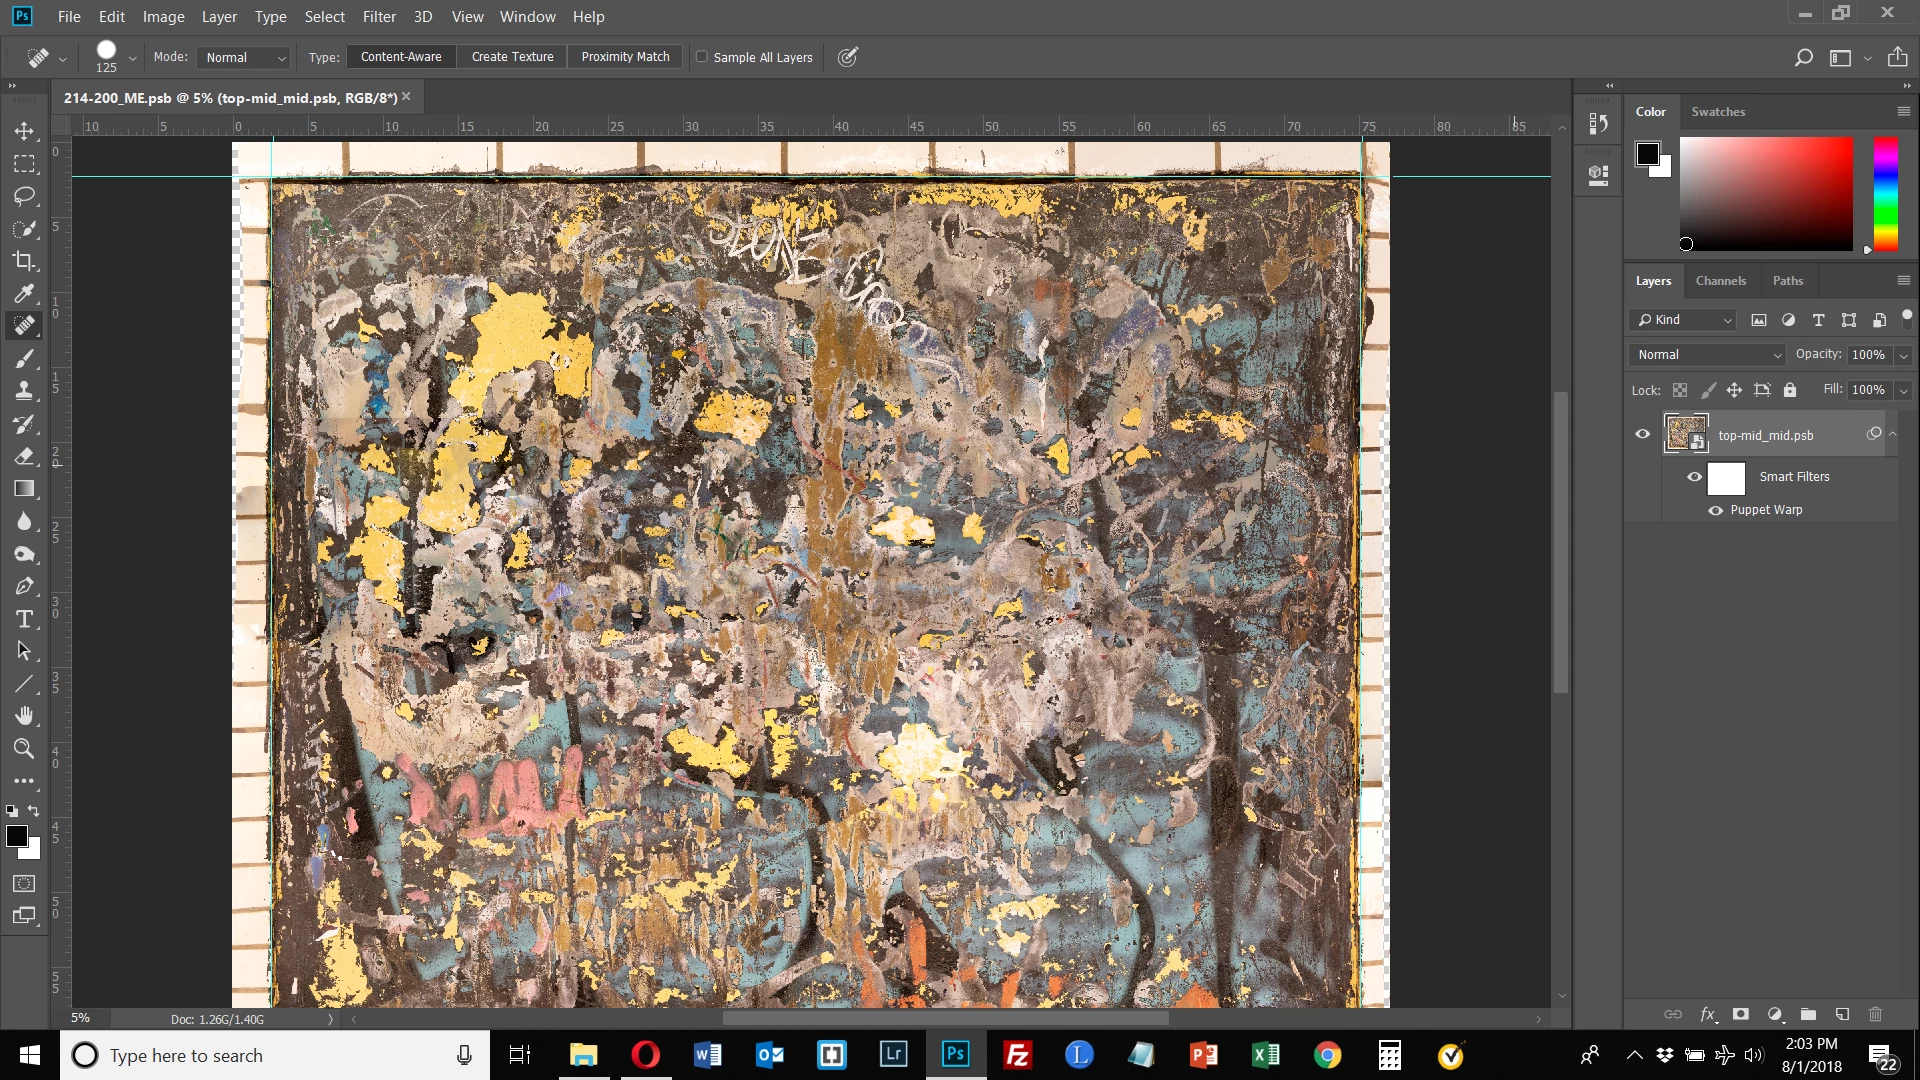
In the edited version of my Smart Object (1st image below), I used the Spot Healing brush to add in tile border where it was missing in the edges (mainly upper right and mid-lower left).  After closing the Smart Object edits, the Smart Object does not show these changes (2nd image below).  You can see the canvas showing where I painted with the Spot Healing Brush.  Why is this?  I need a lesson in how to edit with Smart Objects when cropping and changing image size.  What is the best workflow for this?

This topic has been closed for replies.
Correct answer c.pfaffenbichler

Did you apply the Puppet Warp Smart Filter before adding content in the SO?

If so then that’s probably the answer, but increasing the Filter’s »Expansion« setting might help.

2 replies

c.pfaffenbichler
Community Expert
Community Expert
August 2, 2018

The Mesh that is created when applying Puppet Warp can clip elements, for example if they are too transparent, but also excludes content that exceeds the original object’s »expanse«.

So it’s often useful to set the Expansion accordingly and use »Show Mesh« to see where problems might occur.

c.pfaffenbichler
Community Expert
c.pfaffenbichlerCommunity ExpertCorrect answer
Community Expert
August 2, 2018

Did you apply the Puppet Warp Smart Filter before adding content in the SO?

If so then that’s probably the answer, but increasing the Filter’s »Expansion« setting might help.

bartonlew
bartonlewAuthor
Legend
August 4, 2018

Yes, I did.  I tried playing with expanse as you suggested but that did not change things.  Fortunately I had saved a version of the document before I turned it into a Smart Object and used Puppet Warp.  I did all my cropping first and then did the Puppet Warp and the edited version of the Smart Object corresponds to the Smart Object.  That will be my workflow from now on.  Thank you.