Daleg94
Known Participant
May 28, 2017
Answered

Stacking stars in Photoshop cc - Help!

  • May 28, 2017
  • 4 replies
  • 5403 views

Hi,

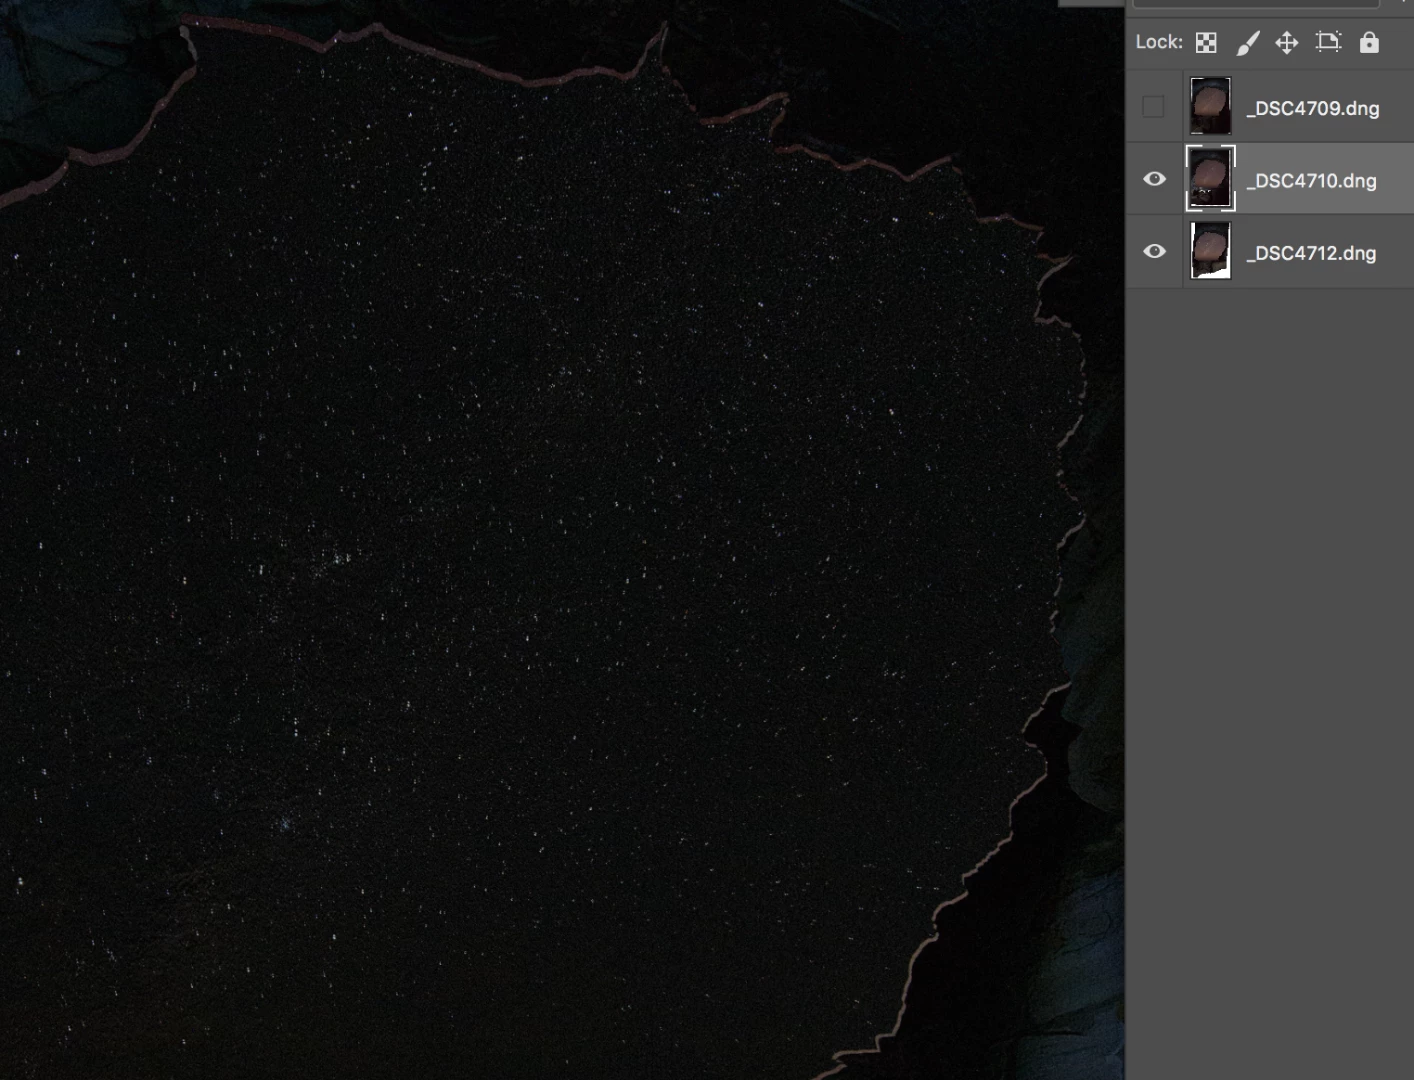
I have 3 layers in a Photoshop CC document and I want to stack them in order to reduce the noise in the sky.

To do this I used the following method

Mask out everything except the sky, selected all layers then auto aligned - This didn't work

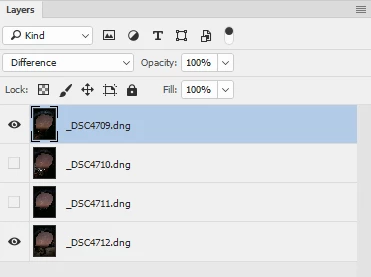
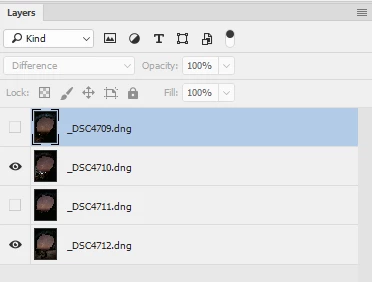
The second method  (Milky Way Exposure Stacking with Manual Alignment (Noise Reduction) in Adobe Photoshop - YouTube ) was masking out the layers again then having the bottom layer as "normal" and the above layers as "difference" then a mixture of transform tools and various warping methods - this, unfortunately, didn't work.

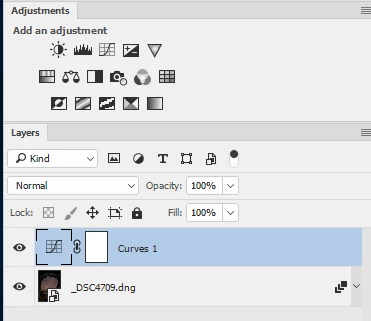
I think the reason why is although the photos were all taken in the exact same place the stars had rotated over that period of time - I'm stuck and need some advice on how to do this properly, I've tried using bright luminosity masks to select the bright stars then auto-aligning but alas the auto align didn't pick up on it.

Help!

Ps I'm on a Mac so can't use any other third party alignment programs

This topic has been closed for replies.
Correct answer davescm

Found a way forward. It is not perfect but it works a whole lot better than any of the other "normal" methods on this image with those multiple distortions.

Take each upper layer in turn, set it to difference blending mode, and use puppet warp to nudge each area of the image as best as you can into position to match the lowest layer.

Repeat for the next layer (keeping the same lower layer each time so you don't build up multiple errors)

And the third

Once done, set the blending mode for each layer back to "normal" and switch on the visibility. Combine all four into a smart object and use the mean stacking mode. Finally a curves lay to bring out contrast.

Section at 100%

Dave

4 replies

Participant
October 31, 2017

Hello Wildtree - I sent you a FB message awhile back regarding this issue.  I just create my Adobe forum screen name today so figure I'd reply here too, as I have since come across several instances with this issue since in aligning some star photographs with a 14mm prime lens.  I've tried several methods (like davescm​ had), but I still ended up going back to his solution of using the PuppetWarp tool.

When using the tool, the general rule of thumb I come across is the wider (and more distorted the lens) the more Puppet Warp points you'll need to use. For my 14mm prime, I find that using 12-15 points is needed (at least).

-Todd

davescm
Community Expert
Community Expert
May 28, 2017

Hi

Thanks for sending me the dng files to look at.

No wonder you had trouble with this one - the issue is partly rotation (which would be easily overcome on its own) but it is combined with lens distortions with the 16-35 zoom which are not even across the field. This is kind of expected and is what we get when we ask a lens to produce nice verticals and horizontals.  This means that as the stars rotate - some are following a circular path but others (towards the corners) are following a distorted elliptical path. Trying to align them is a nightmare.

A lot of the image rotates around the centre of these circles :

but at the top left corner for example that breaks down altogether

I tried

a. Rotation followed by perspective warp

b. Rotation combined with lens correction and warp

c. Rotation + multiple perspective warp on different parts of the field.

So far I have not succeeded in getting the entire starfield to align.

I'll have a further think here - if anyone has any bright ideas - please chip in

Dave

davescm
Community Expert
davescmCommunity ExpertCorrect answer
Community Expert
May 28, 2017

Found a way forward. It is not perfect but it works a whole lot better than any of the other "normal" methods on this image with those multiple distortions.

Take each upper layer in turn, set it to difference blending mode, and use puppet warp to nudge each area of the image as best as you can into position to match the lowest layer.

Repeat for the next layer (keeping the same lower layer each time so you don't build up multiple errors)

And the third

Once done, set the blending mode for each layer back to "normal" and switch on the visibility. Combine all four into a smart object and use the mean stacking mode. Finally a curves lay to bring out contrast.

Section at 100%

Dave

Daleg94
Daleg94Author
Known Participant
May 28, 2017

Hi Dave,
Thank you so much for your reply and work put into this - I'll sit down and try the second method and get back to you with the results

I knew using a wide angle lens would complicate things but not this much considering they were 15sec exposures pretty much right after each other

cmgap
Community Expert
Community Expert
May 28, 2017

Ps I'm on a Mac so can't use any other third party alignment programs

Occasionally I will use Starry Landscape Stacker on my mac and have had success with this program.

davescm
Community Expert
Community Expert
May 28, 2017

The second method - aligning manually by setting lower layer as normal , and upper layer as difference, should work if you use the transform tools to move , rotate , and possibly scale if the focal length has moved slightly.

Do one layer at a time, with only that layer and the bottom layer switched on then switch that layer off and move on to the next, always aligning with the bottom layer. Finally change all blending modes to normal and visibility on, group them in a smart object and set stacking mode to mean.

Can you post a link to the individual files, so we can try and see what the issue is for manual alignment ?

Dave