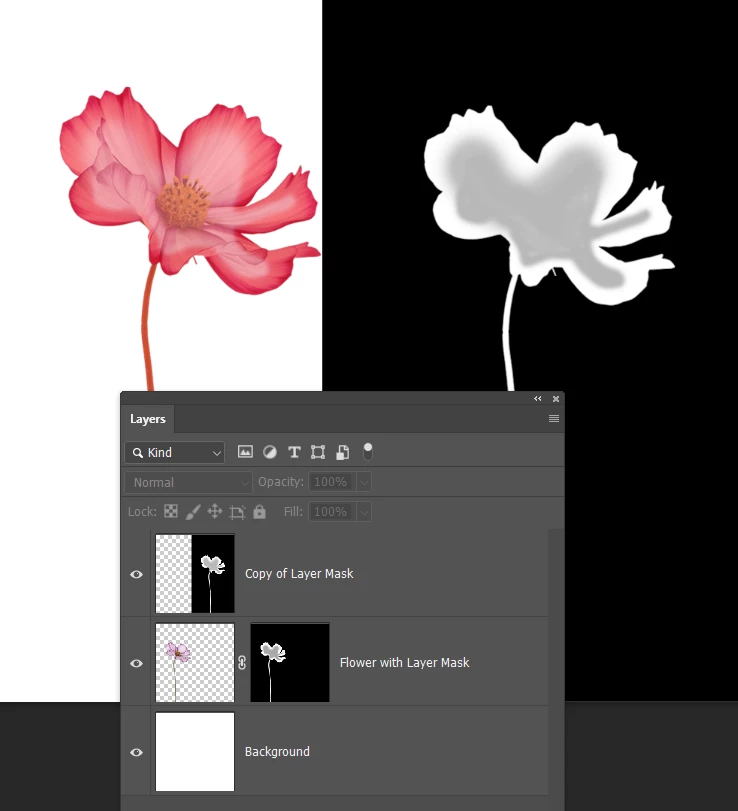
When you select an object, and copy to its own layer, or add a layer mask, it might not all be selected.
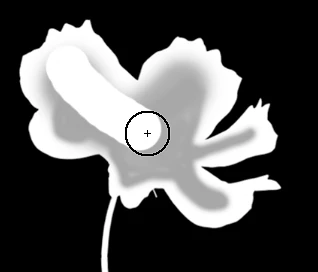
You can test how solid the selection is by turning on Quickmask (Q)
If it has a layer mask then you can Opt click the mask to view the mask full screen.
Quickmask will show as solid red if the selection is solid. The feinter red interior shows that area is semi transparent.
With the layer mask, it will show as full white for a solid selection. The feinter areas we see in the Quickmask view show up as grey in the layer mask.
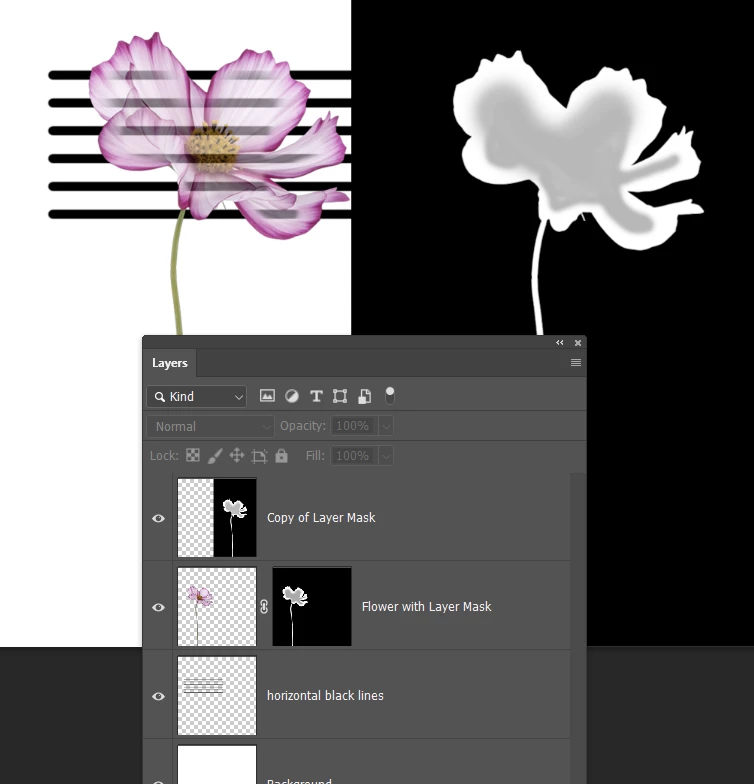
I have placed a layer with black lines behind the flower, and we we can see the lines where the flower is partially transparent. I'm guessing this is what you are seeing.
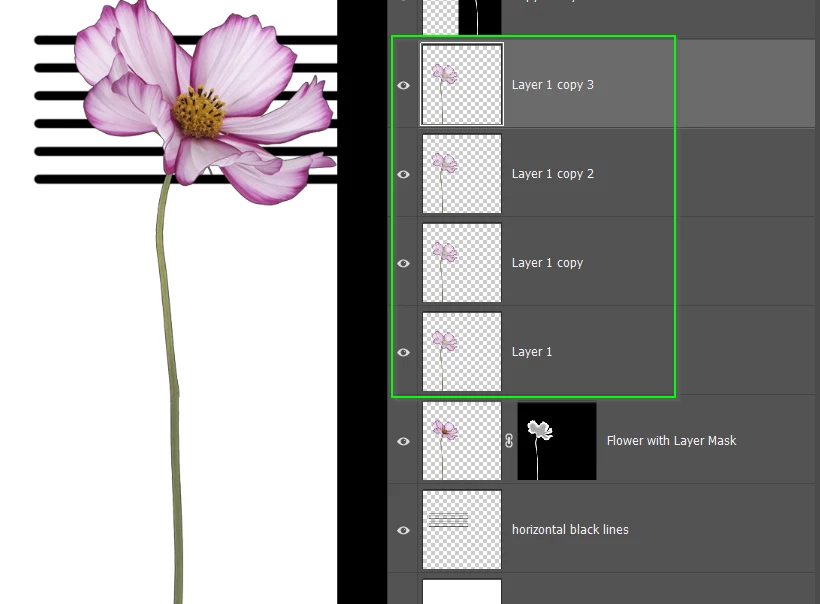
A quick fix is to copy the flower layer several times. Each copy will thicken up the flower interior.
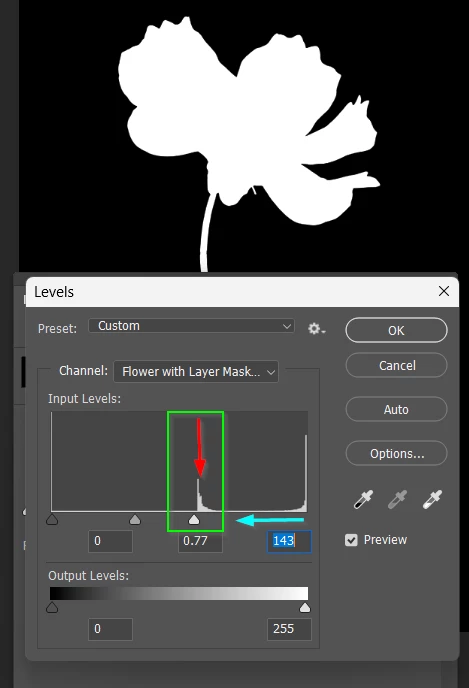
A better fix is to view the layer mask (if there is one) full screen again (Opt click the layer mask)
An+d use a levels adjustment to remove the greys. Note this has to be directly applied and not an Adjustment Layer.
That little spike in the middle of the histogram (red arrow) represents the grey area. By moving the whites slider to the left (cyan arrow) and just to the left of that spike, will make the greys full white, and thus full transparent when you return to the image.
Is this what you are seeing?
I've realized that I need to clarify a couple of points about the above post.
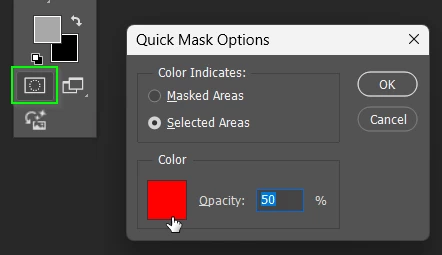
1) I have Quick Mask set to Color Indicates — Selected Areas
You can access Quick Mask Options by double clicking its icon at the bottom of the toolbar.
I showed how to harden a mask using Levels, but it will usually be easier to paint out the grey areas with a fully hard brush with opacity and flow set to 100%
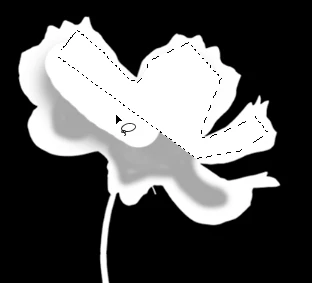
Using a brush does not always cover when zoomed way in, because even a fully hard brush is Anti Aliased. So I use the Lasso Tool together with Alt/Opt to select, and Alt/Opt backspace to fill.
The same thing applies to Quick Mask. Paint with black to reveal, and white to conceal.
I often wonder if people realize the options you have with layer masks and Quick masks.
You can apply most Photoshop filters.
You can select and area to apply an effect locally
You can paste the clipboard into a layer mask by Alt/Opt clicking the mask first. This useful for applying things like Render > Clouds to randomise cover. I used that to make this illustrated denim texture look more real as an example.