Participant
October 11, 2018
Question

Unable to merge a picture into a background

  • October 11, 2018
  • 4 replies
  • 641 views

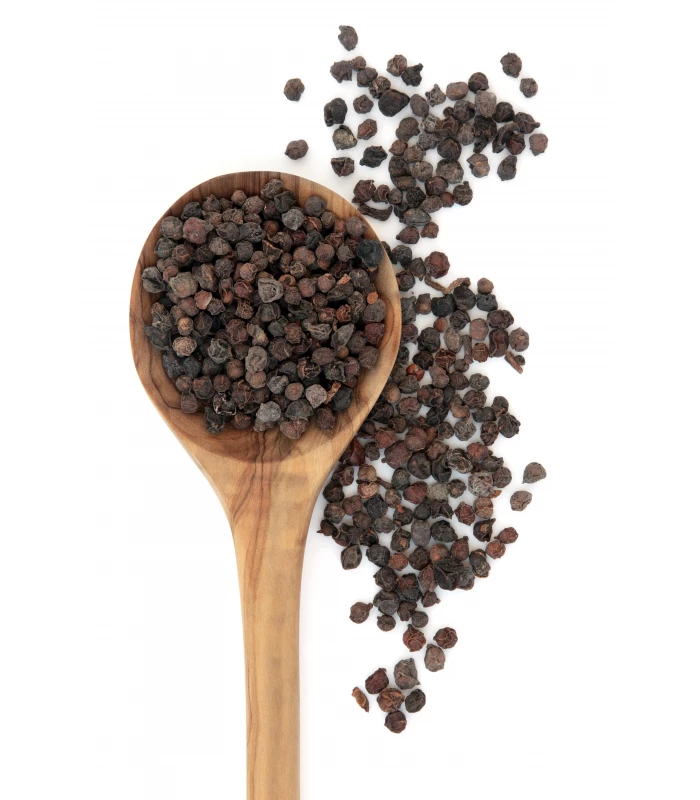
I'm relatively new to photoshop and having trouble with placing an object onto picture but somehow I still feel like it can be seen as photoshopped.

I want to place the spoon in the first image (not necessarily the seeds next to it) in the second image. However, no matter how hard I try there is still some perfection missing and I still can see white spots along the spoon. I've tried refine edge, vectorizing the spoon, knife tool (did cut just the seeds and tried to place them in the spoon, but nothing worked.

Could someone please help me with a way how I can use them and get the required picture. Many Thanks!

This topic has been closed for replies.

4 replies

Mike_Gondek10189183
Community Expert
Community Expert
October 11, 2018

Create a mask and paint in black that area you want to be transparent with a hard edged brush. Hold shift down while painting to draw a straight line between 2 points when needed. Add a drop shadow layer effect.

Then use the blur tool to soften the edge and blend in

I put the spoon on top of another spoon  to match the shadow angle & distance & softness, you can then rotate and all that will hold.

Trevor.Dennis
Community Expert
Community Expert
October 11, 2018

For me, Mike has  nailed it with his blur the outline advice. The very fact that the item you are compositing is already a selection can be helpful in this respect.

So we have the introduced element looking unnaturally sharp compared to the integrated background spoons

We can Ctrl (Cmd) click the new spoon's layer icon to load it as a selection...

...and make the selection a workpath using this icon at the bottom of the Paths panel

The outline is now a workpath

We can right click the new path and choose  Stroke Path and using the Tool drop-down select whichever tool we need to 'accuratly', and with full control, run along that outline.  We must set brush size and other parameters before doing this.

I have set the brush size to just 6 pixels (remember only half the brush will be painting  over the layer's contents) with a strength of 20%.  This is deliberately on the low side

This is one pass at 20% but we can quickly and easily repeat by clicking on the Stroke icon at the bottom of the paths panel,  which will use the last used tool, but  if you changed the tools size and strength, this would also be reflected in repeat strokes.

There are a great many situations where this is an incredibly useful function.

Muqqarib Hassan
Inspiring
October 11, 2018

Hi, Check this video. It will help you how to merge the pictures.

Thanks.

Simmer1
Community Expert
Community Expert
October 11, 2018

Hi,

You can also try using an Opacity Mask, here is a handy tutorial: How to mask (cut out) object or people from images using Photoshop - YouTube

I hope this helps.

Sim

October 11, 2018

Hi

Try using the Pen Tool to cut out the spoon you have much better control, then add a slight shadow to the right of the spoon.

I just copied the original spoon layer and moved it below the spoon layer, ctrl click on the layers thumbnail and hit alt + backspace and filled it with black, moved it to the left a bit then added a Gaussian blur and adjusted the opacity

Making Selections With The Pen Tool In Photoshop