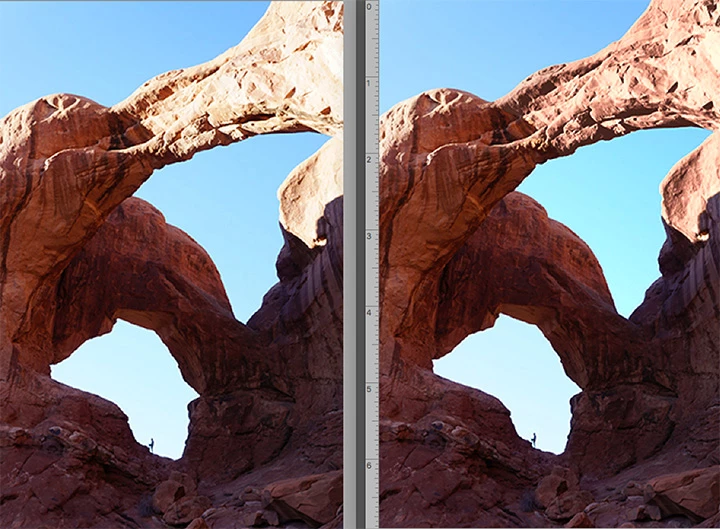
With a surface such a this, the texture may be a first priority. To enhance the texture:
1. Make a selection of the sun-blasted area and Cmd+J to place it on its own layer. Save Selection.
2. Lock the transparent areas by clicking on the symbol a the top of the Layers panel
3. Dupe the layer and lock the dupe transparent areas.
4. Image > Apply Image. Choose the Blue layer (which has the most texture. Blending Mode: Multiply
5. In the Layers panel change the Blending Mode to Luminosity and adjust its Opacity if desired.
6. Flatten. Then use Curves to adjust color after reloading the Selection