When You Paint in Photoshop, Do Your Images Really Pop?
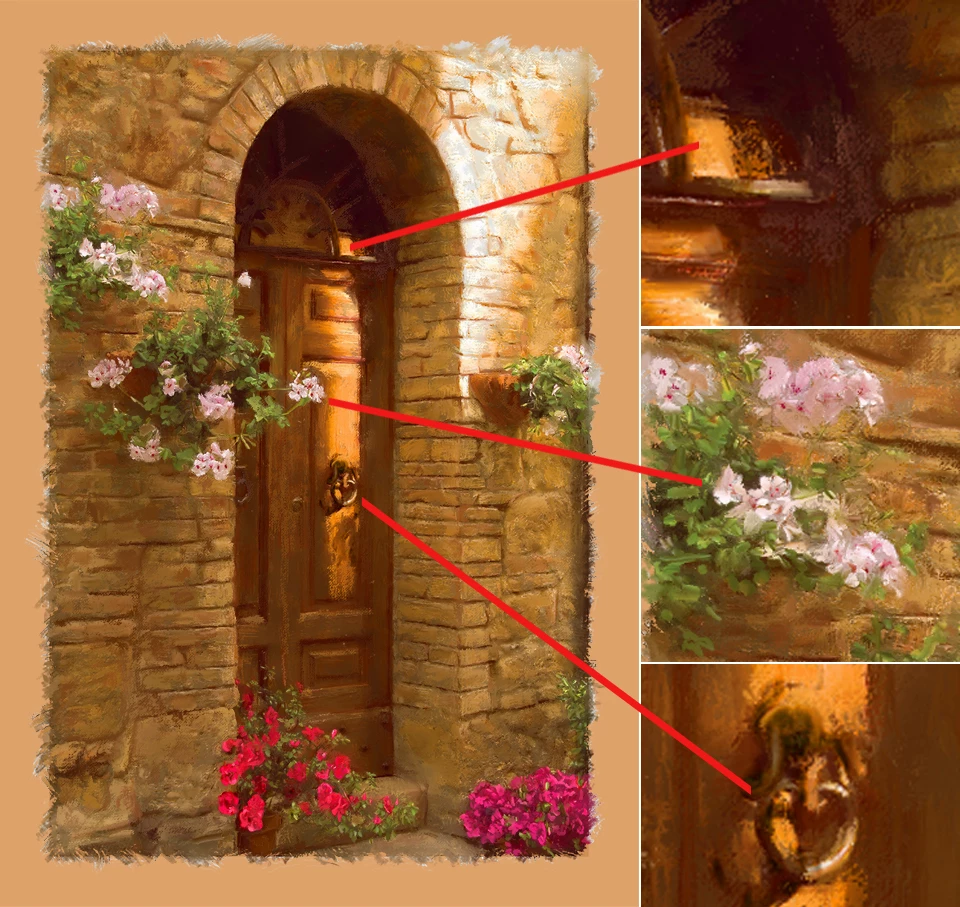
Using the Artist Brushes Flat Fan Cloner brush (found in the Tool Presets Panel’s fly out menu), along with the Mixer Brush Cloning Paint Setup Action (found at the very bottom of the Actions panel), is the way we transformed a photograph into an oil painting. The photograph was edited to be a painting reference by simplifying the photographic detail and enhancing colors that are found in the range of oil paints. Using the Hue/Saturation adjustment layers, that are a part of the layer group. The underpainting layer was darkened and desaturated, to block in the composition with a broad brush size. The layer groups, above the underpainting layer are lightened and the color saturation increased, so details can be drawn out of the reference photo, with a smaller brush.
Here’s where making it pop begins to happen. To finish the painting, a new layer was created at the top of the layer stack. This is where you add the highlights. Highlights are tiny in size, but they pack that visual power that your painting needs. This adds a desired dimension, bringing the painting to completion. Highlights, as well as shadows provide the sense that you are not just looking at a 2 dimensional image. It looks so 3D that the viewer feels like they are there.
These techniques are not new to painting. They go back to the days of those old master impressionist painters. We want you to enjoy those same techniques in Photoshop. It’s nothing which you can do through electronic tricks. It’s all dab-by-dab, stroke-by stoke painting. But, the more you work with these methods the more you too will become a “new master.”