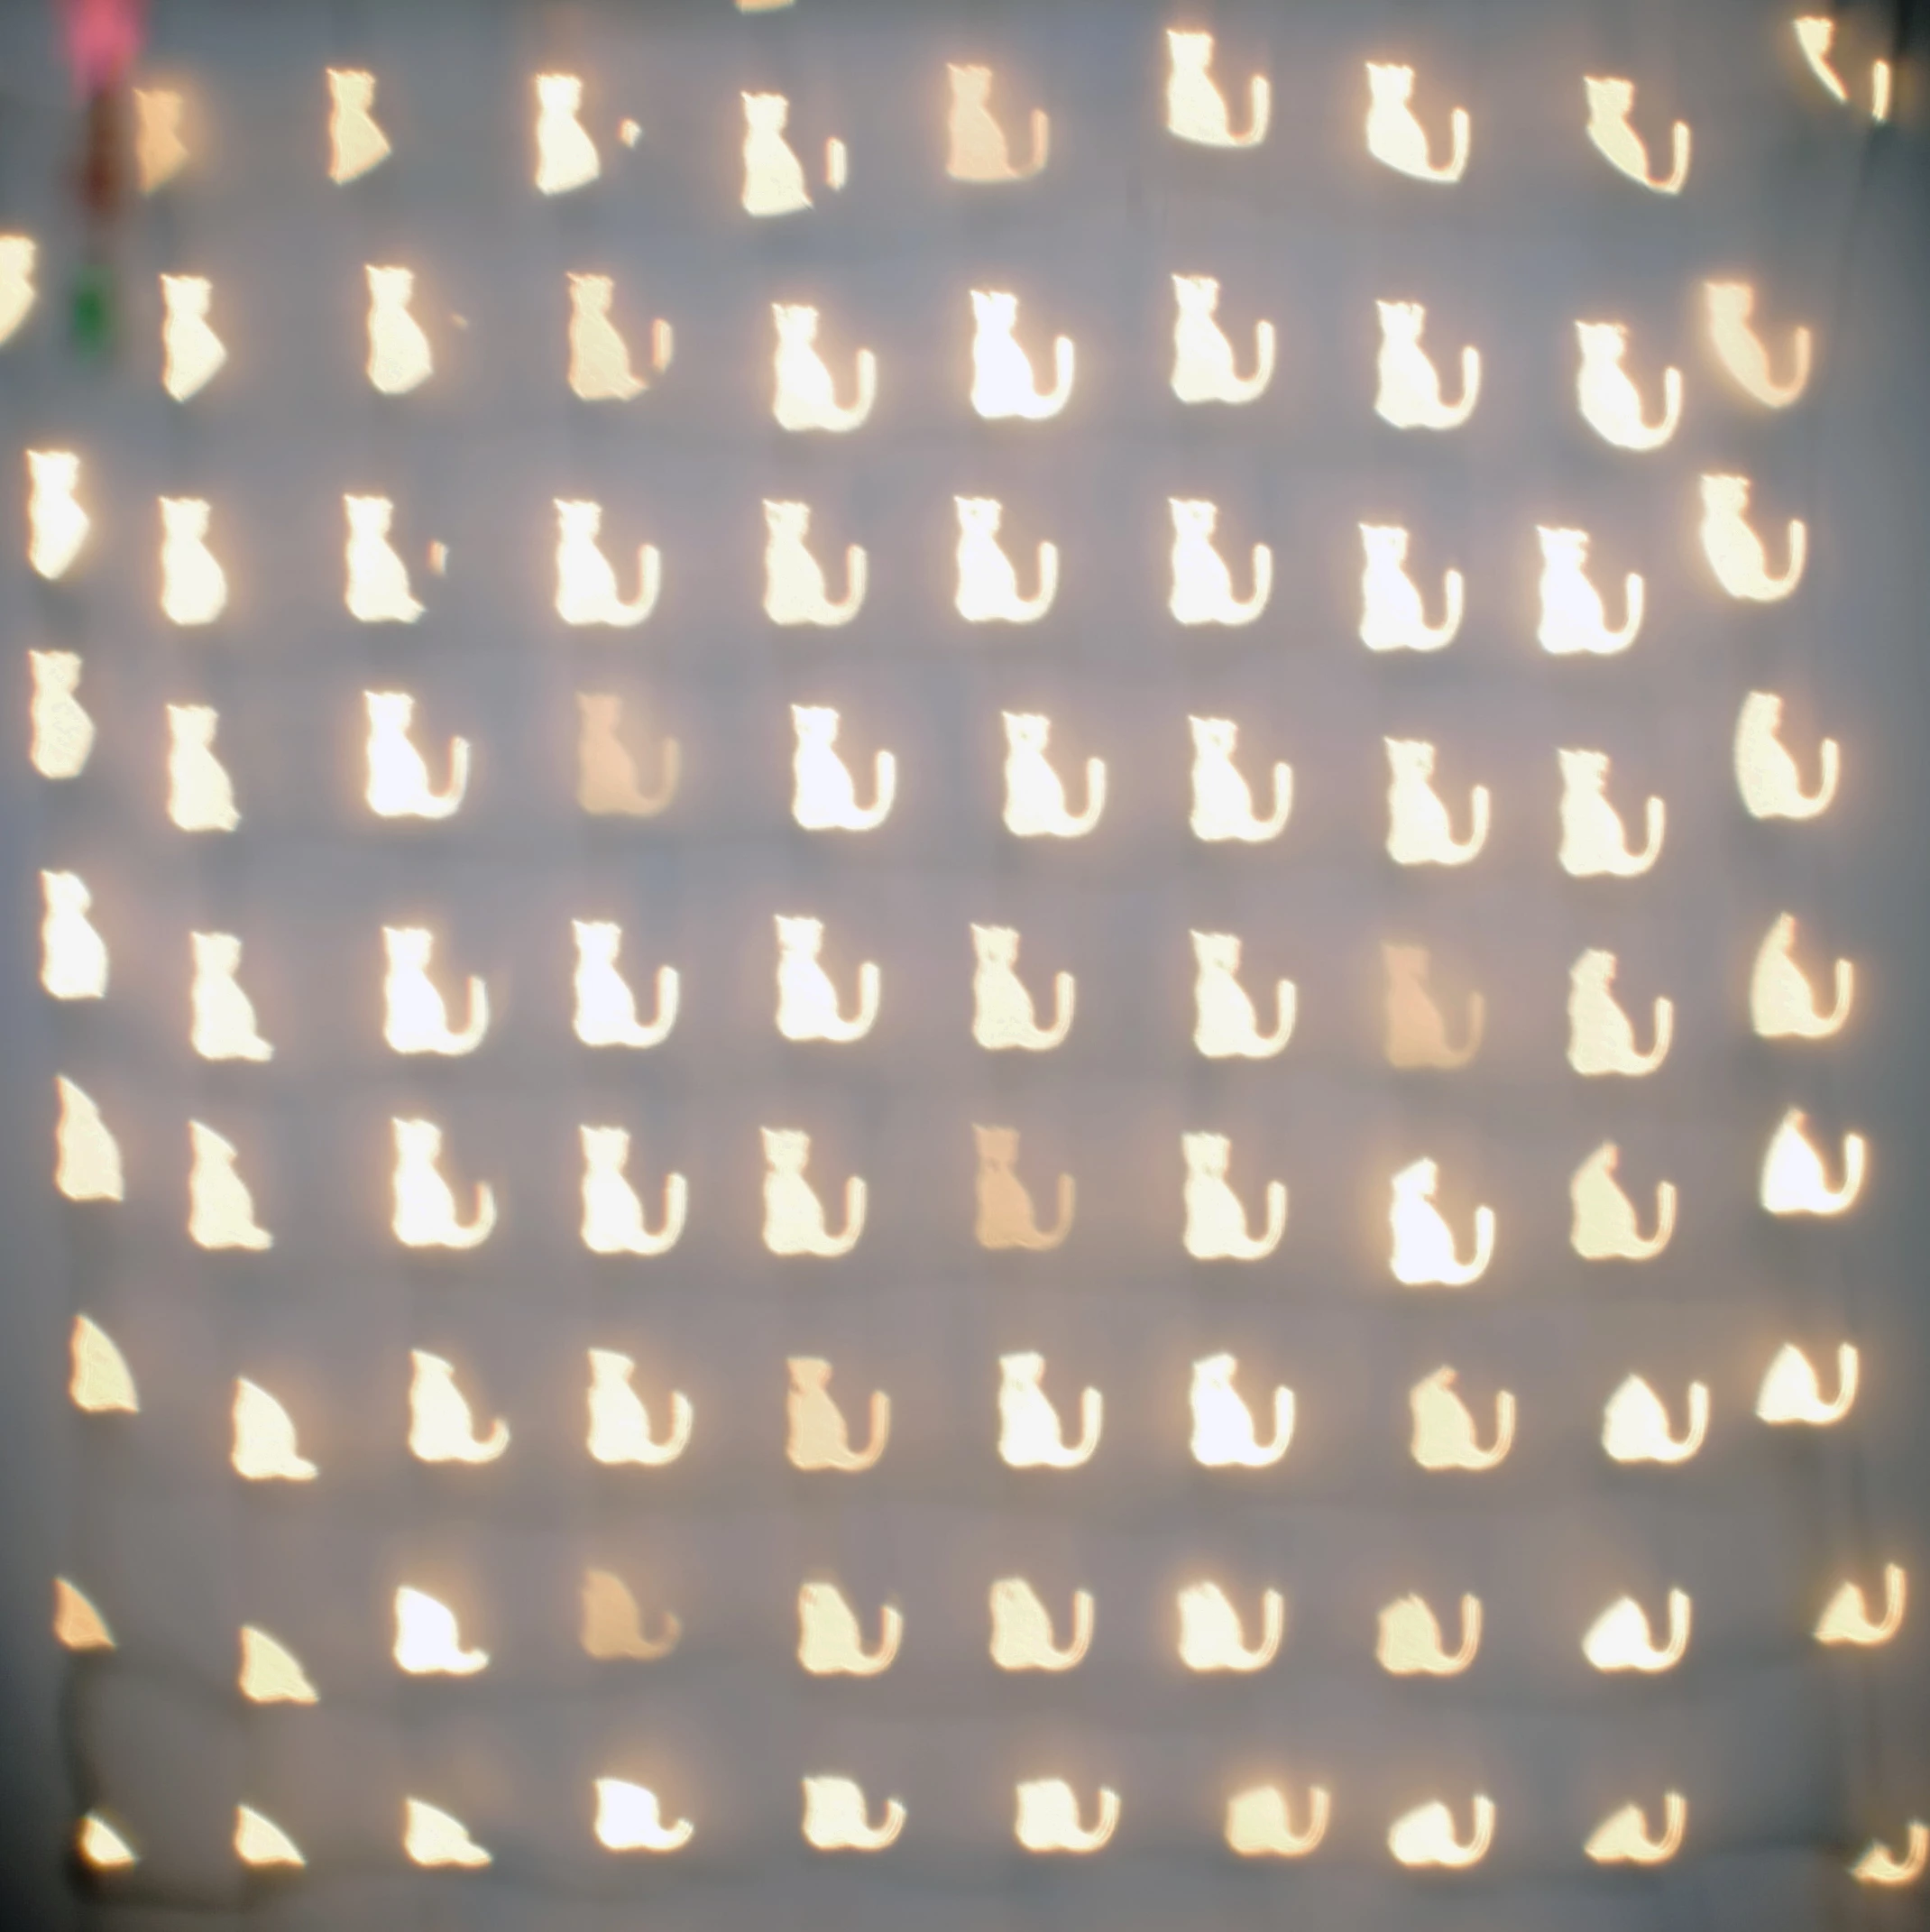
As JJ has told you. that is not great image to work with. In fact it is a terrible image to work with, but I guess it is what it is, so you need to do the best you can.
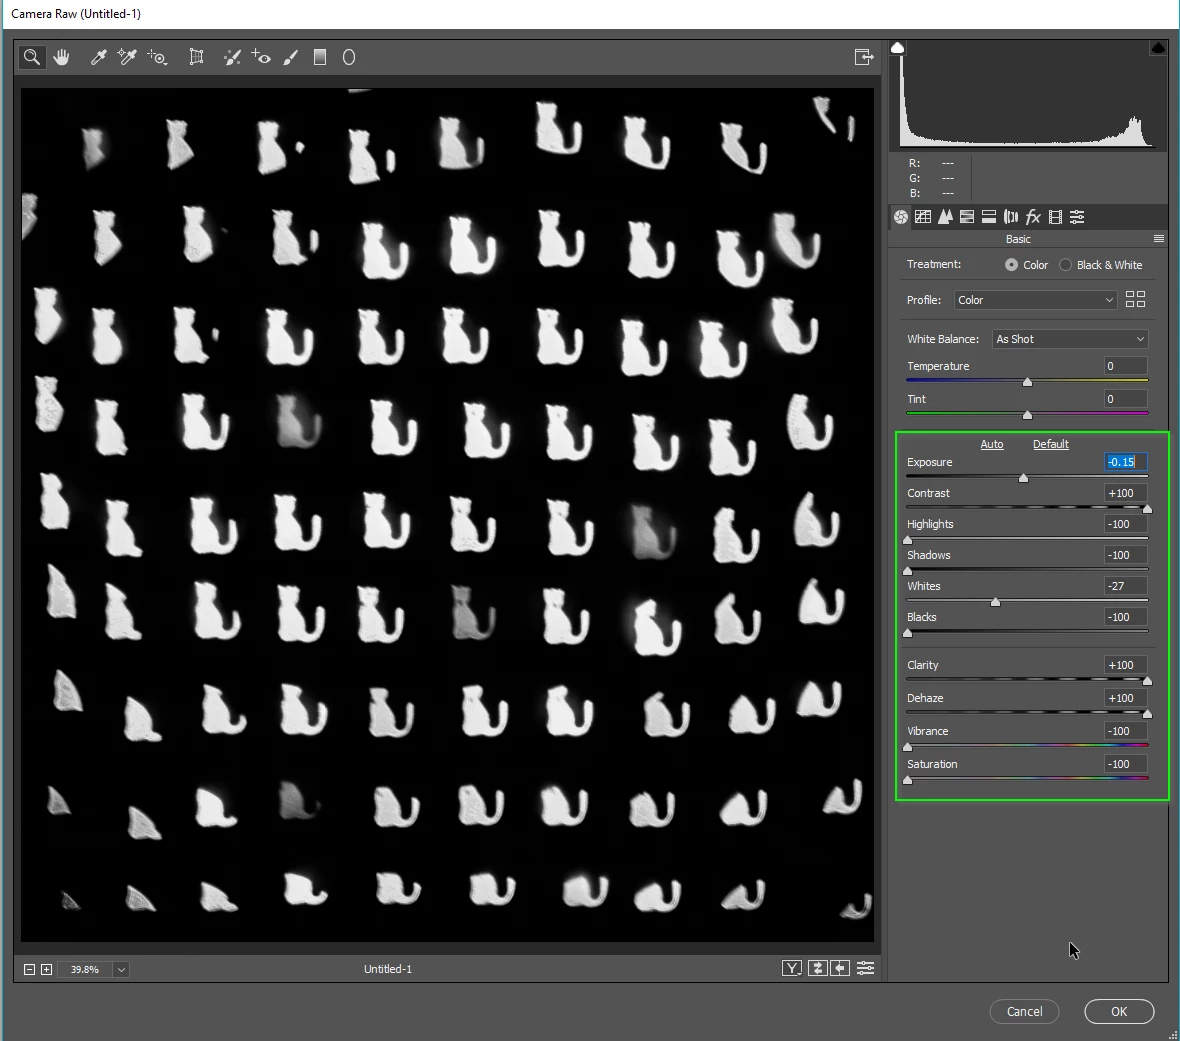
I've copied the layer with a view to making a mask from it.
Opened the copied layer in the Camera RAW filter, an applied the settings you see.
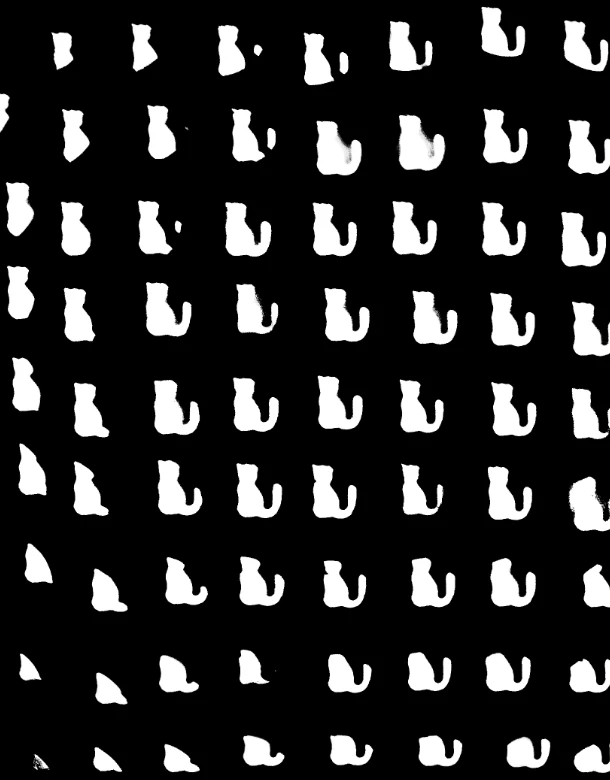
A curves adjustment layer. The trick is to try and get to full black, and full white without losing detail. Or in this case, minimising the inevitable loss of detail
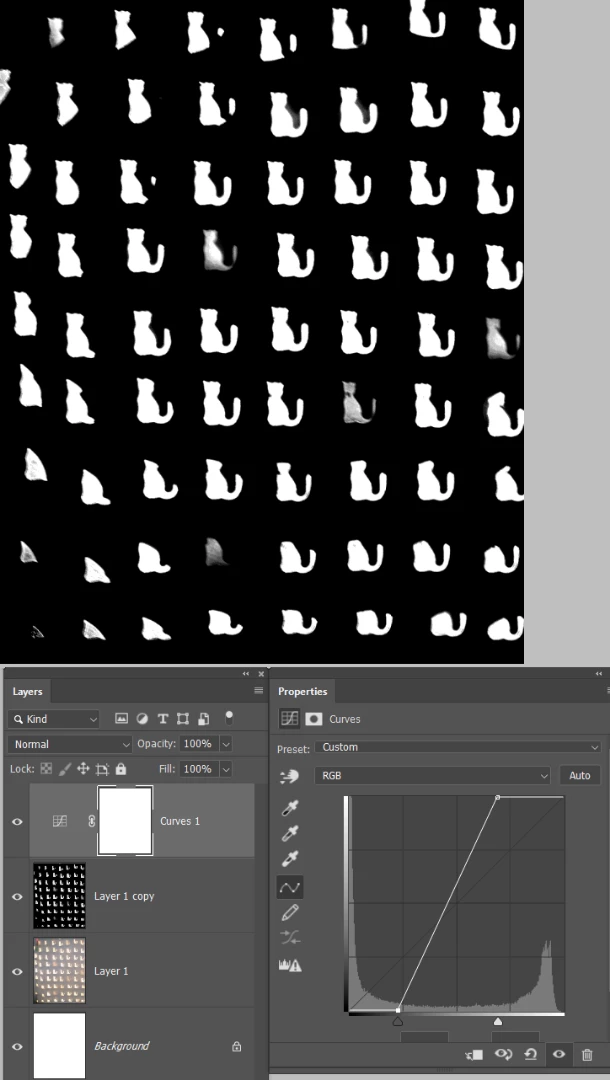
Make a copy merged layer at the top of the stack (Shift Ctrl Alt E)
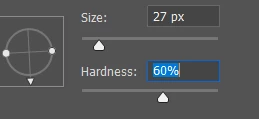
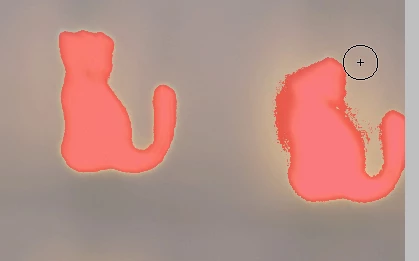
Select a soft round brush, and set it to Overlay in the Options bar, and about 50% opacity
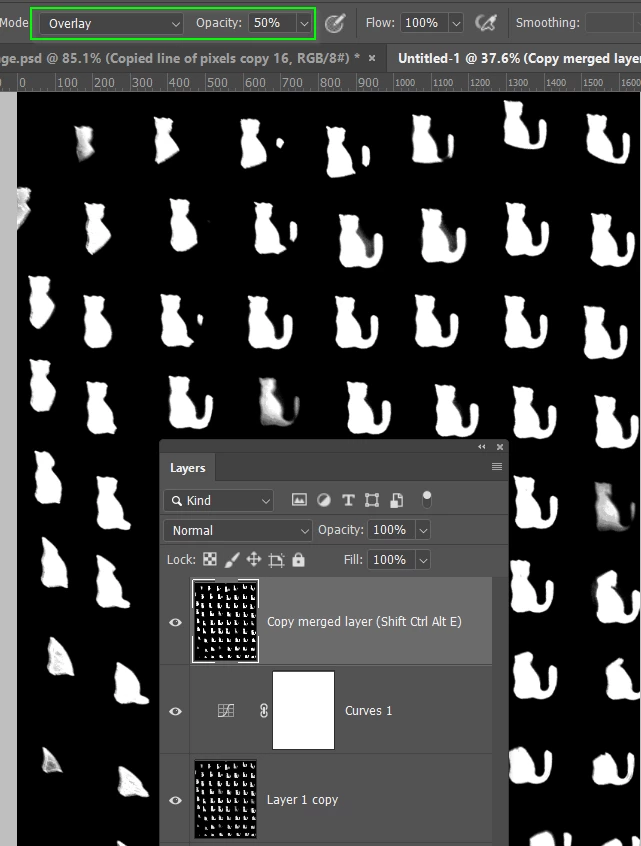
Paint over the grey cats with white, gradually building to full white. You can increase brush opacity as the background is already full black and won't spoil.
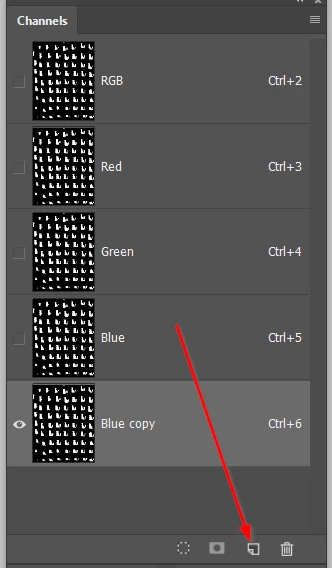
Take any one of the channels (they are all the same) and drag to the new channel icon
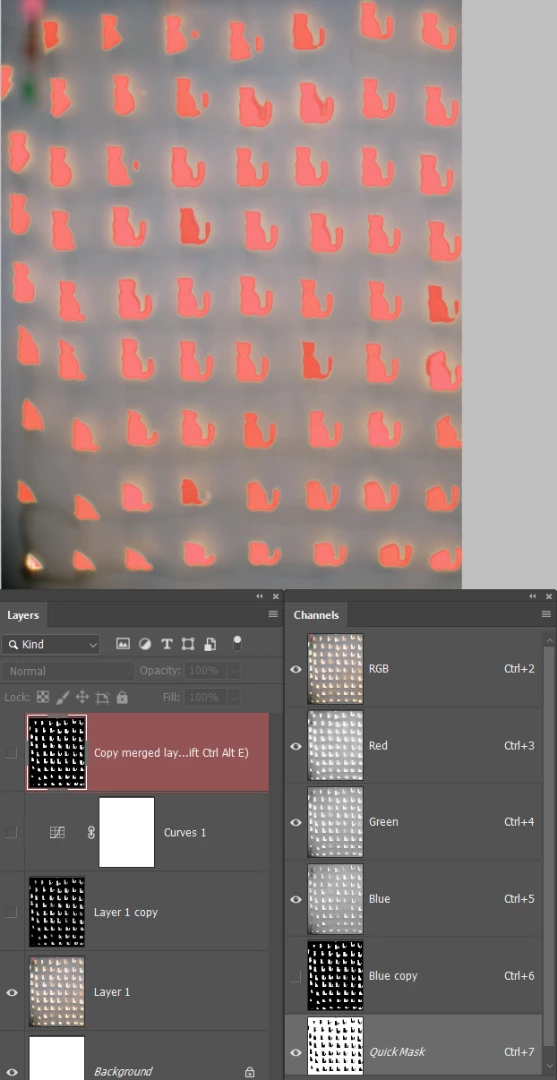
Turn off all the additional layers we made, so we can see the original.
Ctrl Click our copied channel, and hit the Q key to enter Quick Mask
Now its about how fussy you need to be. I hope you have a tablet.
Set the brush mode back to normal and make it semi hard
Zoom in to actual pixel size (Ctrl Alt 0) that's a zero and not the letter O
Paint with white to remove from the selection, and black to add
Hi q to come out of Quick Mask and add a layer mask to the original layer
You can continue to fine tune using the layer mask.
Better options...
1) Use the shoot it again filter. Perhaps set up on a tripod and use a range of exposures and combine the best
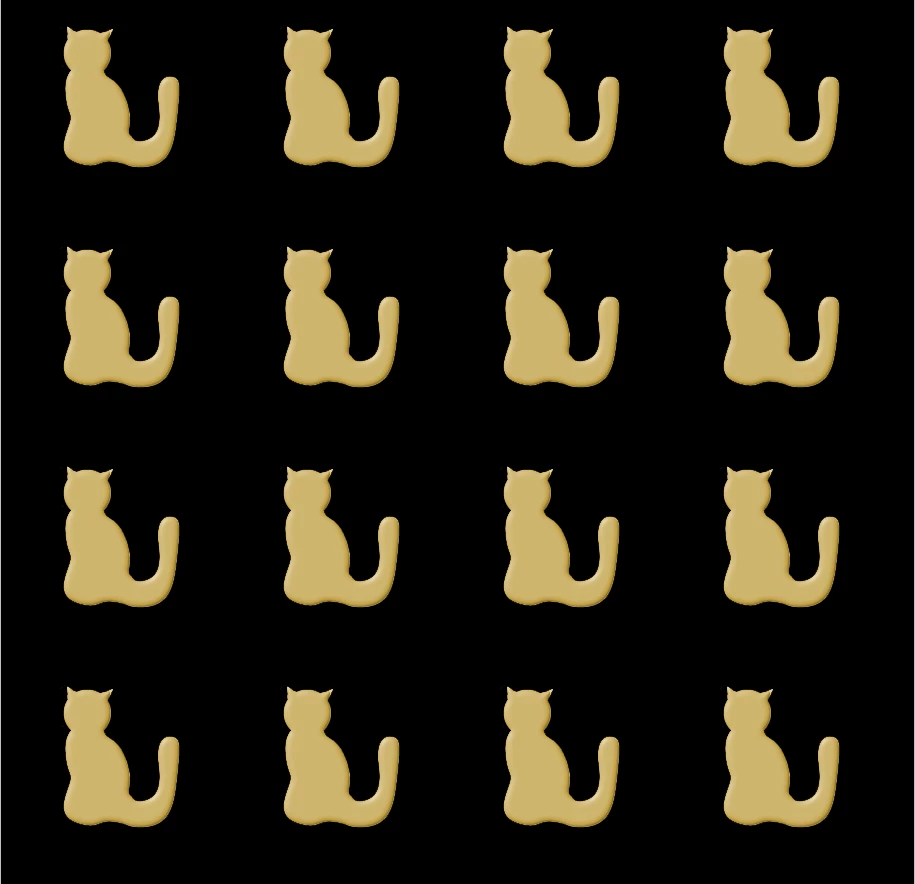
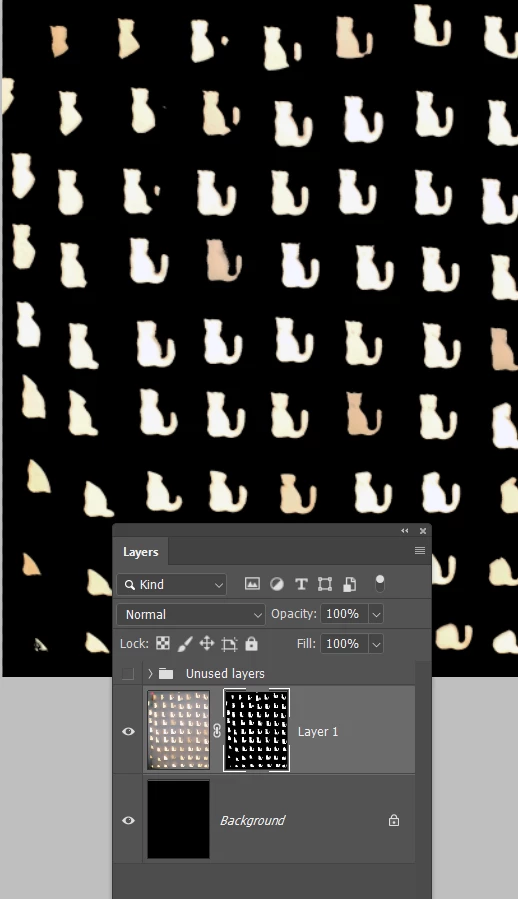
2) Make a half decent outline of one of the cats, and define it as a pattern
I added a wee bevel and emboss for good measure