
Frustration with editing expanded compound paths after image trace + clipping masks
Hi all,
I'm having trouble with a specific piece of artwork for which the standard recommendation of :
Expanded image trace
Delete white elements (or not trace them in the first place by checking the option "Ignore white")
Then Object > Compound path > Release
to get the effect I want, isn't working for me.
I've image traced a piece of hand drawn line art:
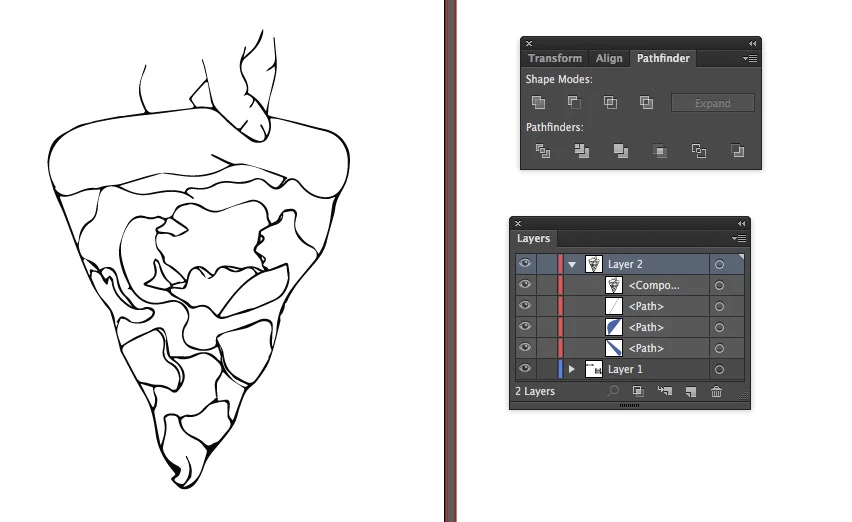
As you can see, it's image traced as a compound path. This should be fine, except I've wanted to go in and edit certain paths, cut and re-join in some areas. To do this, I need to release the compound path, otherwise some line can't be joined as they are not in the same 'group'. I get a warning message when i TRY.
When I release the compound path however, I end up with this:
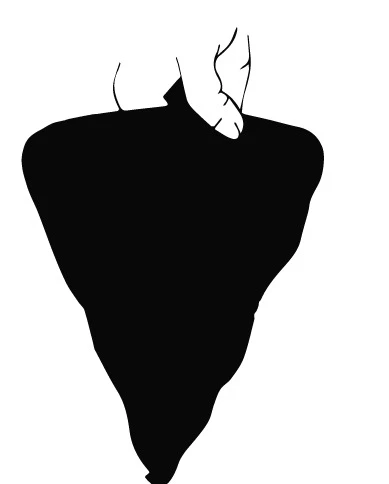
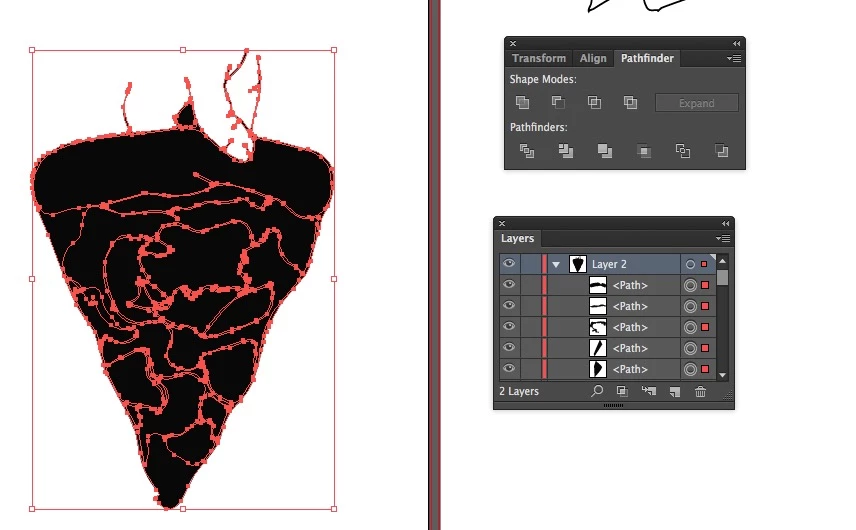
I've tried selecting the inside areas and shapes (that were white before) and deleting them, but that's just deleting the shapes entirely. Maybe I should have image traced differently? I selected not to trace white areas, as suggested elsewhere online. Can anyone explain what's happening here?
As part of the project I am also creating a banner. I've got the outline image traced, and will be looking to use gradients to fill the image. This is what it looks like as outlines, and what happens when I 'fill' the image.
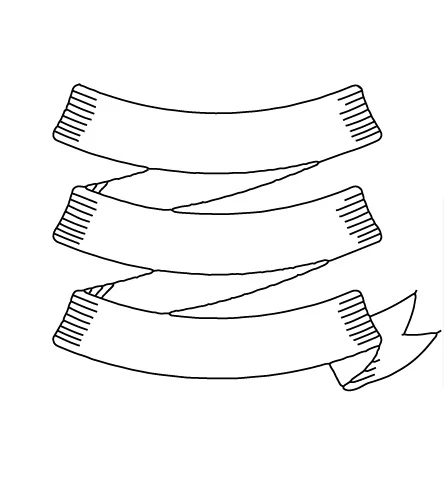

I'm assuming it's because some areas aren't closed paths etc, I wondered if there was a way round this. Or rather, what the pros would do to create fills for each section? If I'm using subtle gradients, is it best I duplicate the shape of each stretch of banner and use clipping masks filled with gradients to place behind?
Thank you for your time!