Feature Focus: 3D Layers now render using Adobe Standard Material!
- October 5, 2023
- 1 reply
- 2439 views
As you may have noticed, as of After Effects 24.1 build 14 (so for a while now), there were big changes to the rendering of non-model 3D layers in the Advanced 3D engine. Imported models have always used physically-based rendering for their materials and now objects created internally within After Effects do too. Any solids, precomps, text, and shape layers with the 3D switch activated are now textured and renderedwith Adobe Standard Material, a Physically-Based Rendering-material format capable of more accurate and photographic looks.

This may have some impact on the way your 2D layers look when you click the toggle to change them to 2D to 3D, but it enables significantly more integrated and beautiful lighting and rendering of your scenes.
Physically-Based Rendering (PBR) is an industry-standard way of building out the entire space in which every type of physical material exists and reacts to light and reflections. PBR aims to more realistically model how surfaces respond in the real world. So, creating any specific type of material is just a matter of matching the real-world measurements for different aspects of the surface (these are called channels). Measurements like: what is the basic color of this material, how much does this material reflect light, how sharp the reflections are.
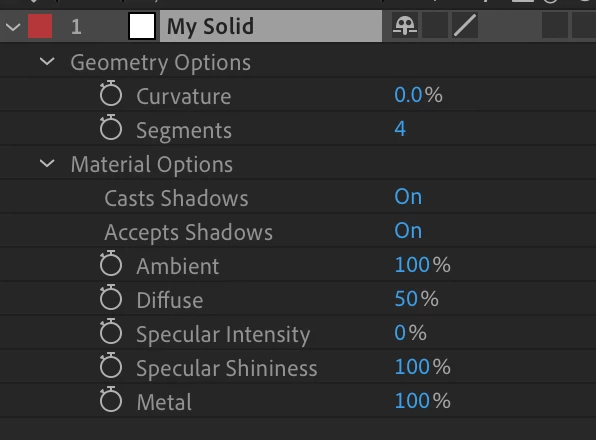
This release adds support for five Adobe Standard Material channels using After Effects traditional material channel names. You can get to them by twirling down your 3D layer to Material Options, or by hitting AA on the keyboard with a 3D layer selected. The default values applied are shown below, but this is a Beta feature and thus, these default values are subject to change.
 Ambient controls how much of After Effects ambient lighting is applied to this layer, if any is present (there may not be any). This behaves similar to the ASM emissive property but does not cast light onto other objects.
Diffuse maps to the ASM Base Color channel and will pass through your layer’s inherent color— the one you see when it’s viewed in 2D. Setting this to 100 will help you get the closest match to the 2D version of a layer.
Specular Intensity is mapped to the ASM specular level.
Specular Shininess is most easily thought of as inverted ASM roughness (0 is a very rough material, 100 is a very shiny material). Note that the response is non-linear, and changes may be most visible in the middle of the range.
Metal is the ASM metal channel, which controls how much a surface alters the color of specular reflected light.
General Tips
- To have more physically accurate lights to go with your new physically accurate materials, set the light’s falloff to Inverse Square Clamped. This will give you a natural and realistic gradient the further your objects get from the light.
- If you want your 3D layer to match the look of the 2D version as closely as possible, turn Ambient and Diffuse to 100 and turn down Specular Intensity, Specular Shininess and Metal to 0.
- Environment Lights may make matching 3D versions of 2D art more difficult, as there will be a lot more interaction between the lights and the artwork.
- Currently After Effects only calculates reflections from Environment Lights. When there are 3D layers in a comp, but no lights, After Effects uses a default and hidden Environment Light and that environment is reflected in your 3D object.
When you add a light layer, After Effects disables the default Environment Light.
You can manually add an Environment Light referencing an .HDR file to add reflections back in.
Text Layer Tips
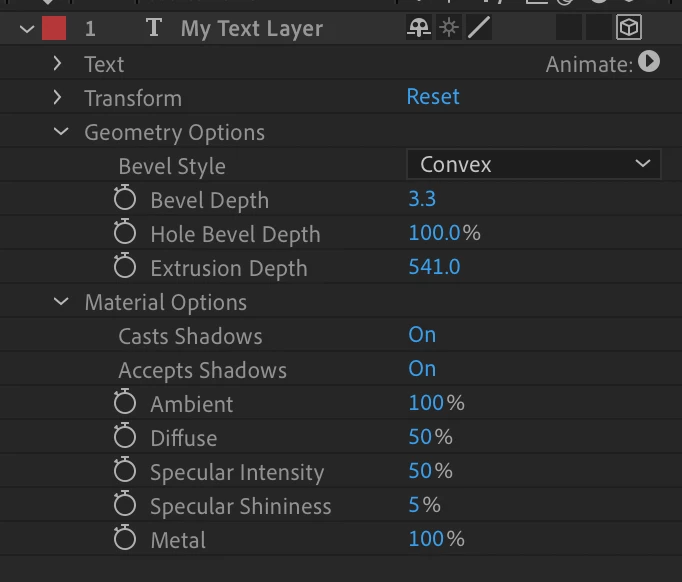
In Advanced 3D, text and shapes can be extruded and beveled by twirling down the layer and accessing the Geometry Options. This is not new, just very, very relevant.

Bevels are very important to help text edges catch light which is both aesthetically pleasing and helps readability. They are applied outside the text face which may lead to some expansion of the font.
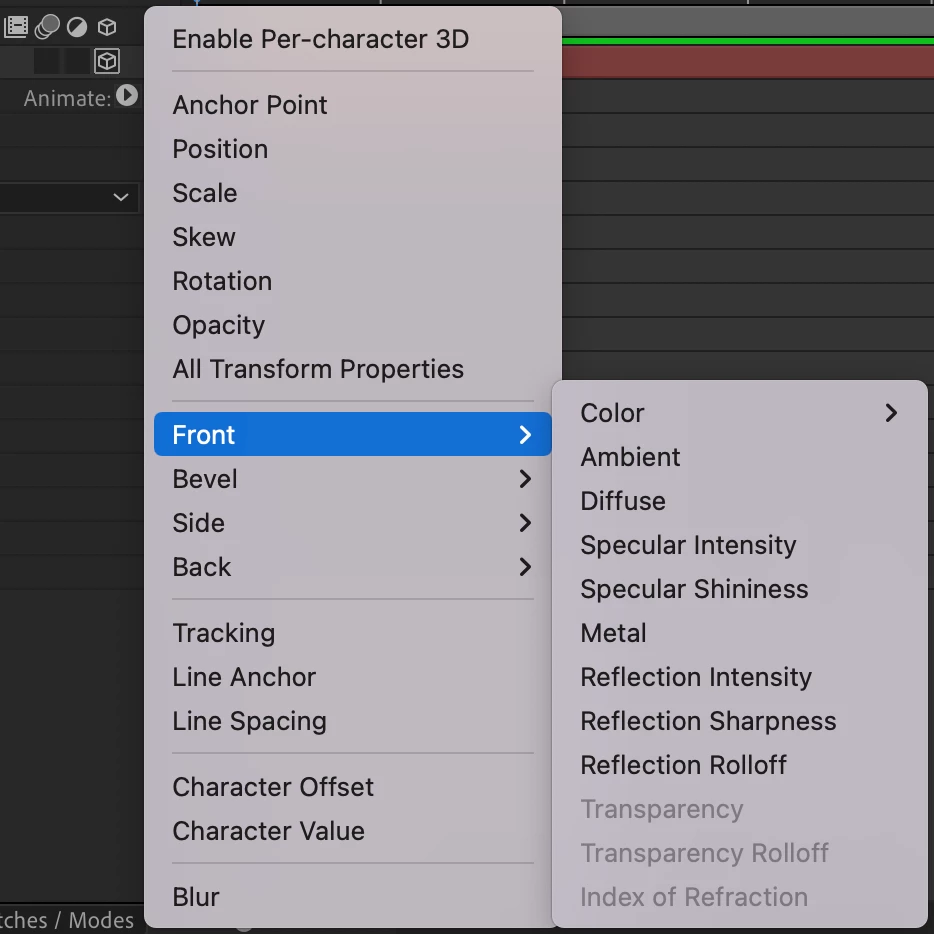
Text Animators can be used to further customize the different faces of the text object. This menu can be accessed from the Animate: (▶) button.
Please note that Blur, Reflection Intensity, Reflection Sharpness, and Reflection Rolloff are not applicable to Advanced 3D and will have no effect.
Another helpful tip: If a range of text in your layers is selected when you apply a text animator, your text animator will automatically be set up to apply just to the selected text. You can use this to quickly format ranges differently.

2D Art in 3D Space Rendering Tips
- As mentioned before, artwork that was changed to 3D now becomes a full-fledged, first-class 3D citizen, capable of being lit by and casting shadows from the Environment Light. This is different than Classic 3D where 2D art turned into 3D layers was flatly lit unless lights were added to the scene.
- As also mentioned before, you’ll get the closest match to your 2D art by turning Ambient and Diffuse to 100 and turning down Specular Intensity, Specular Shininess and Metal to 0.
Because your 2D artwork now lives inside of a lit 3D scene, changing Environment Light sources can dramatically change the look of your scene. See the attached Campsite example video (here's a preview).

There's a lot of videos attached that will show off these properties in movement — which is where they really shine. Please let us know what you think!


