Copy link to clipboard
Copied
hello i have an .eps graph that has transparent background at ai (show grid transparent)
but when i look and print it at frame, has a white background around it,
can someone help?
 1 Correct answer
Yes, I know that the left shape is not the one shown in your first pic. I just created it, because FrameMaker noticed a missing reference. When creating this left "dummy" image, I saw that the EPS itself was working as expected with a transparent background. However, this did not immediately work on the right side as well. I re-saved the "Right.eps", tried it again, and it still did not work. However, once I've noticed that there are two copies of the "Right.eps" on top of each other, I deleted
...Copy link to clipboard
Copied
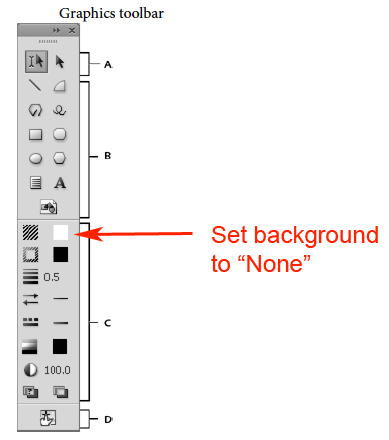
FrameMaker is not able to display transparencies (or transparent backgrounds) within the application, imported eps graphics will always look like this. However, it should be correctly displayed when printing or saving as PDF. If this does not work, select the graphic in question (here: the arrow), and - using the the graphics toolbar - set the background (fill color) to "None". Now it should be correct in printouts and PDF.
Bernd

Copy link to clipboard
Copied
already tried it,
what is odd is that when i save for example as .png
even if i can see transparent background when saving,
if i reopen it in ai it still has the white background color,,,
pffffffffff
Copy link to clipboard
Copied
One more thing to check: in the EPS export options (when saving in Illustrator), is the background set to "transparent"?
Copy link to clipboard
Copied
yes, i checked that also,
resaved again,,
no result...![]()
Copy link to clipboard
Copied
Could upload a ZIP of the EPS and the FrameMaker file (or an extract of it just containing the table shown above) and post the link here?
Copy link to clipboard
Copied
it wont leave me to upload a .zip file...
Copy link to clipboard
Copied
Use a file upload service (like dropbox or similar) and post the link here.
Copy link to clipboard
Copied
Copy link to clipboard
Copied
It seems to be a combination of quirks. First, I've re-saved the EPS after mirroring to create the missing "Left.eps", and this file came out correctly with transparent background. Then I made a new "Right.eps" out of this file, which initially didn't work again. Then I tried to delete the eps and import it again, which made me notice this:

After fixing this problem, re-importing and re-selecting the "Fill = None" option the file came out as expected. Test file fixed.
Copy link to clipboard
Copied
i am not quite sure i understand,
left.eps is incorrect, purple shape appears at clients graph also,
only right.eps is different,
but i am not sure if i understood what you did,,,
just erase the whole thing? and reinsert?
or there is something to learn from that?
Copy link to clipboard
Copied
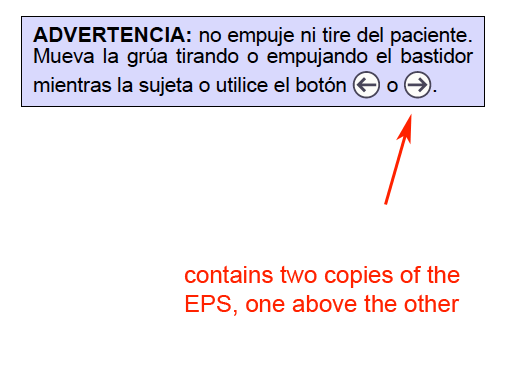
Yes, I know that the left shape is not the one shown in your first pic. I just created it, because FrameMaker noticed a missing reference. When creating this left "dummy" image, I saw that the EPS itself was working as expected with a transparent background. However, this did not immediately work on the right side as well. I re-saved the "Right.eps", tried it again, and it still did not work. However, once I've noticed that there are two copies of the "Right.eps" on top of each other, I deleted one, checked/applied the correct fill, and now it worked.
What might be learned from it? If it doesn't work as expected, deleting and re-importing images might still help to solve the issue. I wouldn't have discovered the doubled EPS otherwise… ![]()
Copy link to clipboard
Copied
well, i think, this is "dummy",
i tried a lot of things,
for sure i will follow your tutorial,
i am not familiar with paths or masks, but maybe this is a good start,
thanks you for your time and help!!
Copy link to clipboard
Copied
These previous threads may have some tips:
https://forums.adobe.com/message/4818709#4818709
https://forums.adobe.com/docs/DOC-8271
Copy link to clipboard
Copied
I also made this tutorial years ago (for FM9, but still works this way) for files saved from Photoshop:
Copy link to clipboard
Copied
I wasn't able to use the link. Can you post the full URL?
FrameMaker Course Creator, Author, Trainer, Consultant
Copy link to clipboard
Copied
Sorry, this interface regularly f###s up my links, had to repair other links as well.
This is the full tutorial link as mentioned above: http://www.meissner-dokuteam.de/Files/Frame/Transparency2_p250.pdf
Bernd
Copy link to clipboard
Copied
Are you using Adobe Illustrator? If so, import the native AI into FrameMaker instead of export formats.
If you're using Photoshop, use PSD, not export formats.
Here's a video to explain
http://www.techcommtools.com/illustrator-framemaker/
FrameMaker Course Creator, Author, Trainer, Consultant
Copy link to clipboard
Copied
mattrsullivan schrieb
Are you using Adobe Illustrator? If so, import the native AI into FrameMaker instead of export formats.
If you're using Photoshop, use PSD, not export formats.
Matt,
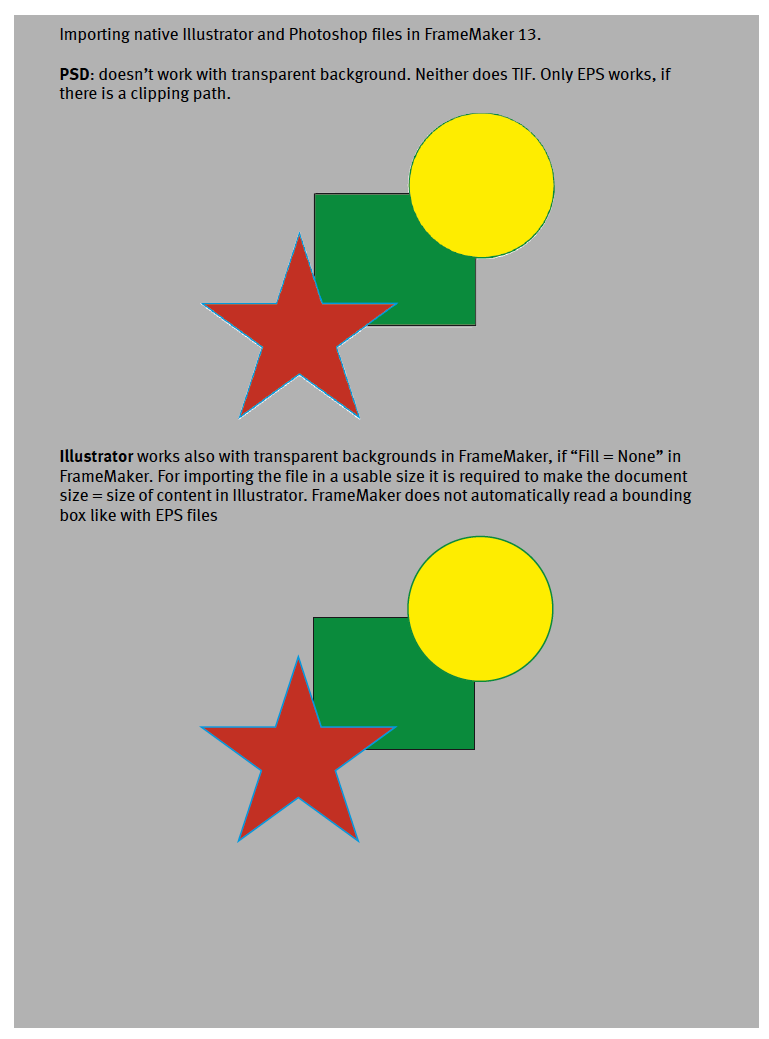
I've tried your suggestion to use native formats (see attached screenshot), and noticed two things:

- PSD doesn't work with a transparent background. Still only EPS with clipping path is able to give such a result (as described in my old FM9 tutorial).
- Illustrator works fine (just like PDF), but it's necessary to adjust the document size to the size of the content. This was easier with EPS, as FrameMaker reads the bounding box and clips the image accordingly.
At least with Illustrator files this is a fine solution, but the missing option of having transparent backgrounds with PSD files might be a show stopper.
Bernd
Copy link to clipboard
Copied
Yes, Bernd, for objects with transparency you may need to use EPS and clipping paths. However, even if the transparency were recognized, there would still be aliasing on the edges, and likely a halo around the image, as there'd be no matte color applied to the edges. So Photoshop EPS would allow for the vector edge around the perimiter.
Every case is different, but in this case, though, the images would be most easily created and edited as vectors in AI, not as bitmaps (or even vectors) in PS.
But just to throw in another scenario, I'd use a free FontAwesome or similar icon to type a professionally designed character, rather than managing as a graphic in the first place!
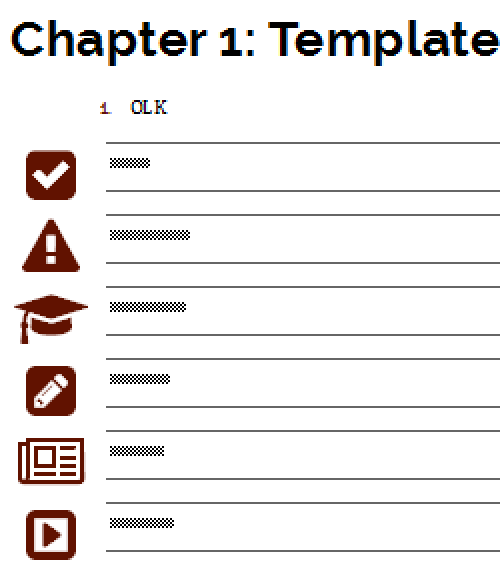
Here's a screen grab of the warnings, notes, and cautions that I use in my book, FrameMaker - Working with Content.

In case anyone's interested, these are paragraph tags that use a character format to apply the FontAwesome icon to the autonumber. They print perfectly, and are easy to apply. The arrows in the original example are even easier: Create a character tag that uses the FontAwesome font, and apply as needed.
FrameMaker Course Creator, Author, Trainer, Consultant


