well, it's not too difficult.
Step 1: create the dark-light transition for background:
1. Circle with simple gradient, something like this:
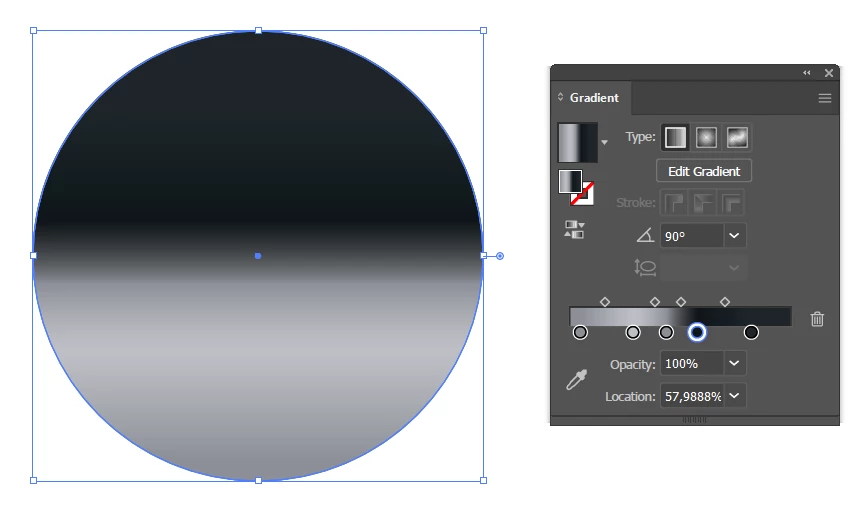
Circle is the best shape for further pattern creating.
2. Overlaying circle, a bit smaller, with radial gradient from white (or light gray) to black.

3. Using Opacity option in Control panel or Properties panel, make the transparency mask:
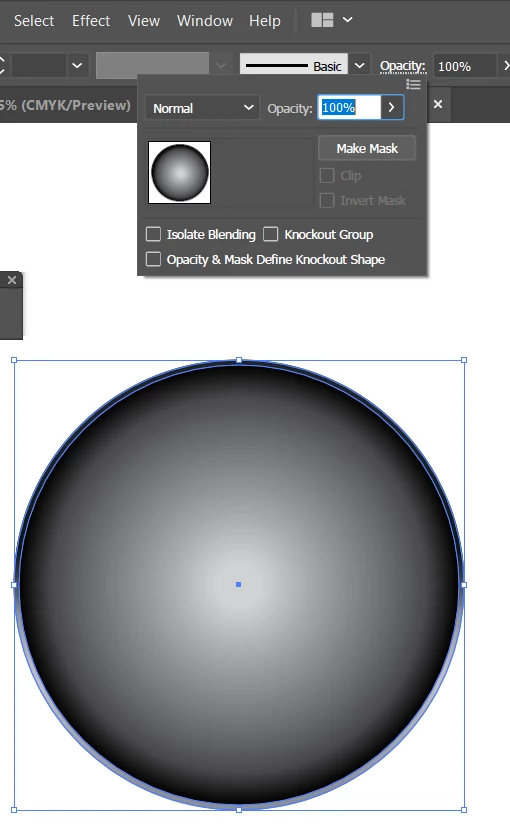
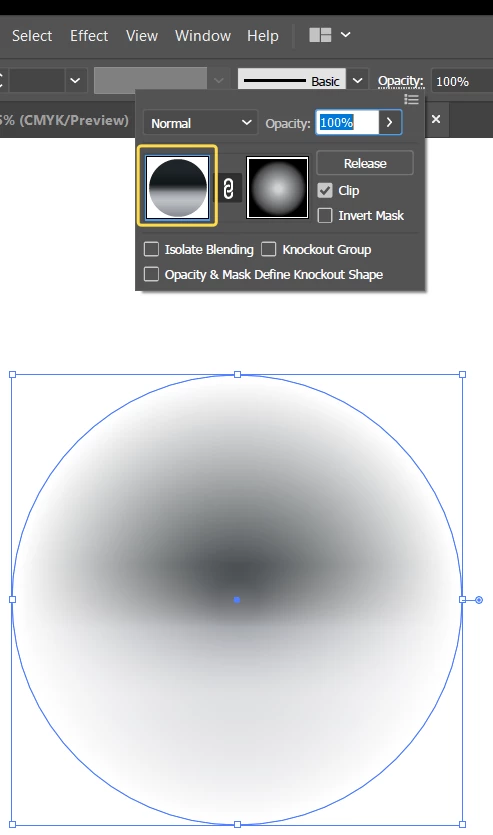
make sure to change mode from "mask" to "object".
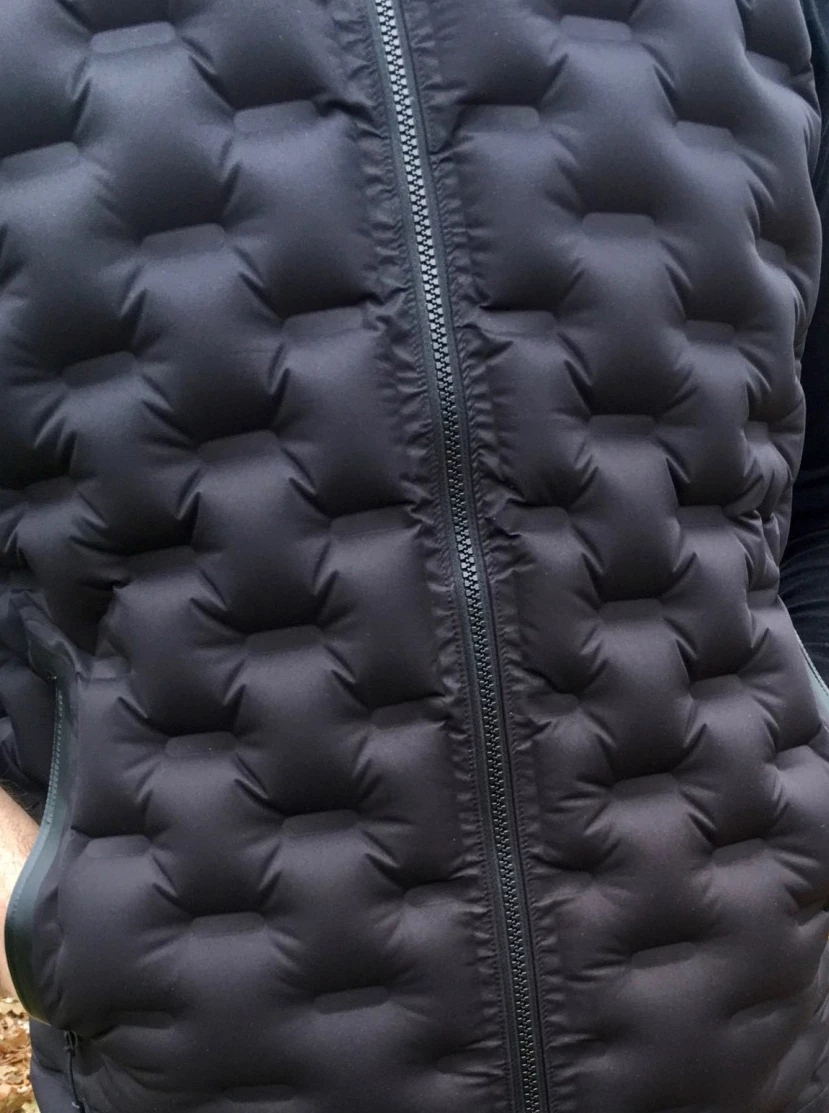
Step 2: create "pins"
1. Draw a rounded rectangle and fill it by relevant gradient, place it in the circle's center:
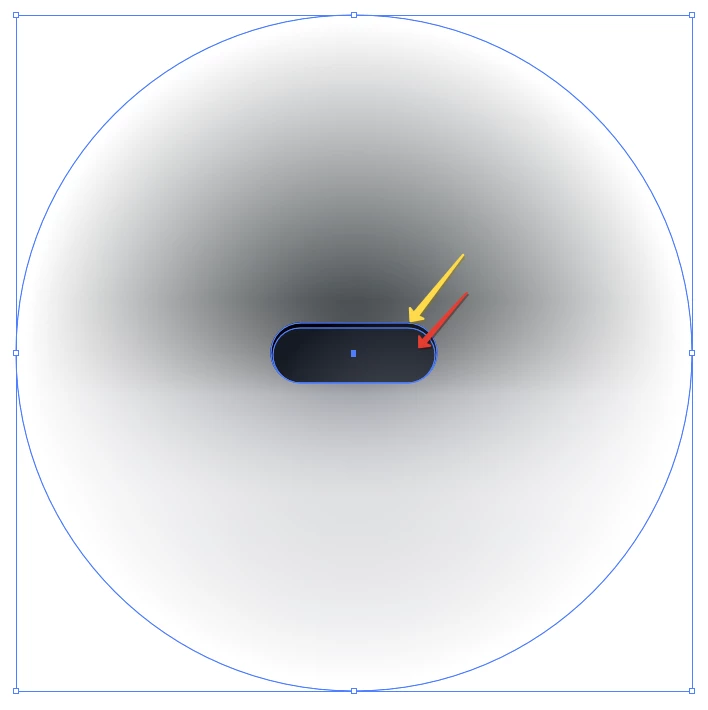
for more natural look you can add the darker rectangle under the main one (scale or move a bit upper to create "shadow" under the puff) and, if needed, add the lighter one the same way, moved a bit lower than the main one to create some kind of "highlight".
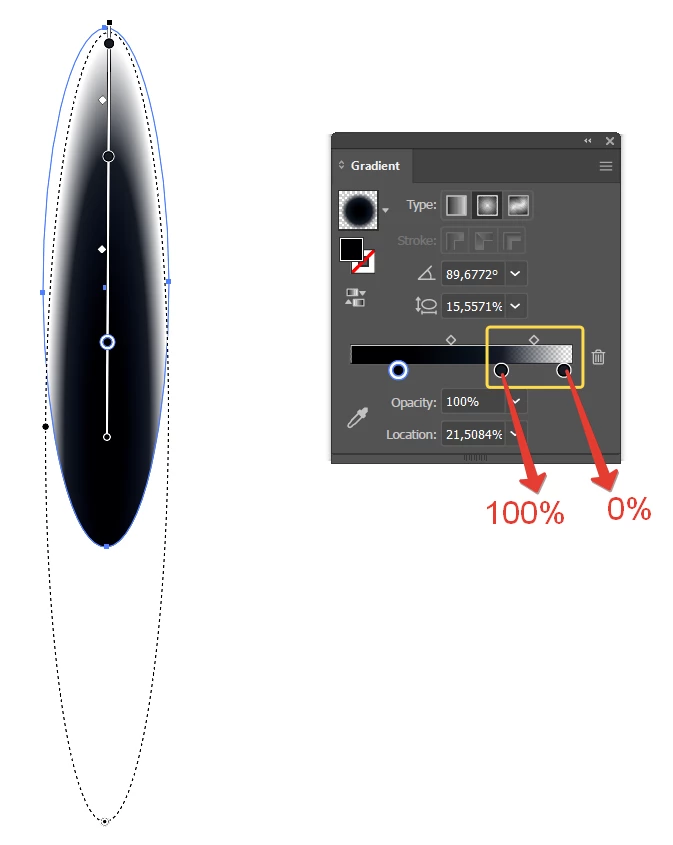
Step 3: wrinkles.
1. create a long, narrow ellips and apply gradient: you can use any stoppers' set but the last and the second last ones must have 0% Opacity and 100% Opacity respectively. And it's better to set them the same color.
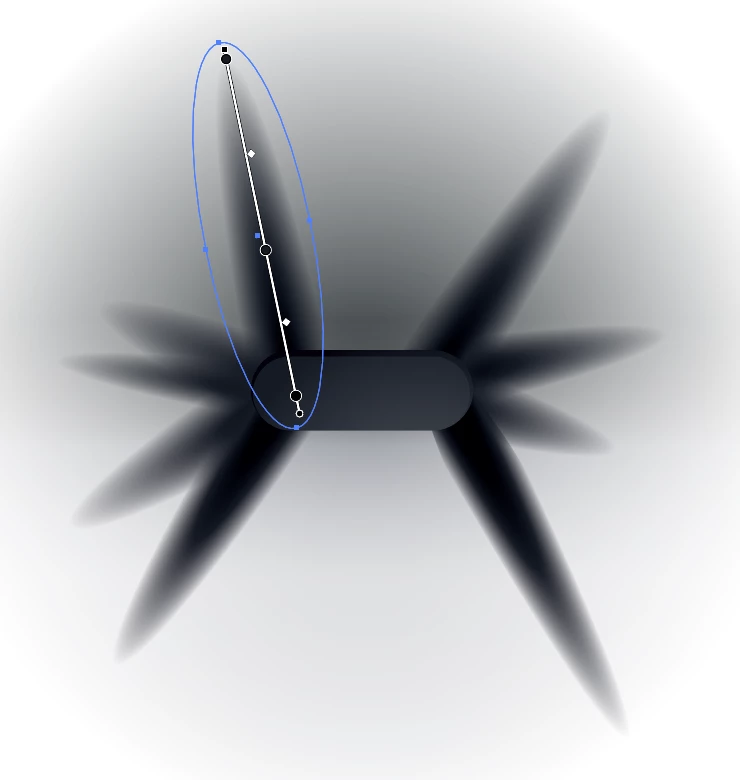
2. make some copies, place them under the "pin" rectangle, rotate and scale as needed and adust the gradient settings for the best look:
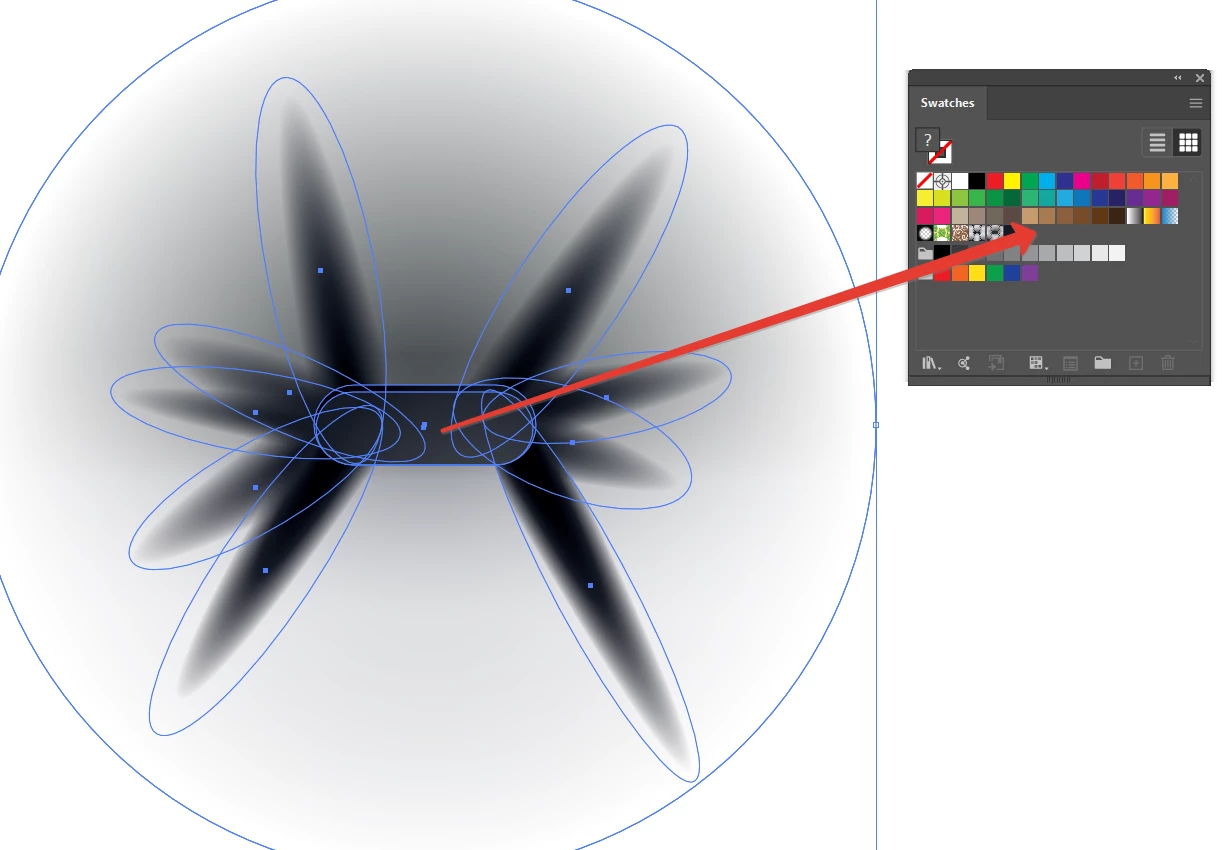
Step 4: Pattern
1. Add (drag and drop) the composition to Swatches panel:
2. Adjust pattern like you need (double-click on the pattern swatch opens Pattern Options panel and turns on isolated mode for pattern):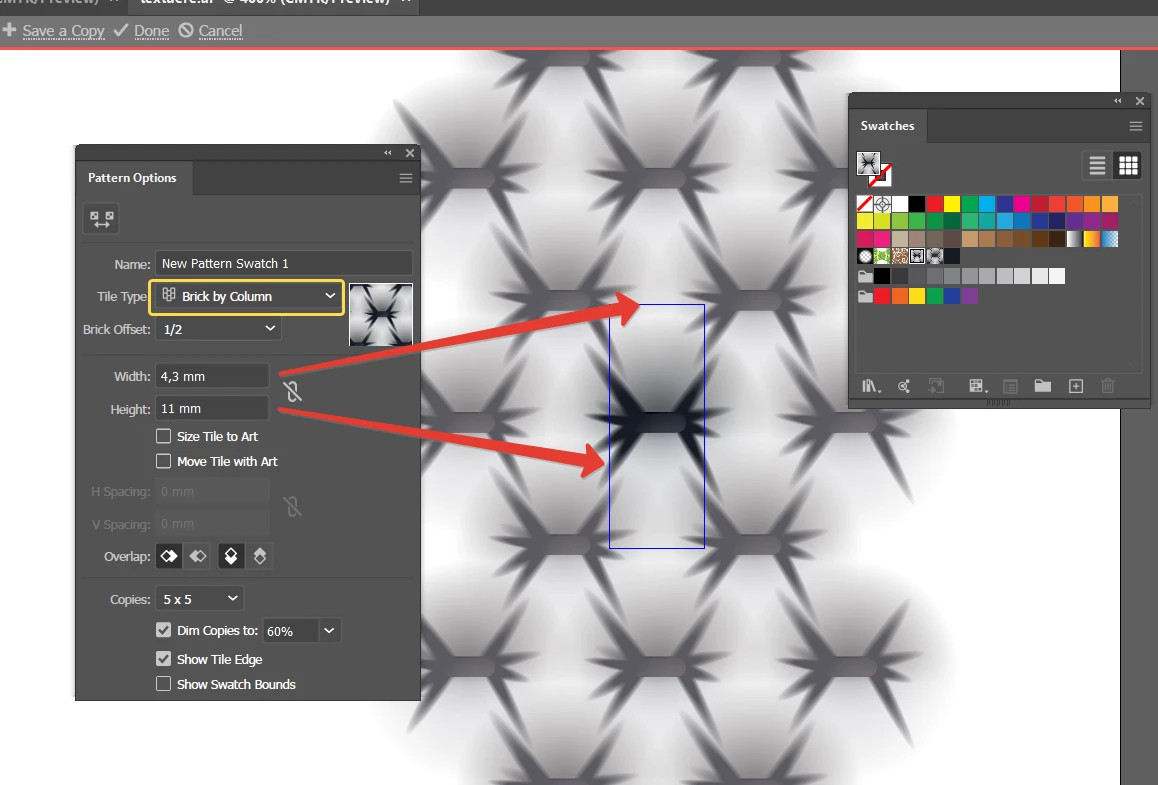
You can also add the bg color directly into the pattern, but generally it makes some small artifacts at the edges, not dangerous but a bit boring. So I prefer to add it to object as a color fill inder the pattern using Appearance panel:
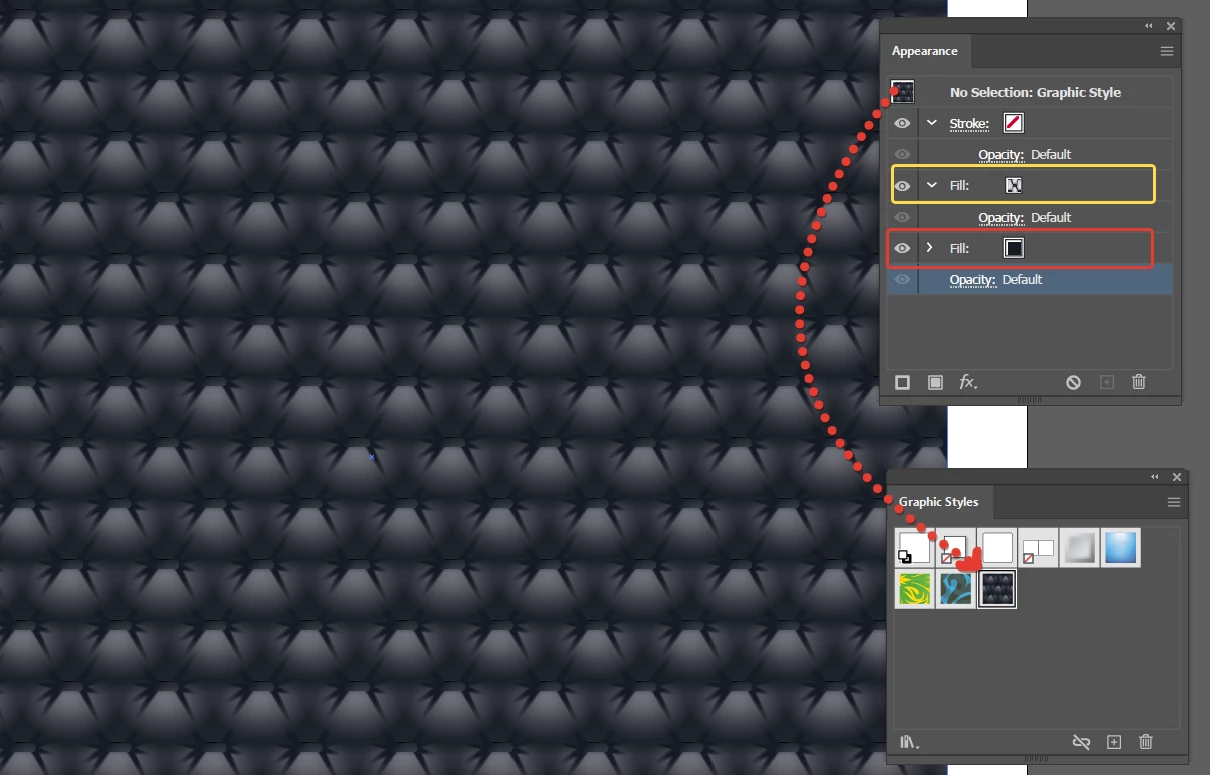
You can open Pattern Options panel any moment and edit any element there until you're satisfied the result. When all've been done you can add the final appearance to Graphic Styles panel to use it any moment when you need it.