Answered
4 color seps for screen printing
Hi,
I am not a wiz at Adobe, but my teacher wants an all photo process for screen print. I have the color comp finished, but dont know how to do the rest in Illustrator or Photoshop. Which is best and how?

Hi,
I am not a wiz at Adobe, but my teacher wants an all photo process for screen print. I have the color comp finished, but dont know how to do the rest in Illustrator or Photoshop. Which is best and how?
mikkanani schrieb
If I were designing this thing I would make it a one click deal,
That's what a RIP is there for: https://softwareforscreenprinters.com/what-is-a-rip/
Photoshop serves several purposes and so you might not find the one click solution for each and every specific task in it.
It would help if you could show something.
But actually I'm by no means an expert in screen printing. The steps I described above are my interpretation of what jdanek told you to do. This might or might not be what he had in mind. So you might want to wait for him to get back to you.
I agree. You said your instructor wanted process color separations for silk screen. Here's some screens of a logo I designed...
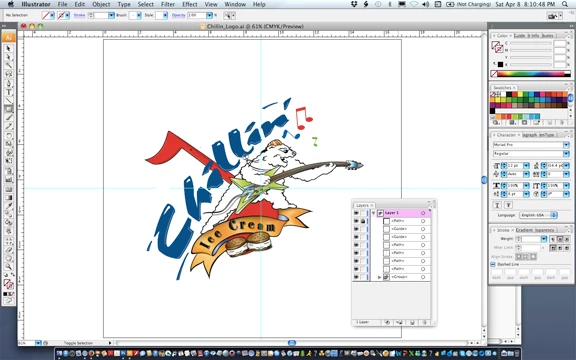
as seen in Illustrator with the Layers panel open for you to see that every Illustrator file consists of many Layers and, you are right, everything you do just about creates a new Layer. Not sure why you'd be concerned with layers if your artwork has been approved and is ready to be color separated. The above artwork is a native .ai file setup on an artboard 17" x 17".

In Illustrator File > Export...
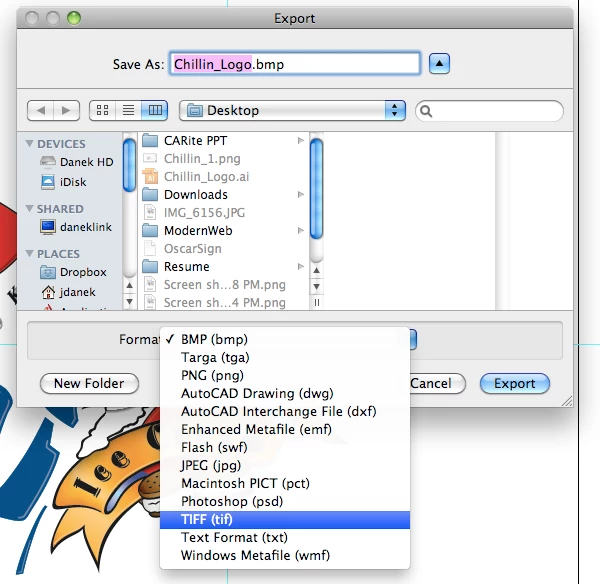
Above is your Export dialog...
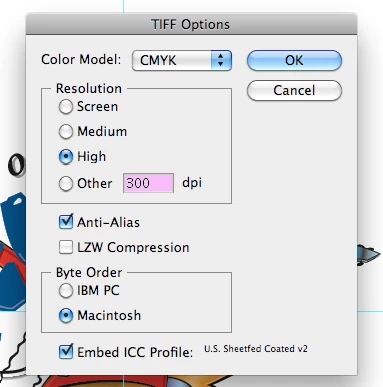
continue on...
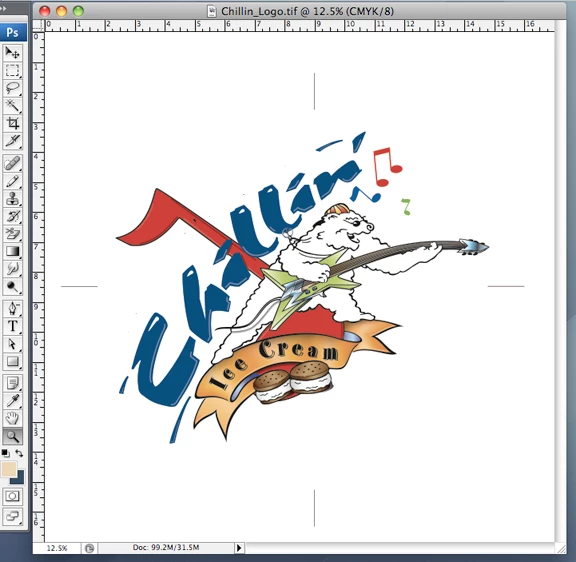
above is the composite opened in Photoshop, complete with center marks...
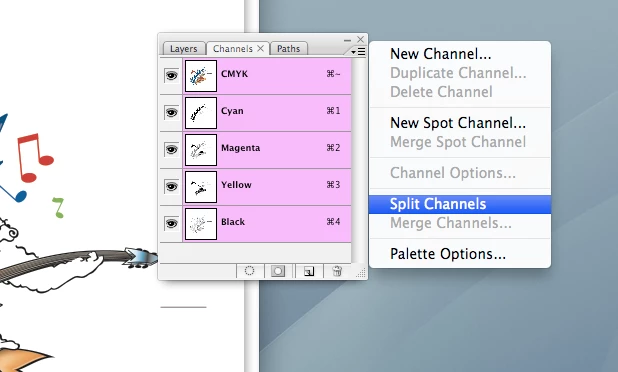
in the Channels dialog, select "Split Channels" ( not necessary to copy Channels )...
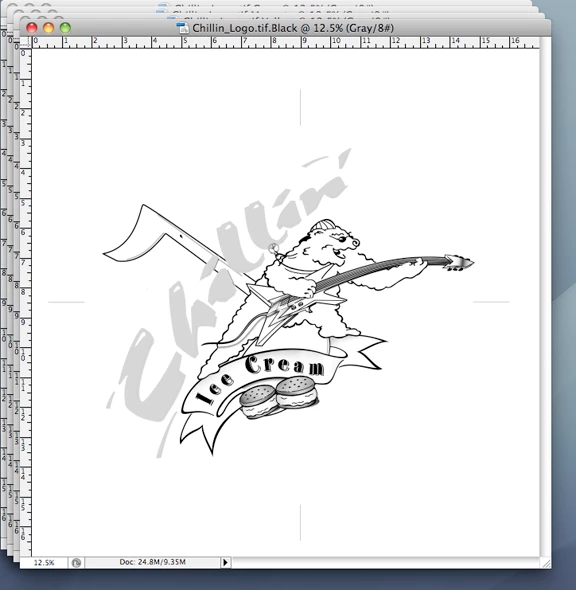
...notice this grayscale file is now named Black...

...now its time to convert to Bitmap ( Mode > Bitmap )...
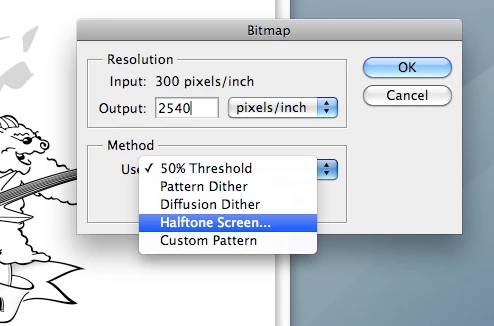
...set the output resolution at 2540 dpi, disregard what I told you previously about doubling the file size and scaling it back down ( not necessary )....
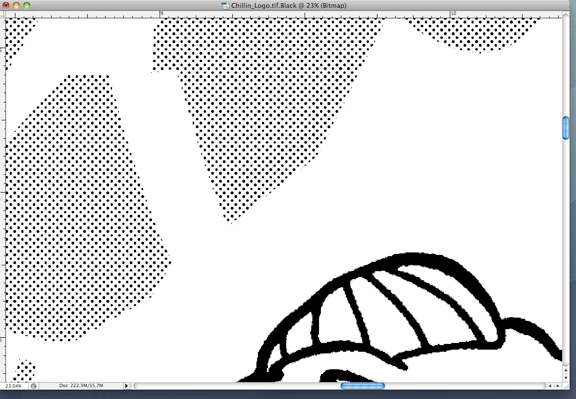
...each Channel is now ready to be printed on vellum and then burned onto a silk screen.
I hope this gets me out of the doghouse. Didn't want to be rude, after all.
Already have an account? Login
Enter your E-mail address. We'll send you an e-mail with instructions to reset your password.