Armour (the image looks more something with Amour),
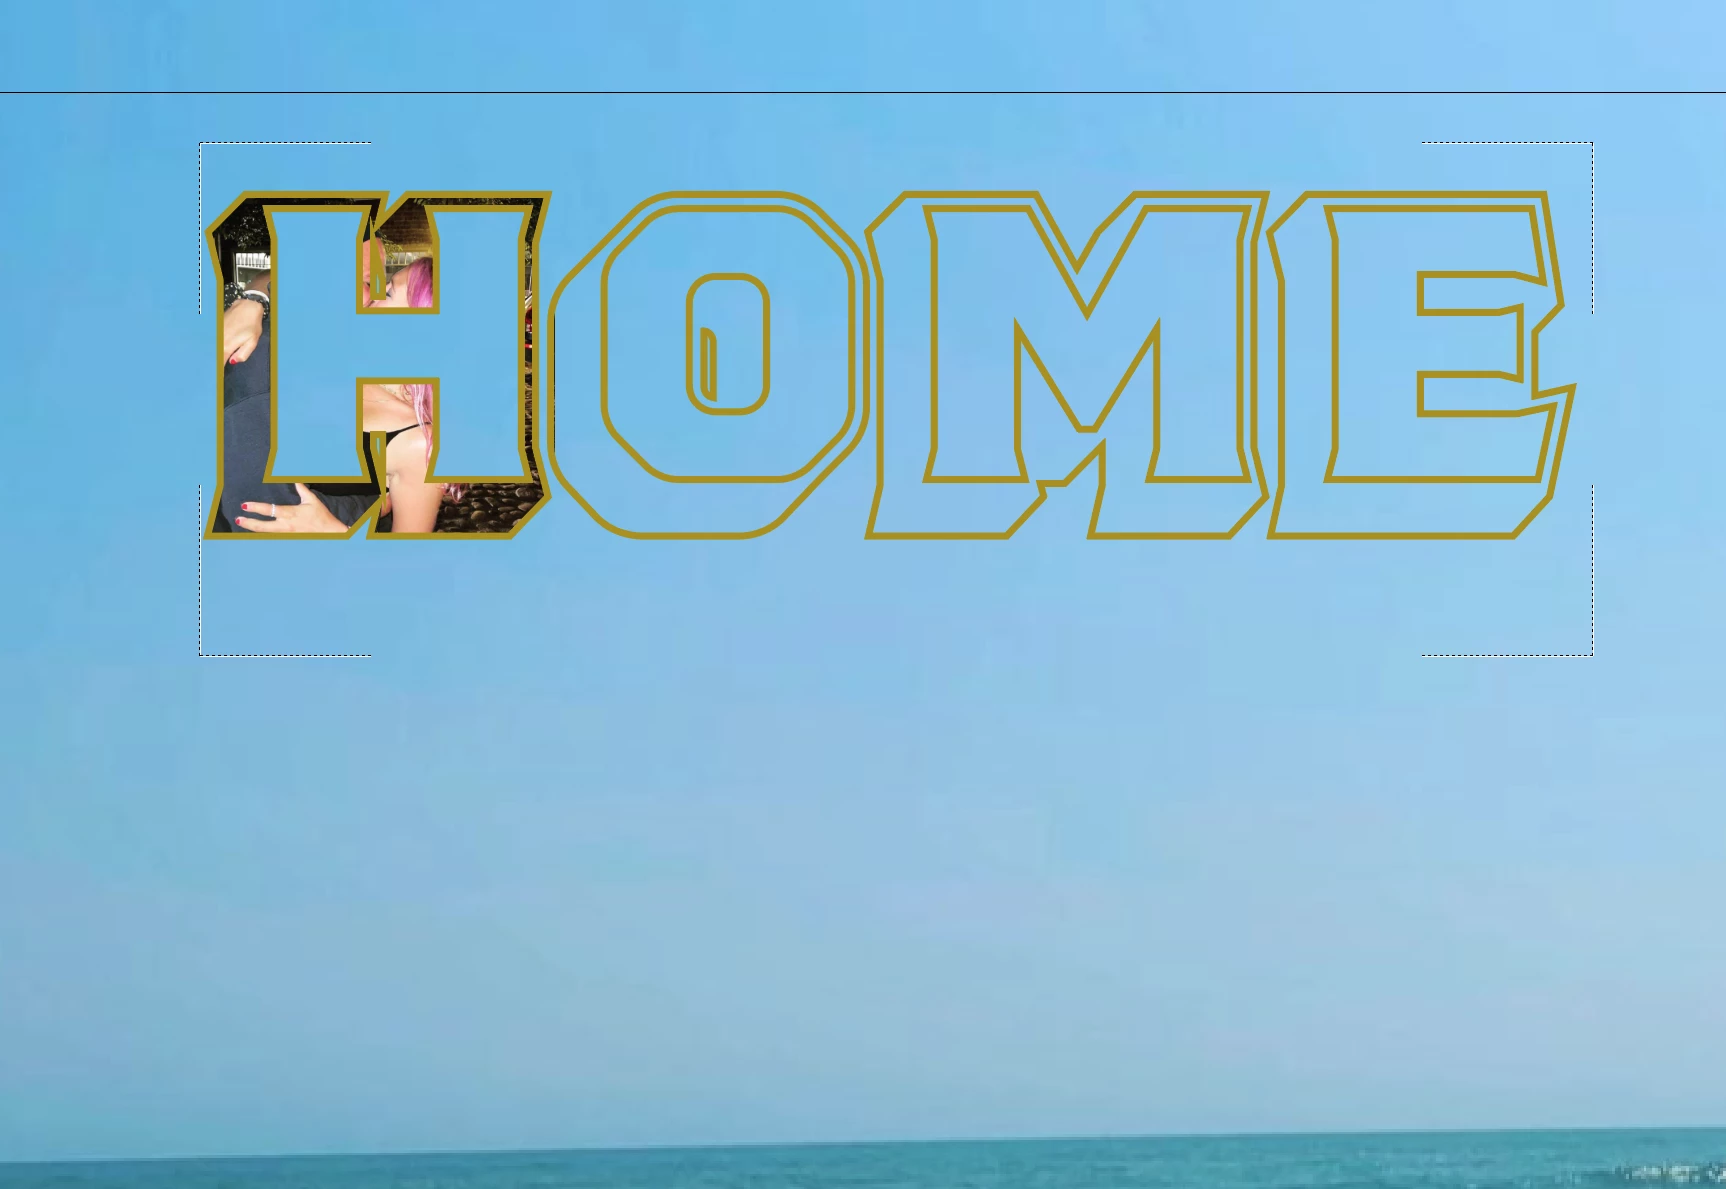
As I (mis)understand it, each of your letters consists of closed paths that form the face and a combination of sides (including the side of the counter in the O) and a surrounding part corresponding to a(n outside) stroke, and you wish to have the image shown across all the letter faces and possibly a solid colour across all the sides/strokes.
If that be the case, you can, depending on the structure of what you have now:
1) Select everything and Ungroup (Shift&Ctrl/Cmd+G = hold Shift and Ctrl/Cmd and press G) and/or release Compound Path(s) (Alt&Shift&Ctrl/Cmd+8), so you have only simple closed paths;
2) Select all the paths forming the faces and turn them into one Compound Path (Ctrl/Cmd+8), then bring that to the very front/top in the stacking order (Ctrl/Cmd+F+X+F);
3) Select all the remaining paths and turn them into a Group (Ctrl/Cmd+G) or another Compound Path;
4) Select the Compound Path of faces and the image, then form a Clipping Path/Set (Ctrl+7);
5) If desired select the Group/Compound Path of sides/strokes and apply a solid fill, or other colouring across it (may require Compound Path as in gradient).