AI 2019 not seeming to "vectorise" elements of imported image
Good day,
I have just subscribed to Illustrator with the intent to vectorise small designs and export them for use by others as .ai files.
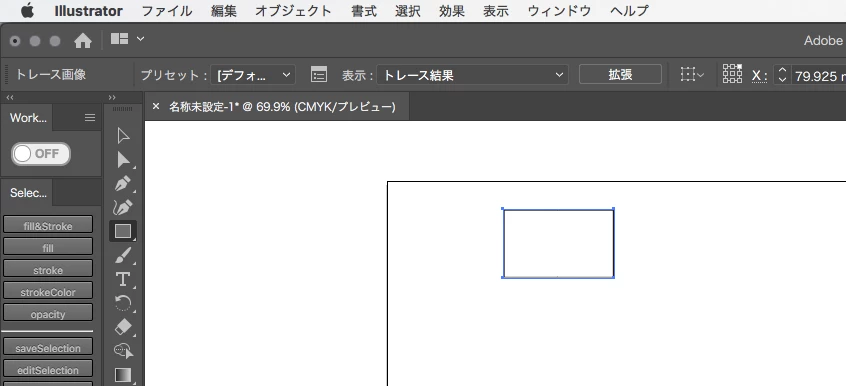
All of said designs are strictly done as black line-work (no greys or colours), and have been saved as .png files with transparency enabled. Hoping to make the learning curve as gradual as possible, I decided to first experiment with an outline of a rectangle, of which a small notch has been cut out from the bottom-left area. I must apologise in advance, as my version of AI is in Japanese; however I am using the default settings, and the location of elements is the same as in the English version.
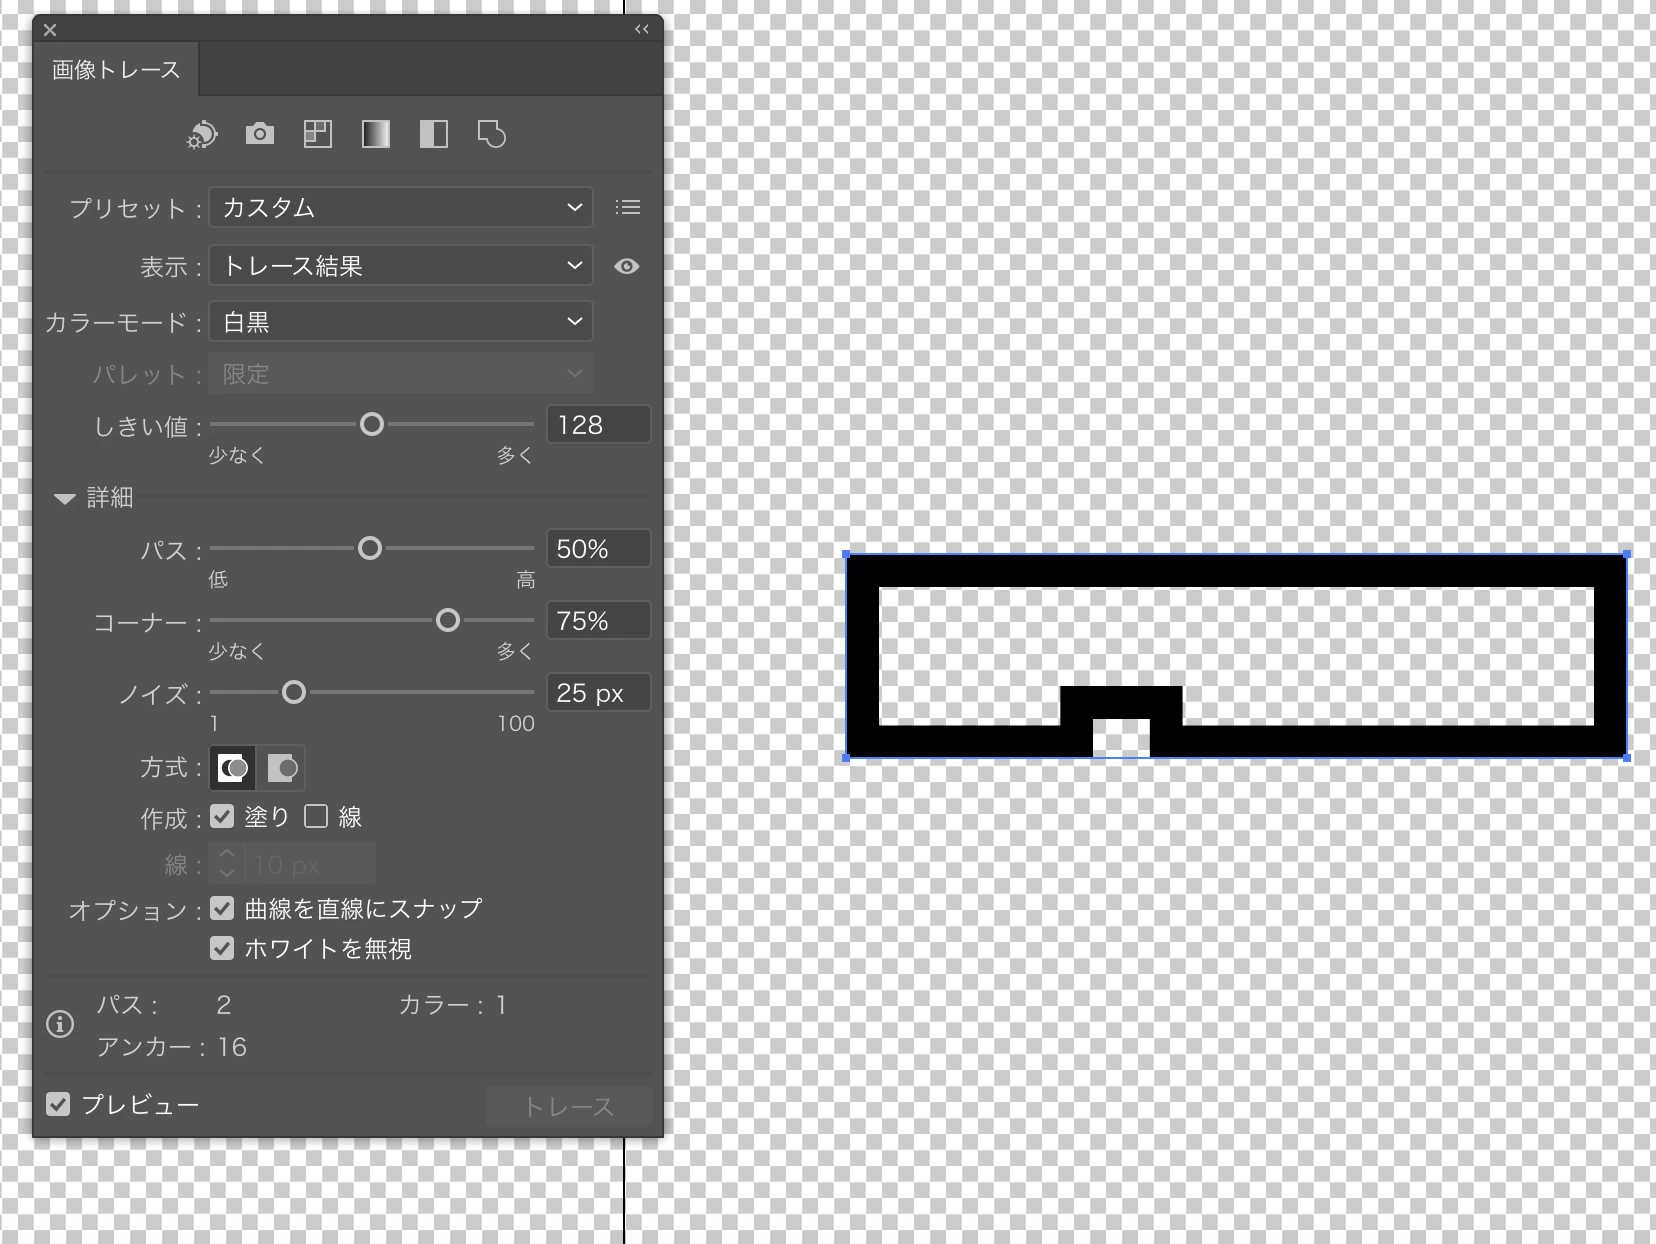
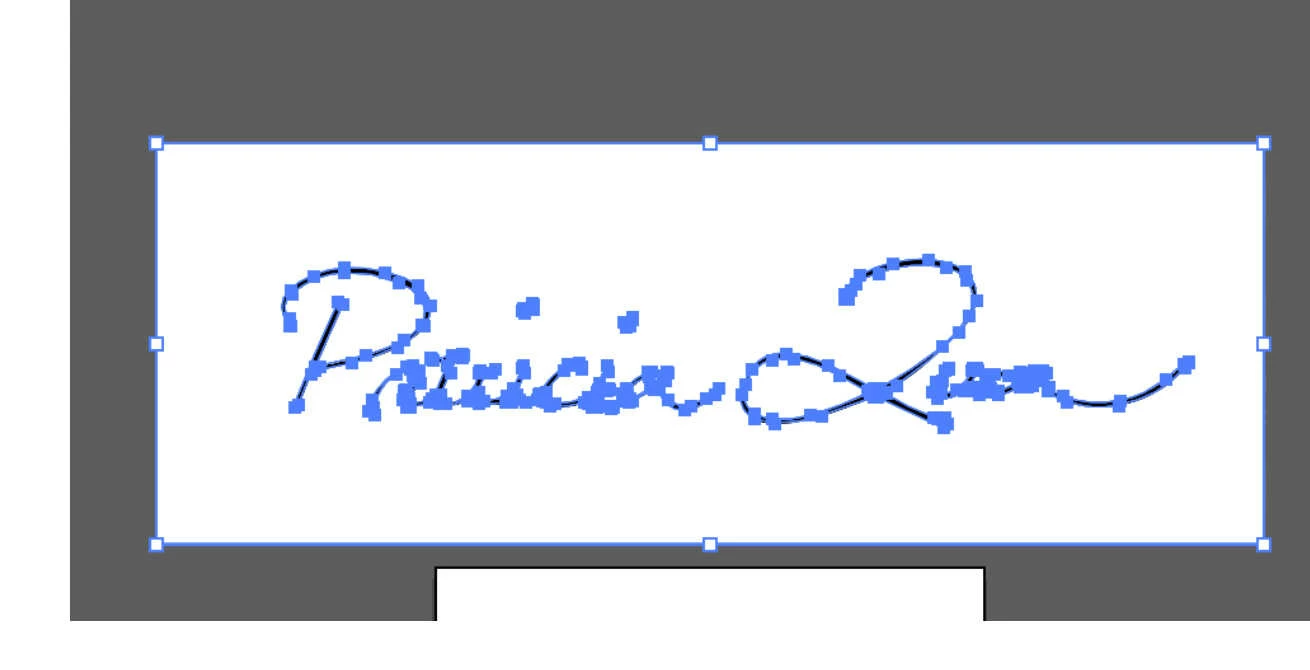
Dragging my image into AI, I have gone to Windows -> Image Trace, and after selecting the imported image, I hit the "Trace" button, which yielded the above result. To my surprise, the empty, 'carved-out' area within the rectangle (as well as the area around the notch in the bottom-left) does not have any "nodes" (I welcome correction if this is not the correct term for the little blue elements outlining a vectorised image) arranged as pictured below in a tutorial found elsewhere on the Internet:
On the matter of tutorials, I have pored over a number of textual and video ones in order to ascertain whether I have overlooked a crucial step or setting, but I have been puzzled, as many of them have featured B&W imported images which are significantly complex, and yet "Trace" with default settings yields images which are traced inside and out with nodes (not just around the outside of the image, as what seems to be happening with me). I played with settings in the "Trace Image" window, tried saving the imported image as a .jpeg, .png with transparency enabled, .png flattened, with the image cropped exactly to the design, with some white space added around the design (similar to the second image above), et cetera, all to no avail.
Thank you in advance for your assistance. Day 1, and I am stuck!
Kind regards from Japan