christopherc92001052
Known Participant
January 25, 2018
Answered

Animating Crayon Strokes In Illustrator

  • January 25, 2018
  • 2 replies
  • 6785 views

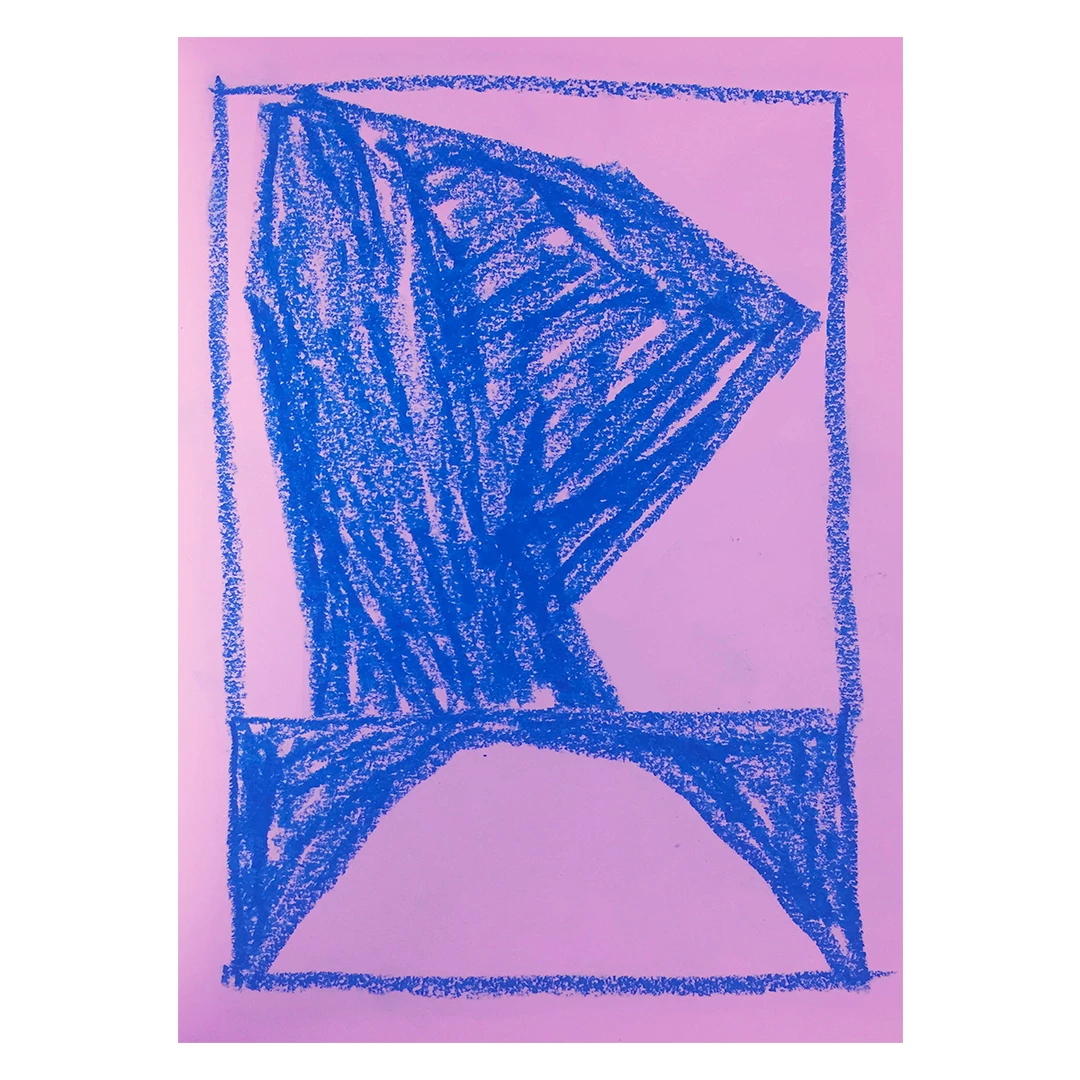
I'm working on a project. I'm trying to animate a little bit of movement into the lines I have drawn with a pastel. The lines could wiggle, shake, or move slightly in a certain direction. I am fairly sure this is doable as I feel like I've seen something like this before.

Basically just hoping to create a little movement in the textured lines. I hope that makes sense. I can try to elaborate if necessary.

Thanks for the help in advance!!

    This topic has been closed for replies.
    Correct answer JETalmage

    If this is the kind of thing you want to do, you can use Illustrator to quickly draw the base artwork and then use Transform Each to create two or three slightly different versions of it:

    1. Draw paths with the Pen, Brush, or Pencil tool.
    2. Apply one of the default texture Brushes to the paths.
    3. Select All.
    4. Duplicate the Layer.
    5. Object Menu: Transform>Transform Each. Turn on the Random checkbox and adjust the scale or move parameters just a bit.
    6. Duplicate the Layer.
    7. Object Menu: Transform Again.

    Then, either export each Layer as a separate raster image, which you can open in a raster imaging program, or just copy and paste into a raster image program that can export layers as frames in an animated GIF.

    JET

    2 replies

    JETalmage
    JETalmageCorrect answer
    Inspiring
    January 25, 2018

    If this is the kind of thing you want to do, you can use Illustrator to quickly draw the base artwork and then use Transform Each to create two or three slightly different versions of it:

    1. Draw paths with the Pen, Brush, or Pencil tool.
    2. Apply one of the default texture Brushes to the paths.
    3. Select All.
    4. Duplicate the Layer.
    5. Object Menu: Transform>Transform Each. Turn on the Random checkbox and adjust the scale or move parameters just a bit.
    6. Duplicate the Layer.
    7. Object Menu: Transform Again.

    Then, either export each Layer as a separate raster image, which you can open in a raster imaging program, or just copy and paste into a raster image program that can export layers as frames in an animated GIF.

    JET

    christopherc92001052
    Known Participant
    January 26, 2018

    Hey Jet!

    Thanks for the help. So after turning on the random checkbox I can adjust the scale by a few percent on each layer? Then duplicate the layer a few times. I think I got both of those but what program would I use to turn the frames into a GIF? I tried to do some research and am a little confused.

    Also would this process just be easier in Photoshop? Which I also have. Please let me know!!

    JETalmage
    Inspiring
    January 26, 2018
    ...would this process just be easier in Photoshop?

    No.

    The advantage of doing it as I described are threefold:

    • The artwork is entirely scalable vector objects. So you've still got the undisturbed original if you need to export it at different scales or resolutions. You also have the option of using it as a scalable vector animation by exporting the Layers as Flash frames, or SVG.

    • Illustrator provides the all-important Random checkbox in the Transform Each dialog.

    • Each path of the artwork is a separate vector path. So it's not just the image as a whole being tweaked for each frame, it's each path (each "stroke of the crayon") being tweaked individually, at random, within the range you specify in the Transform Each dialog. That's an entirely different effect than just creating three tweaked versions of a single whole image. And it's a lot quicker than trying to do it manually in a raster image program.

    The "animation" is the trivial part. An animated GIF is just a set of separate raster images, set to display in sequence. Most any raster imaging program can assemble multiple images and export them as a GIF.

    If you've never used the random setting in Transform Each, you'd do well to spend a few minutes with it:

    1. Create a square array of any object. For example, drag one of the default Symbols to the Artboard.
    2. Step-and-repeat a horizontal row of the Symbol Instance.
    3. Select the whole row and step-and-repeat vertically to make columns.
    4. Select All.
    5. Open the Transform Each dialog. Position it so that you can still see the array of Symbol Instances on the page.
    6. Turn on the Random checkbox and the Preview checkbox. Make a few small moves of the various movement and scaling sliders, and rotation setting.
    7. Now just toggle on and off either the Preview checkbox or the Random checkbox. Each time you toggle it back on, the transformation is re-calculated within the random ranges. So you can quickly play with it like that to get a result that looks best to you.

    A few minutes playing with Transform Each's random setting should give you all kinds of ideas.

    JET

    Mylenium
    Legend
    January 25, 2018

    AI doesn't do animation. That's what Photoshop, or even better, After Effects are for.

    Mylenium

    christopherc92001052
    Known Participant
    January 26, 2018

    Thanks for the input! How would I go about creating this "wiggle" in photoshop? I may just post a different thread in the photoshop forum but any help would be appreciated!!