Answered
Can't join two point (one is not an ending point)
Hello to everyone !
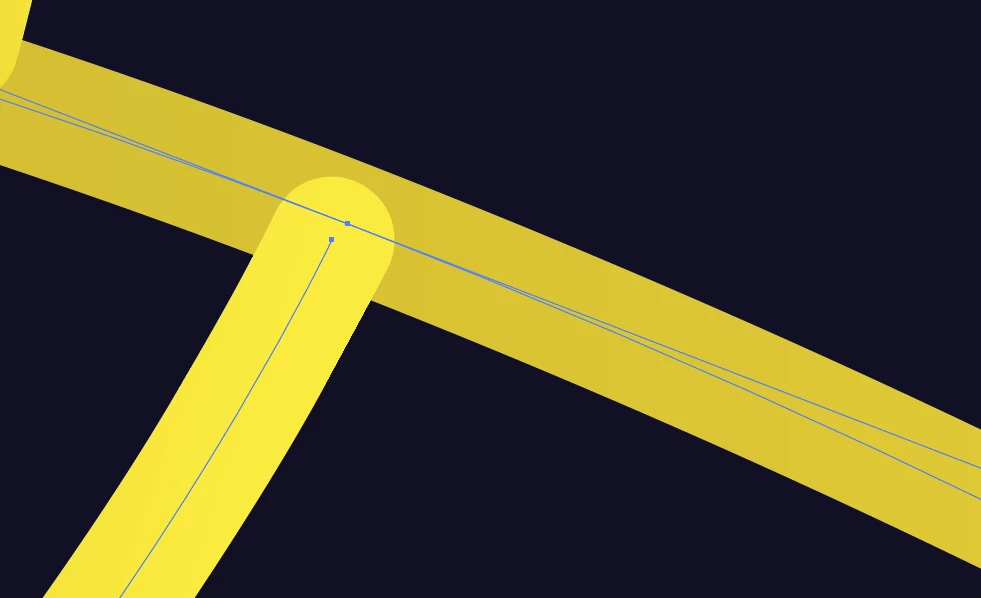
I can't join two point. One is not an ending point and I need to join this two point absolutely....
Do you know a way to join that ?
Thank you in advance !

Hello to everyone !
I can't join two point. One is not an ending point and I need to join this two point absolutely....
Do you know a way to join that ?
Thank you in advance !
pleymo,
As I (mis)understand it, you have a few easy options with the colour transition shown, after snapping the end Anchor Point(s) into place.
One is to Group all the paths and make them black, then create a background rectangle (or whatever) with the desired gradient and Ctrl/Cmd+X+B to bring it to the back, then select everything and in the Transparency palette (flyout click Make (Opacity) Mask with both Clip and Invert Mask ticked (in the main Transparency palette).
Another, rather crude one, is to copy everything and keep the original safe and hidden, then select the whole copy set and Object>Path>Outline Stroke, then Pathfinder>Unite, then apply the gradient as above; there are only few steps back to start over if you wish to edit.
Or select all the paths and then Ctrl/Cmd+8 to turn them into one Compound Path, then apply the gradient.
Already have an account? Login
Enter your E-mail address. We'll send you an e-mail with instructions to reset your password.