Clipping Mask?
Copy link to clipboard
Copied
Hello,
I have a design that I am trying to create but I am having trouble doing it. The design I am trying to create a design that resembles a dive flag. That being said, I can't figure out how to get the text and the shark to have a white streak overlay on them. When I export this design the white rectangle that I have placed over the design is being exported as well. How do I clip the design so that when I export it the rectangle will not show. 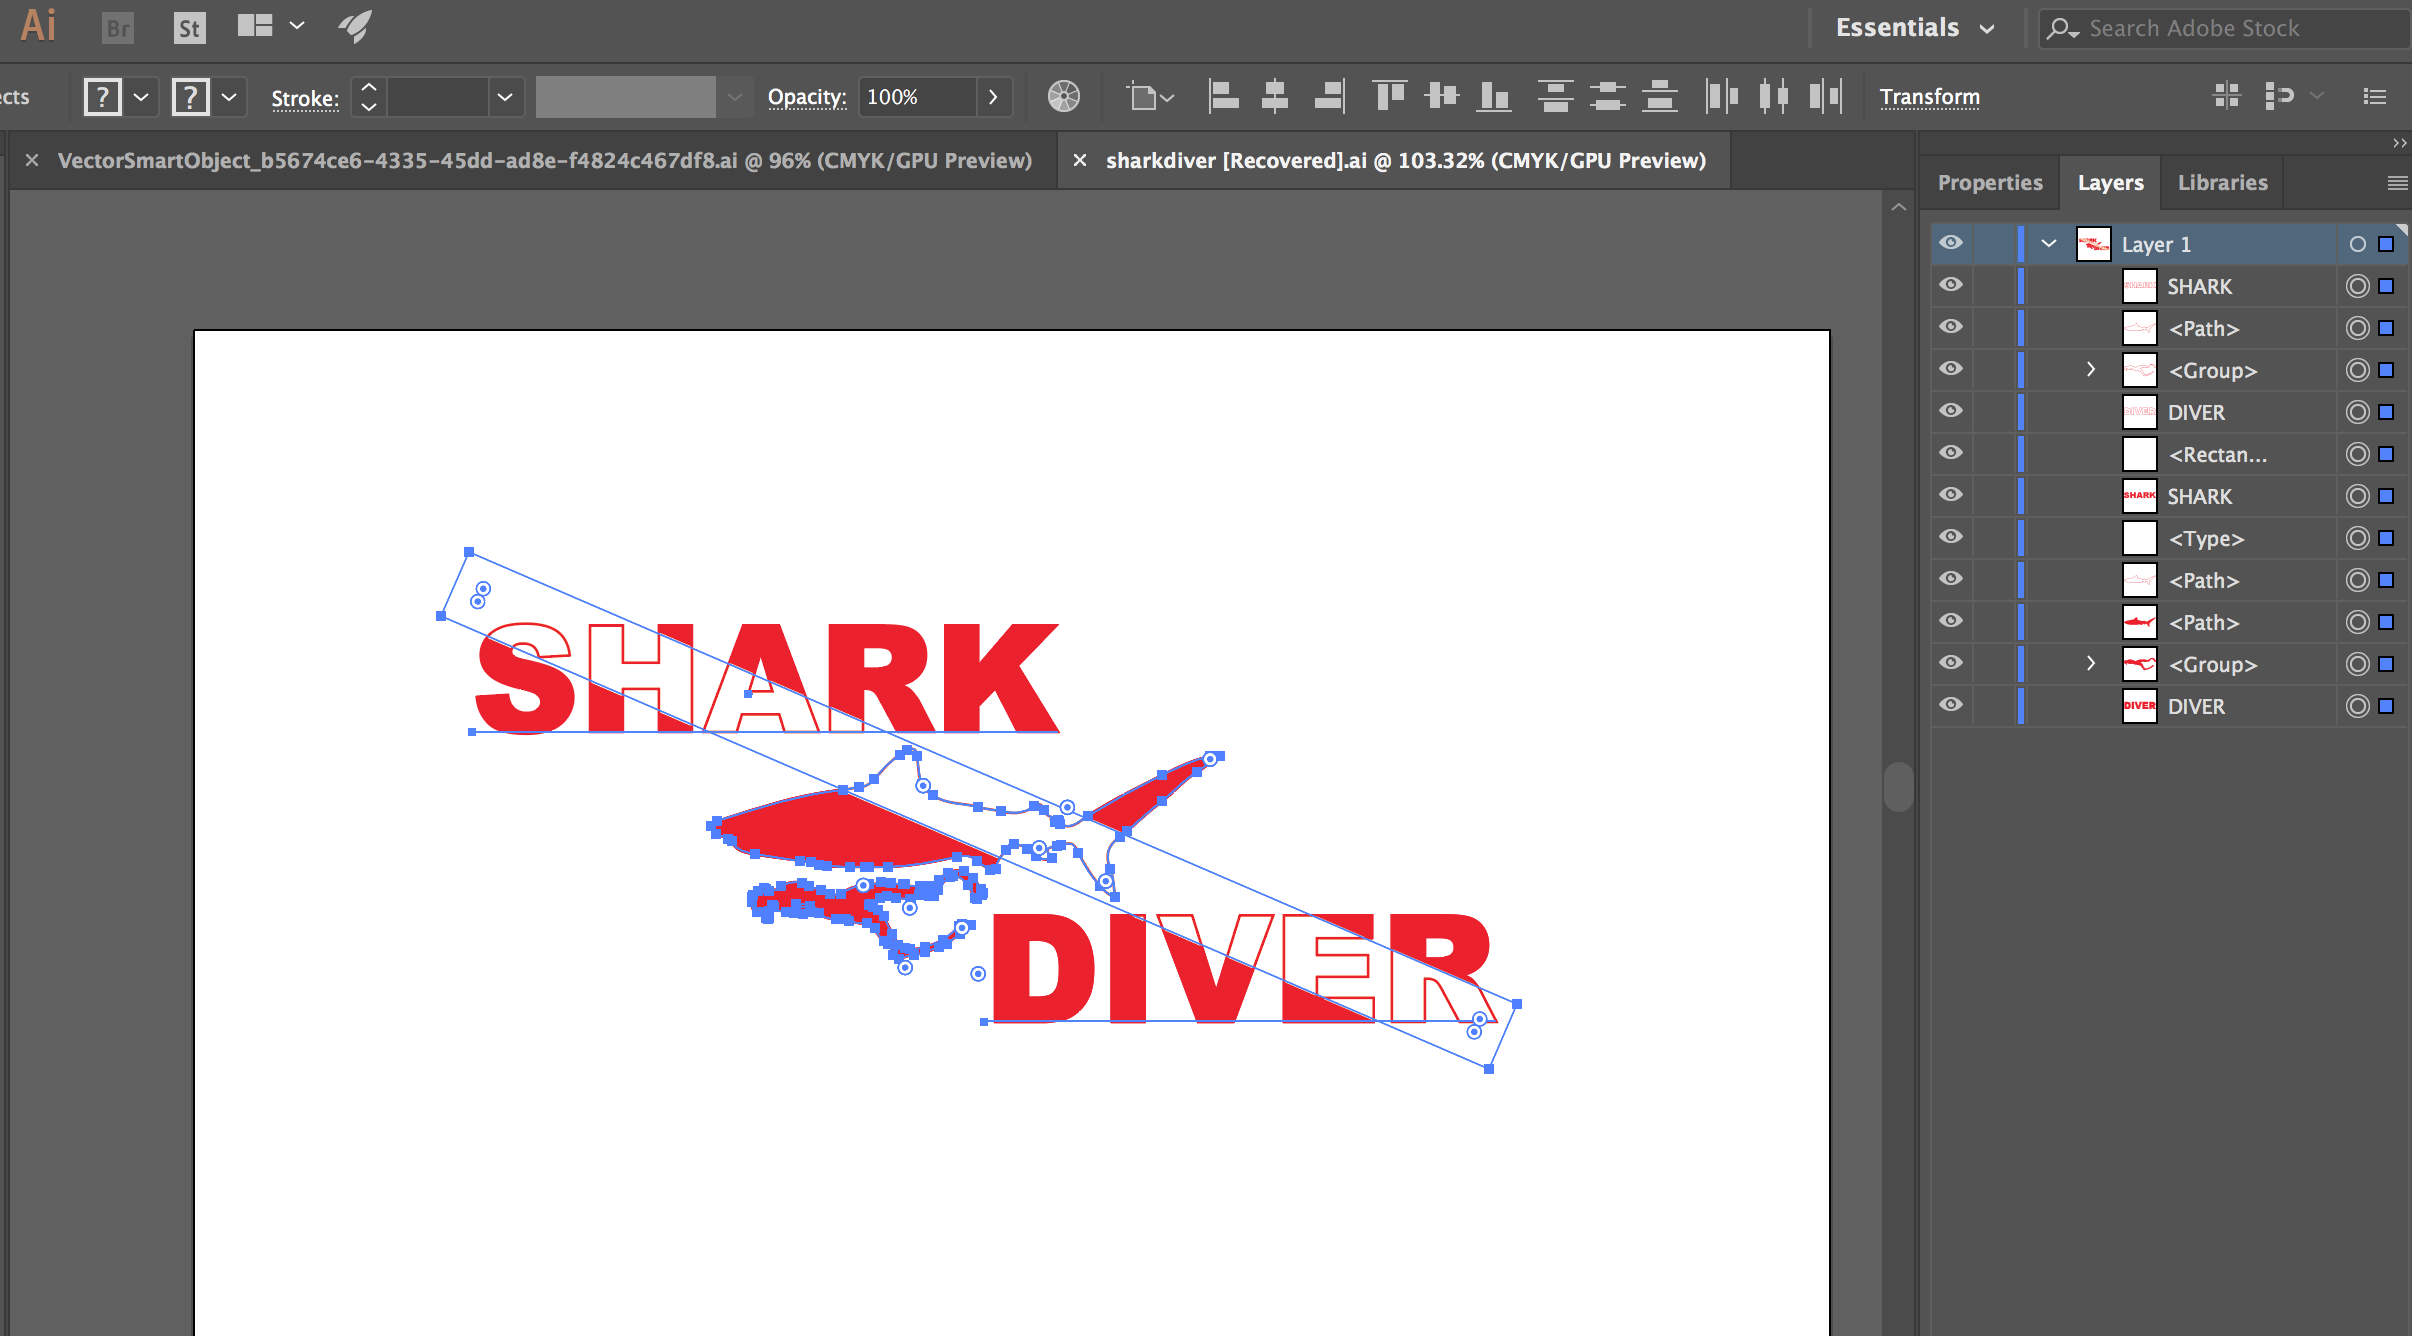
Explore related tutorials & articles
Copy link to clipboard
Copied
Hi Patrick,
When you create a clipping mask, Illustrator will clip everything to the top object. For you, that’s the Shark. Anything outside the shark with disappear.
If thats not what you want, then first move the object you want to be at the top of the stack. Then select everything as you have and choose Object > Clipping Mask > Make. You will only see the parts of the images through that shape.
Use Isolation Mode to make edits.
Is that what you are trying to do?
Jane
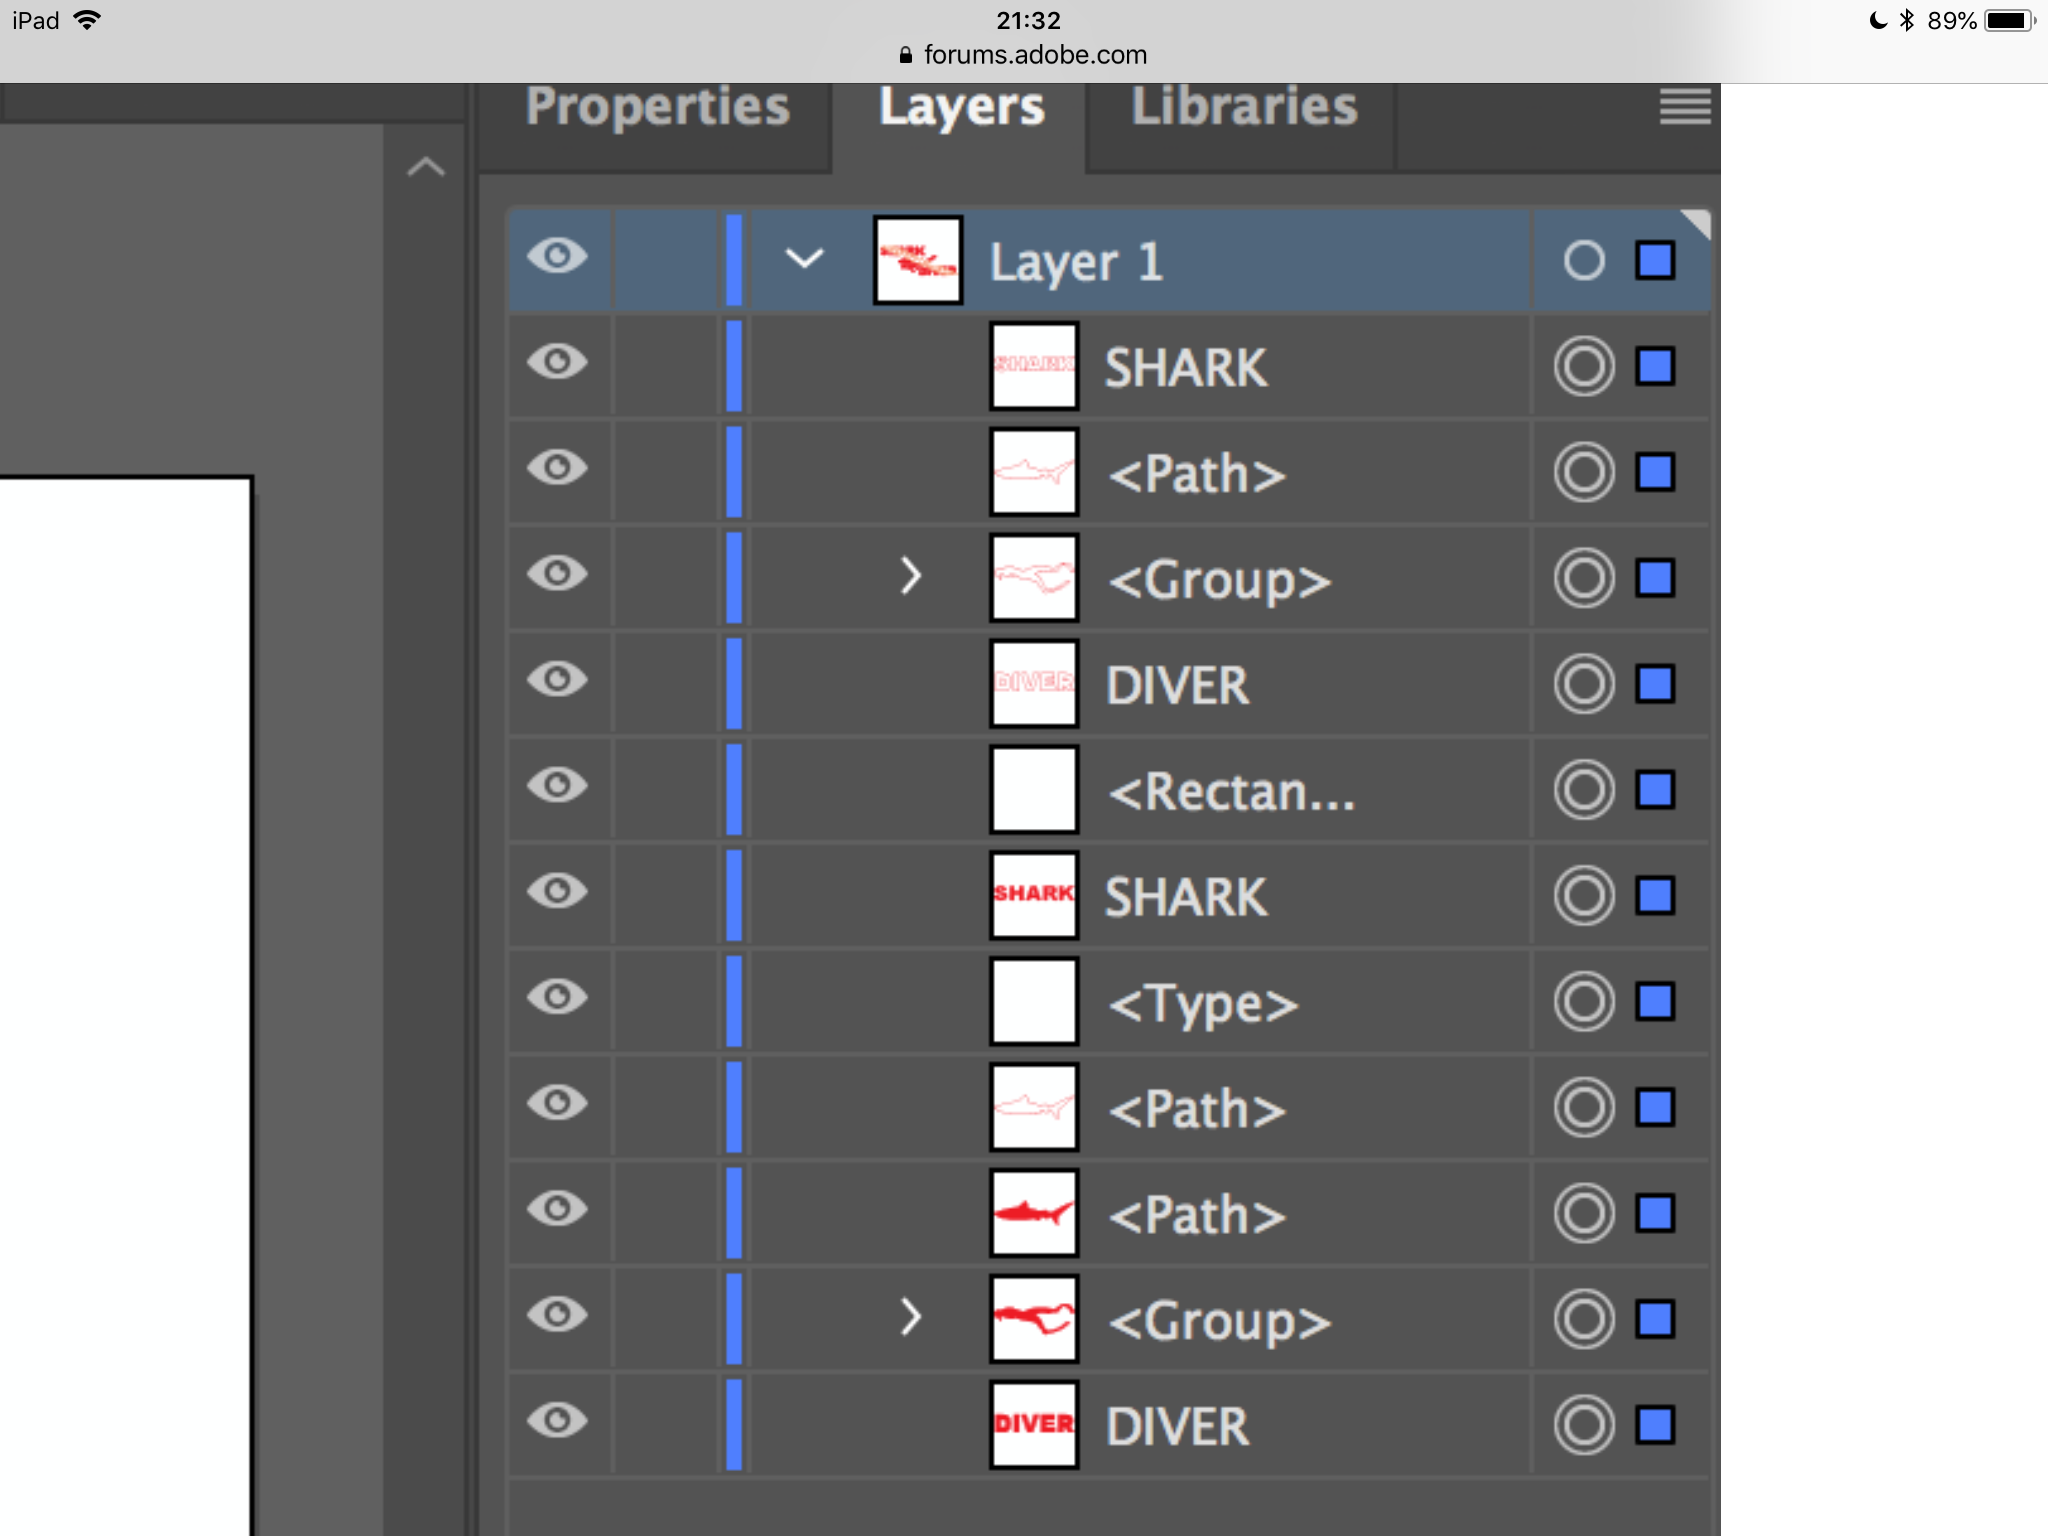
Copy link to clipboard
Copied
Hey Jane,
When I export the file, I get the white shape through it but I don't want the white shape. I want the letters and the shark to have the line running through it but keep the red outline that is present below.

Copy link to clipboard
Copied
Hi Patrick
If the illustration that rcraighead showed is what you are looking for, then I would tweak it just a bit.
- Select all the red shapes and make a compound path (Object > Compound Path > Make)
- Keep the compound path selected and change the drawing mode to Draw Inside (Tools panel)
- Select the white shapes > Cut > Paste (The white shapes will go inside the red compound path)
- Change the drawing mode back to normal (important!)
- Edit the clipping group with isolation mode and the Layers panel. Double-click with the Selection tool to get into isolation mode; press Escape to get out.
Copy link to clipboard
Copied
Hey Jane,
When I try to make the red shapes into a compound layer I get this message, "Can't make a compound path. All object in a path must be paths, and they cannot be brushed or be part of an object."
Copy link to clipboard
Copied
Did you outline the text objects?
Copy link to clipboard
Copied
- Select all of the objects
- Make them a "Compound Shape" using the Pathfinder Panel
- Create a simple pattern with a white line and red background
- Fill Compound Shape with Pattern
- Rotate/Scale pattern ONLY by holder "~" while using any of the transform tools.

Copy link to clipboard
Copied
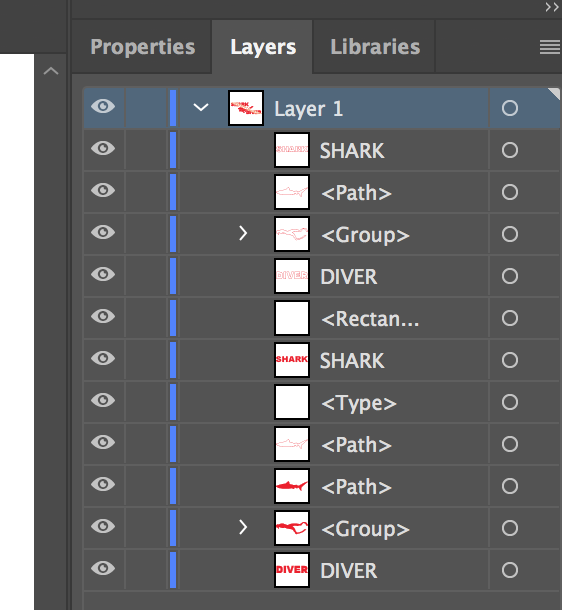
When I export the file, I get the white shape through it but I don't want the white shape. I want the letters and the shark to have the line running through it but keep the red outline that is present below. I have listed the layers that I am working with below. 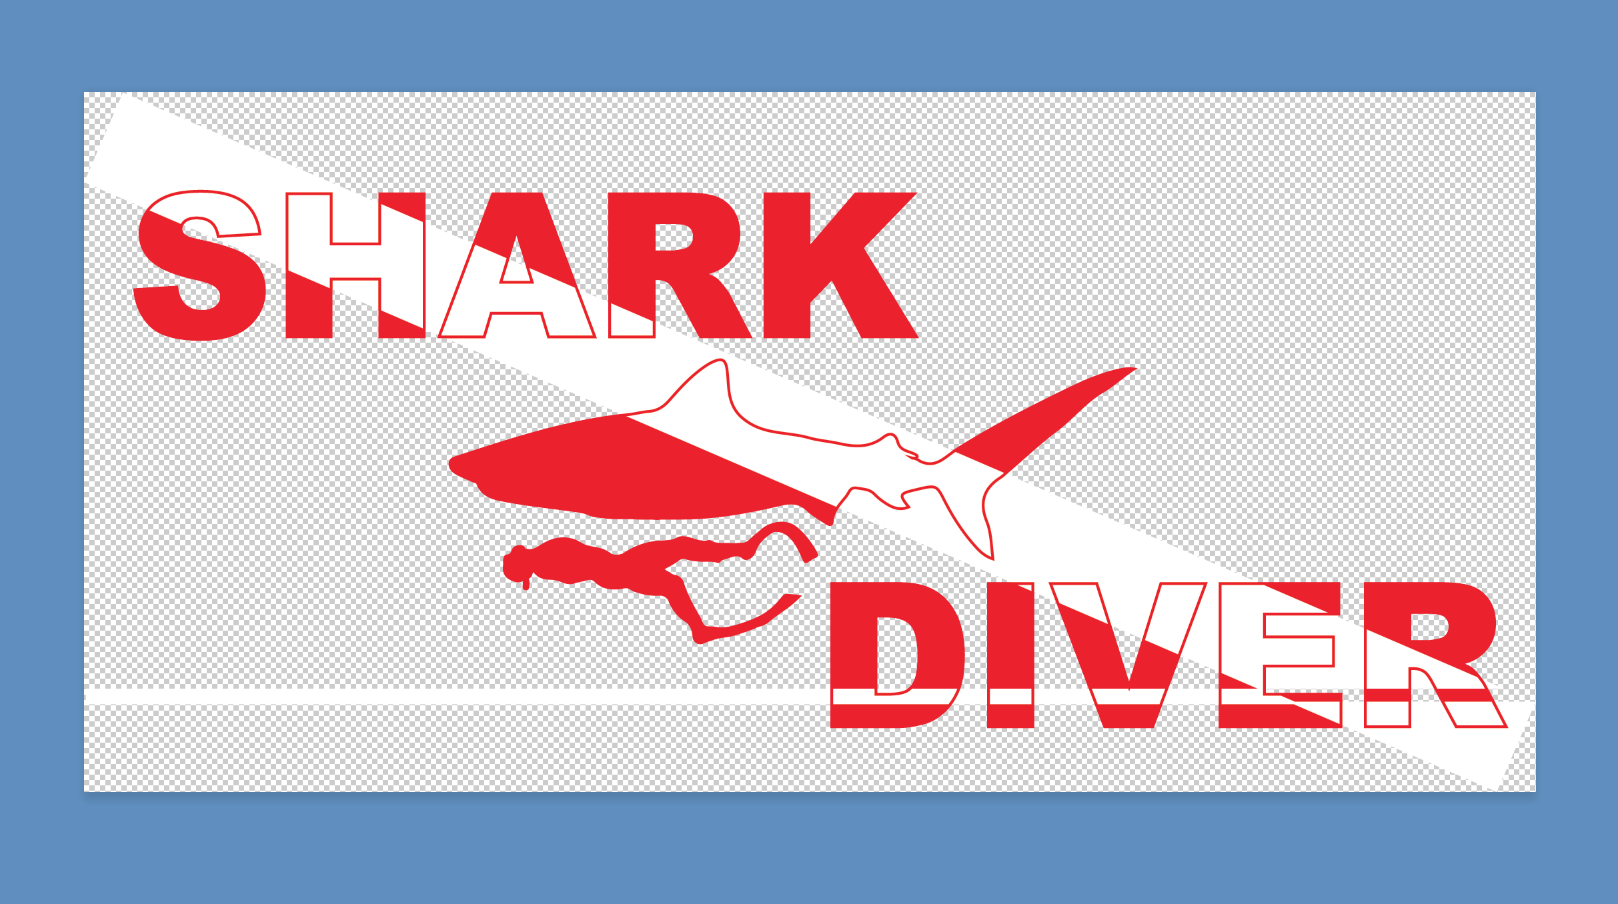
Copy link to clipboard
Copied
Have you tried the method I described?
Copy link to clipboard
Copied
My suggestion was done in AI CS5. I found it can be done more easily in AI CC 2015 because Fill Patterns can be assigned directly to "Character Fill" level. Here's a video to demonstrate. I learned while making it that assigning the fill at the "Group" level does not work because the pattern cannot be rotated/scaled independent of the shape.
Copy link to clipboard
Copied
Another way using an opacity mask.
Make a group of the text, shark and diver
Edit > Copy
Add a white filled rectangle above, no stroke
Select group and white rectangle
open Transparency panel
Make Mask
Use - Invert mask ticked , clip off, or whatever combination works.
That will knock out white rectangle.
Then above paste the group back in
Edit > Paste in Front give that just a red outline no fill
Edit > Paste in Back and change the fill colour
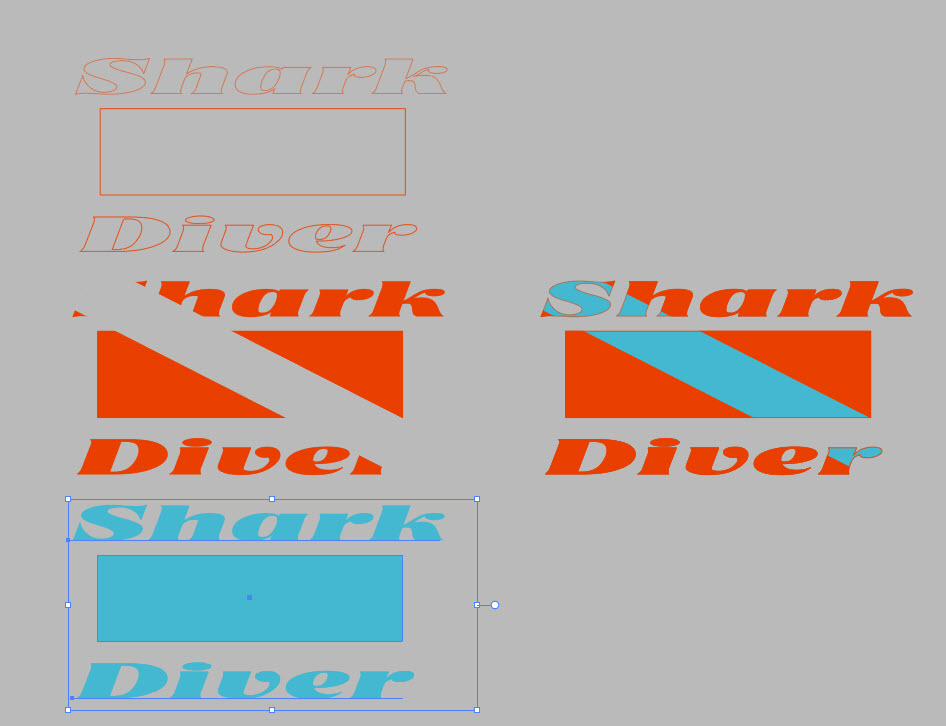
so basically you have 3 layers
top - outline
middle - with removed rectangle
bottom- fill
Copy link to clipboard
Copied
Partrick
Can you share the Ai file here?
upload it to Dropbox, Google drive, Adobe Cloud etc
and give the link
Maybe someone here can better see any problems
Copy link to clipboard
Copied
Hey Ray,
Please find a link to the design here - Dropbox - sharkdiver [Recovered].ai
Copy link to clipboard
Copied
Ray Craighead's method looks the best.
Anyway here's my method
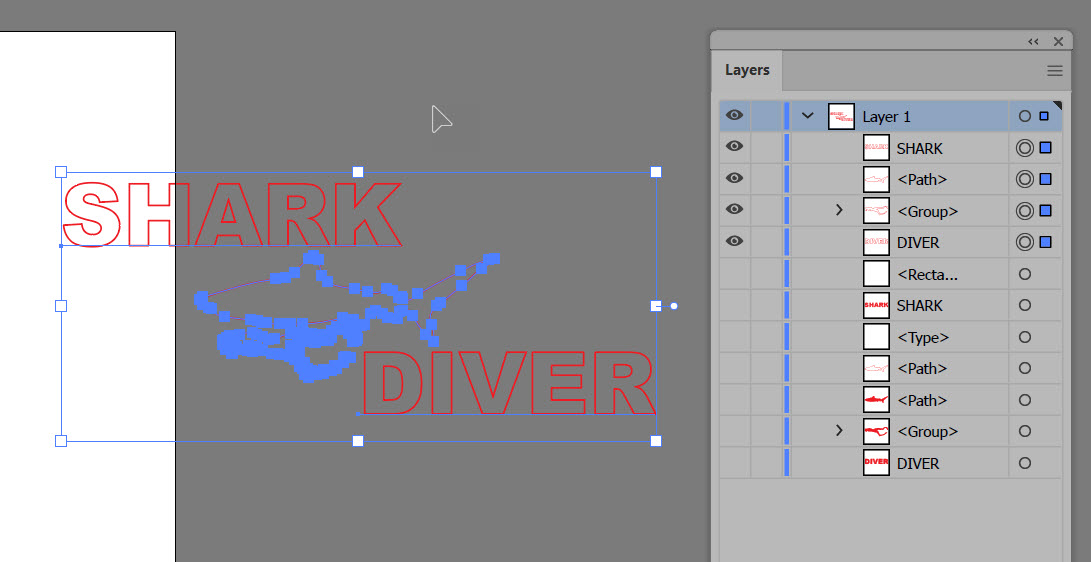
Hide the stuff Rectangle and below - turn off eye icons
Select and make a group for the visible objects above, I named it 'outline '
Do the same for below,
I called that group 'fill'
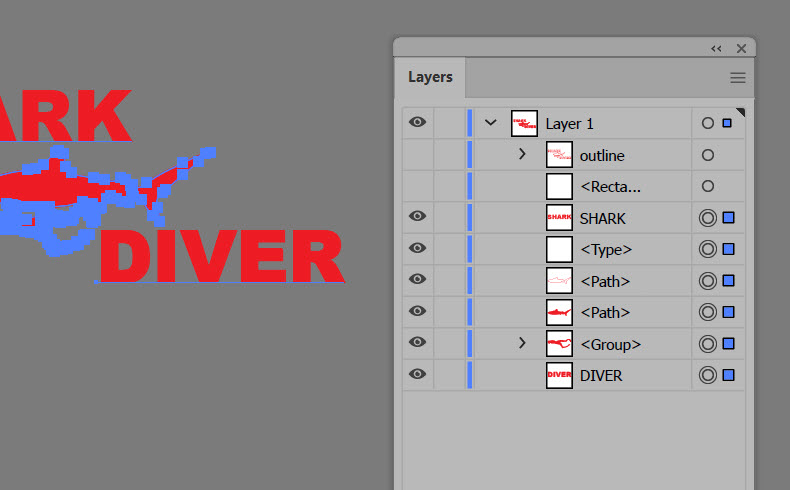
next
Duplicate the fill layer
click on 3 stripes top right in layers panel, etc
Hide visibility of duplicate ''fill''
Select rectangle + fill
Open transparency panel
Windows > transparency
Click Make Mask
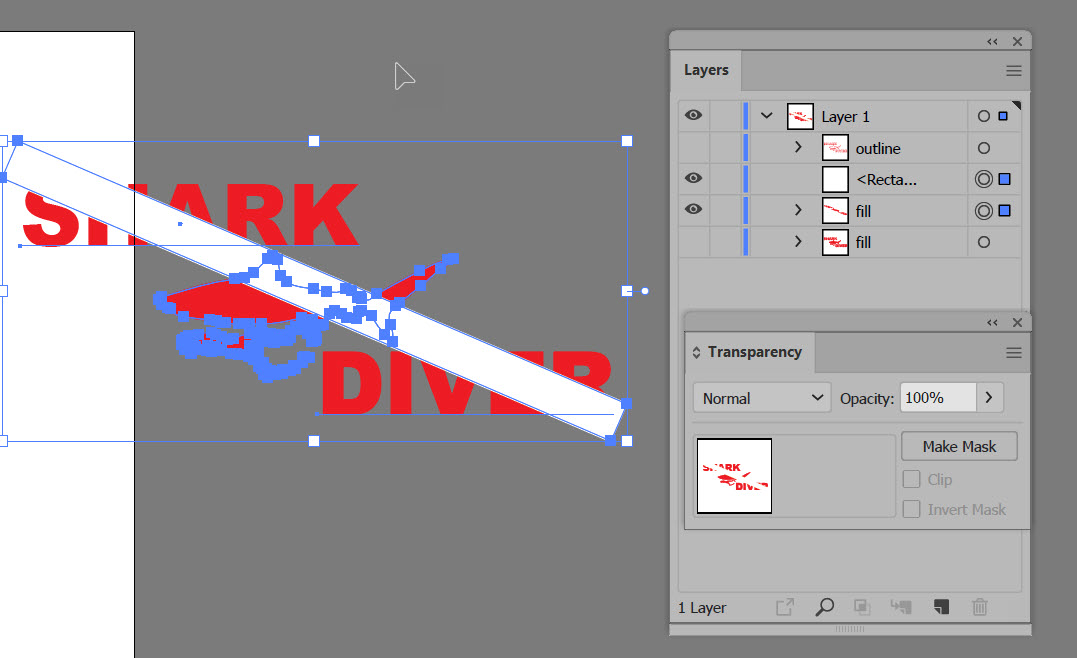
these settings
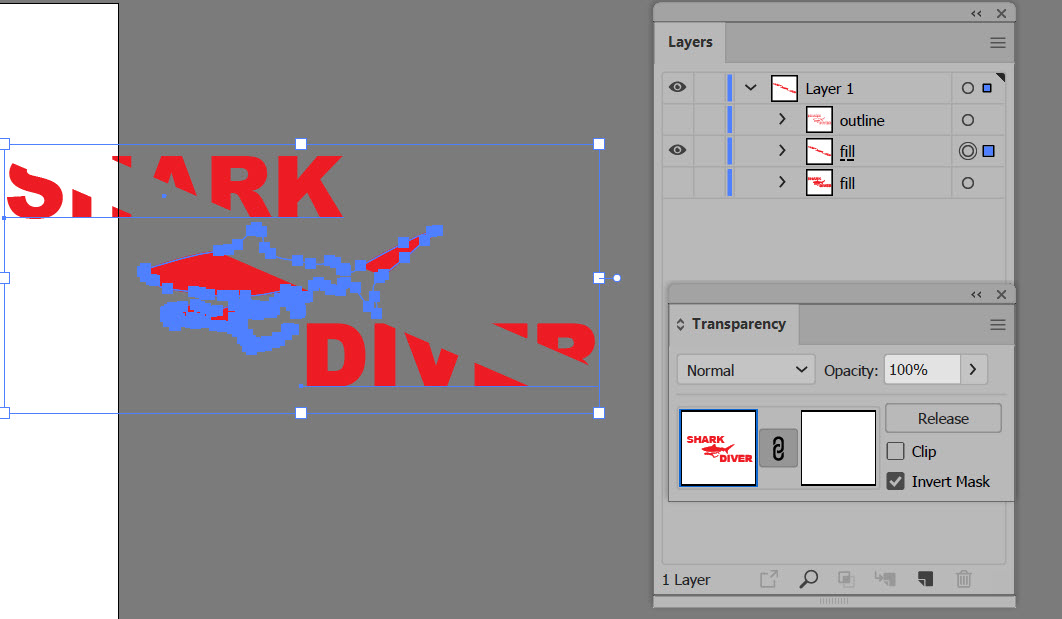
Make all the layers visible
and change the fill colour of the bottom fill sub layer to another colour for the stripe,

